
The questions we’ll try to answer in this episode are broad and vague because sometimes you don’t even know what questions to ask. But that’s okay. Often times you’ll discover a different “answer” and wonder to yourself, “What question was a really asking then?” And that’s half the fun. That and the fact that once you get some answers, even the unexpected ones, many more questions will get created in the process. Fun!
Questions to Answer:
- Where should I connect temperature sensors for the best data?
- How do I connect 12+ sensors to one GPIO port?
- Does orientation of the container effect container skin and internal temps?
- Does the suns angle heat one side at a time more than the other?
- Is heat conduction occurring that could pass heat to the cool shaded side?
- What wiring and sensors should I use for internal and external monitoring? Is waterproofing important?
- What is a good sampling period?
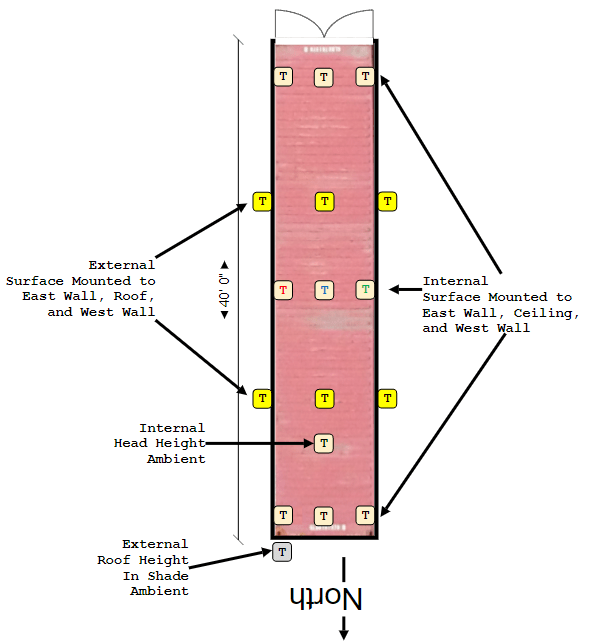
Sensor Locations
Before I could decide on a circuit board layout, even if it’s just a prototype board, I needed to decide how many potential sensors I needed in total. Here’s a rough back-of-the-napkin layout I used to get started for the 40 foot high-cube we were currently using for storage.
Multiple Sensors
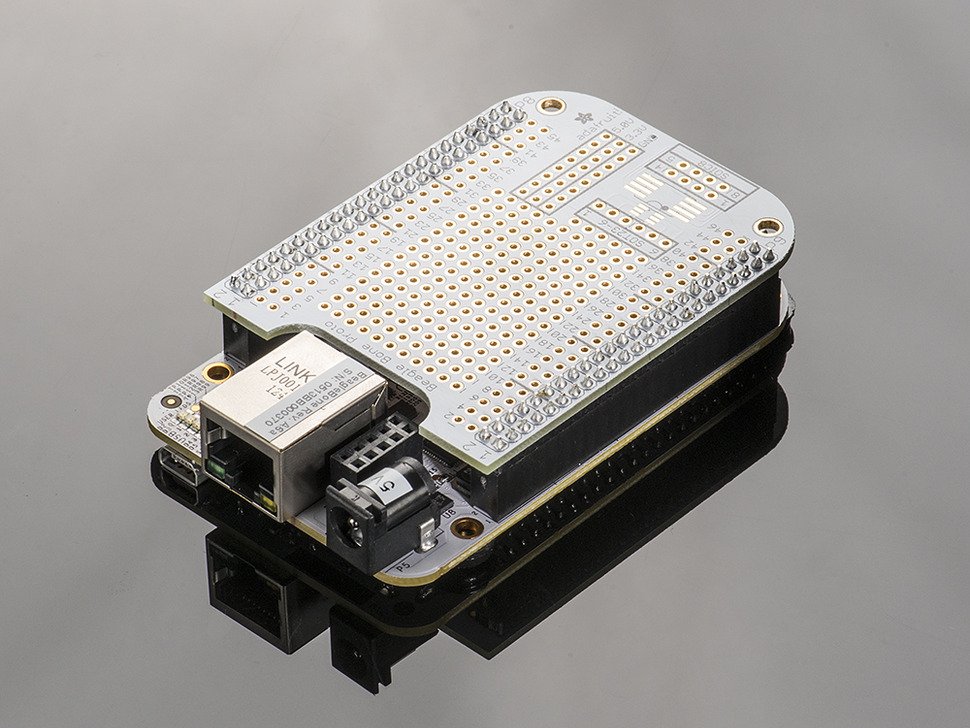
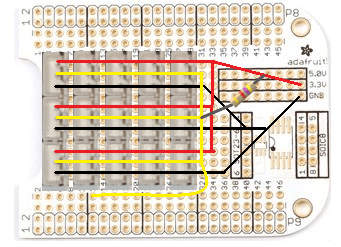
It’s easy to go overboard planning for every conceivable sensor but in the end I had to back down to just 15 sensor jacks because that’s all I could fit onto the Beaglebone Proto-Cape. BBB calls it’s plug in boards capes because they lay on top of the board where two rows of pins plug into its P8 and P9 headers.
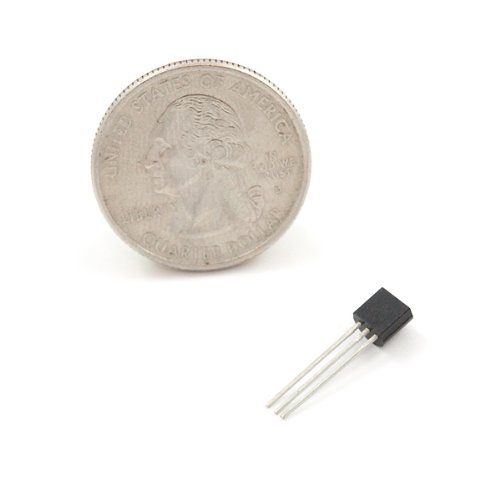
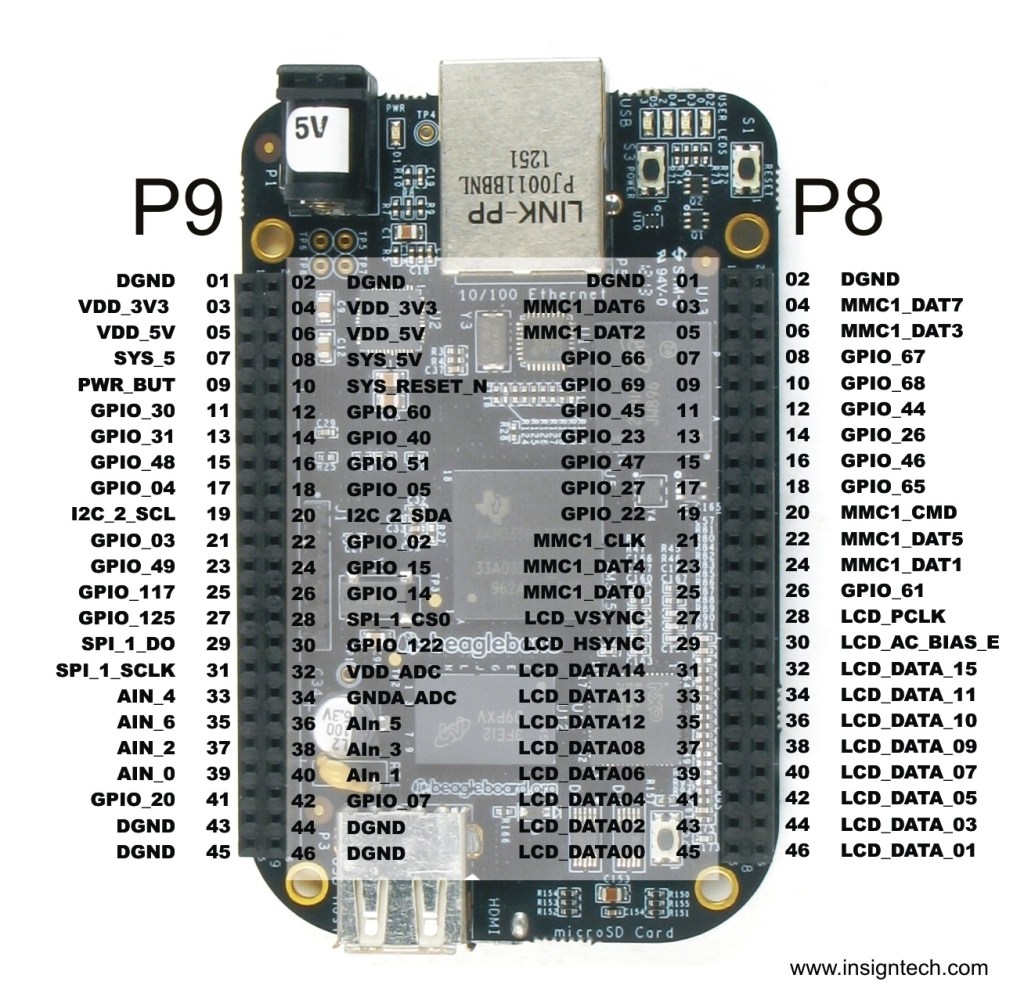
A single 4.7k ohm resistor is all that’s needed for many DS18B20’s wired in parallel. Here’s the diagram when using multiple sensors. GPIO 60 (P9 – Pin 12) will be used for our data.

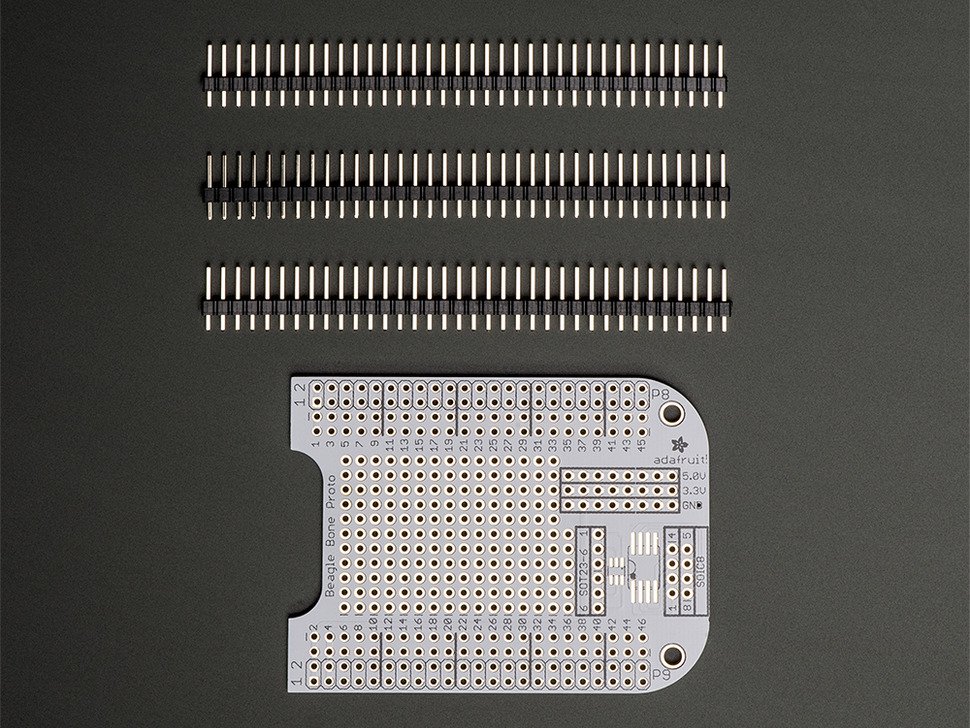
The “internals” of the proto-cape are already configured to route all of the P8 & P9 pins to pin holes that run parallel and just inboard of each connector. This makes it easy to solder wires under or on top of the board to components you mount to the inner-most section of pin holes, the ones without labels. There’s even internal traces that run down to 8 separate pin holes for Ground, 3.3V, and 5.0V each! So you won’t create a traffic jam at the few power and ground sources available next to the connectors.
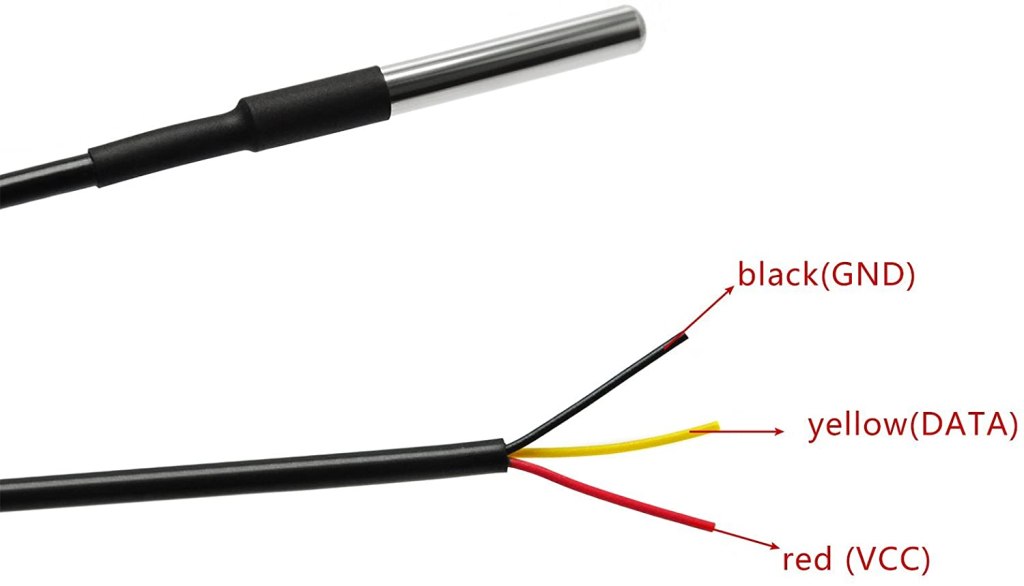
Our temperature sensors are three-wired. Power, Ground, and Data, regardless whether we’re using the waterproof versions or just the DS18B20’s which means we needed three-wired connectors and their jacks. These were easy to source from Amazon for just $8 per bag.
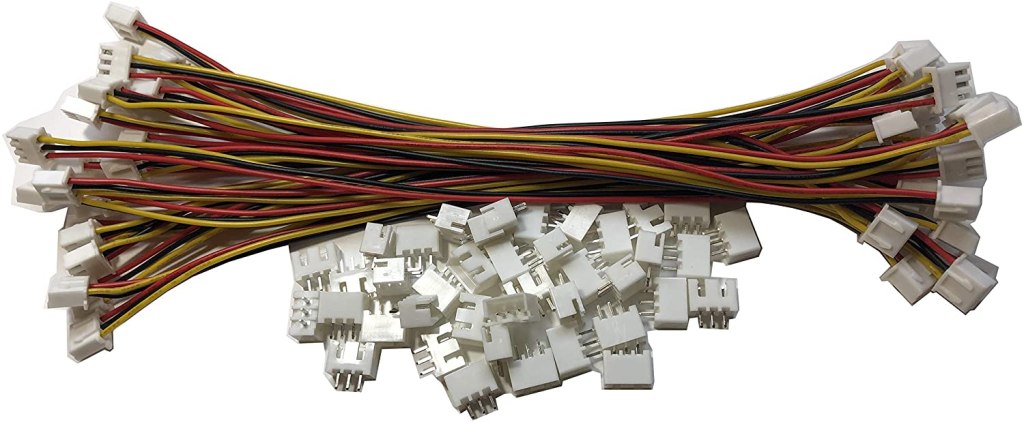
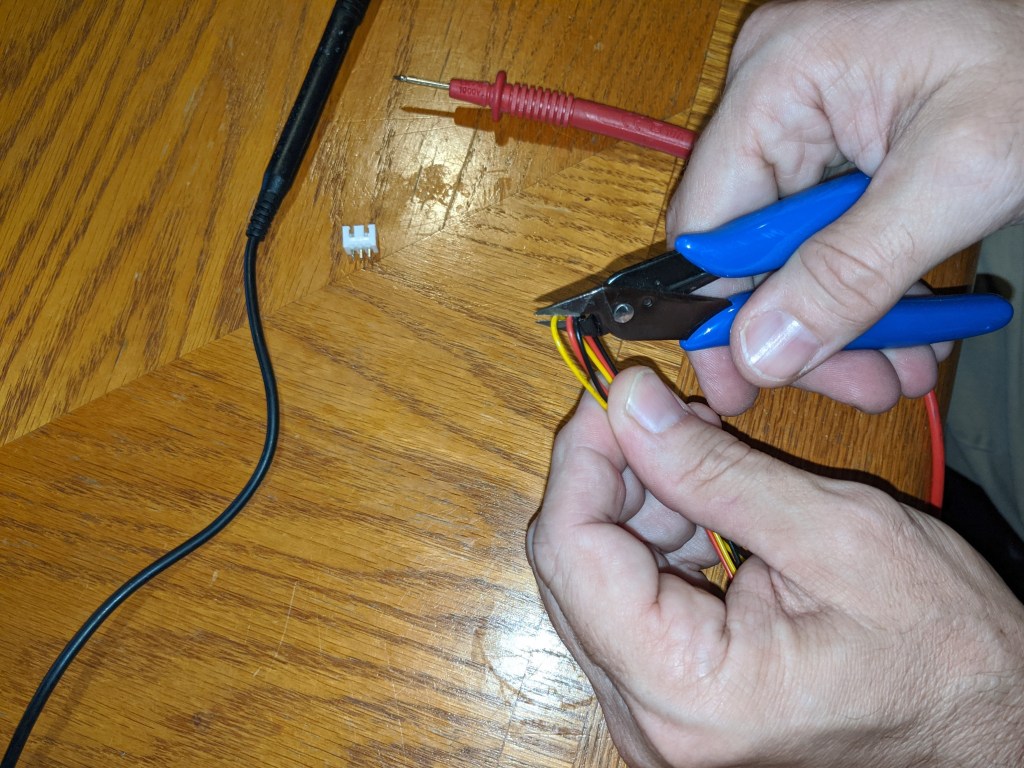
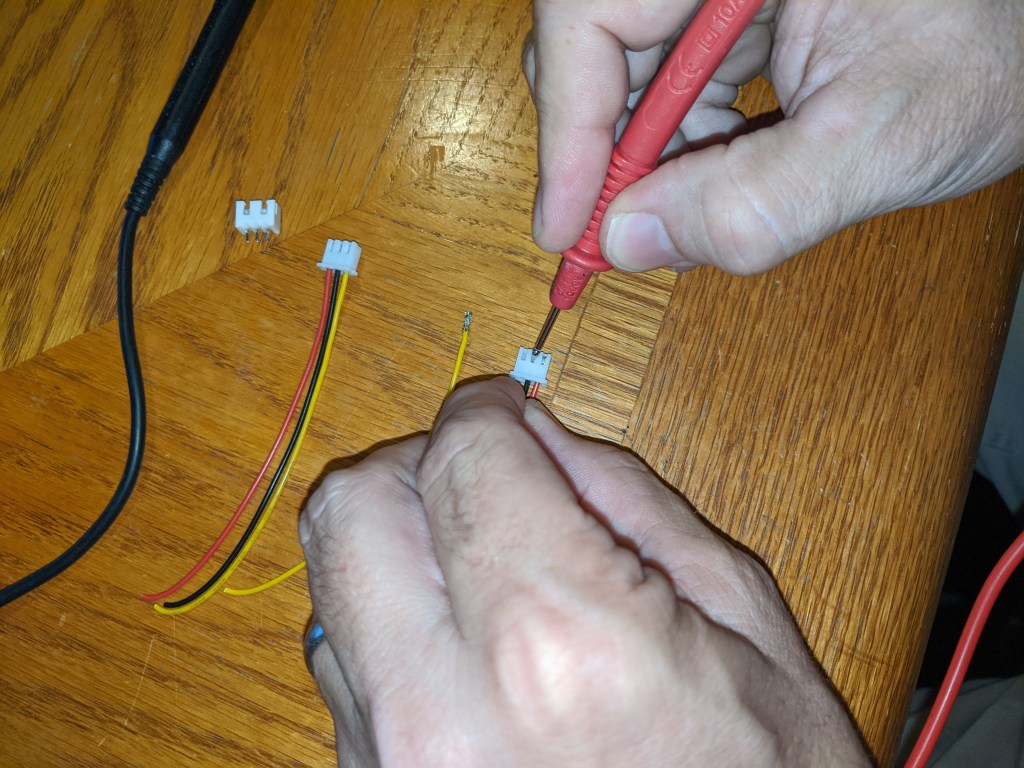
Cut in half you get twice as many as you need. They came pre-wired in a mirrored configuration which means rewiring them. But if you’re careful you can remove the crimped ends from the female connectors by pressing a sharp object in the slot, slide out the wire crimp and then put it back in at the position you need. Easy-peasy.
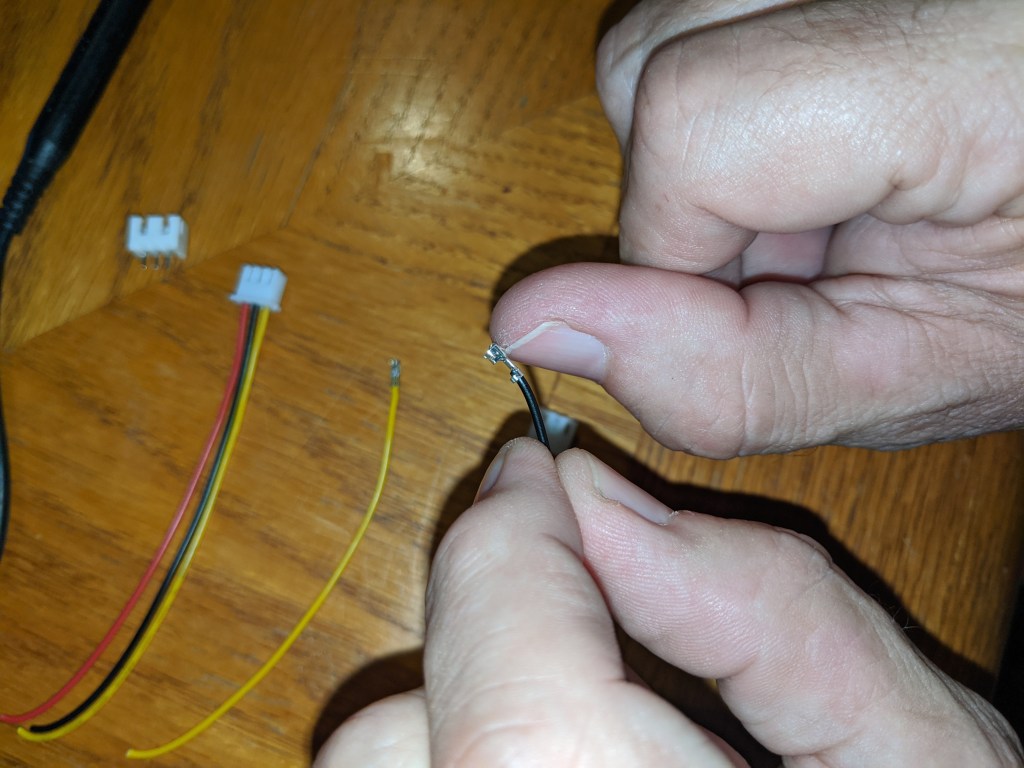

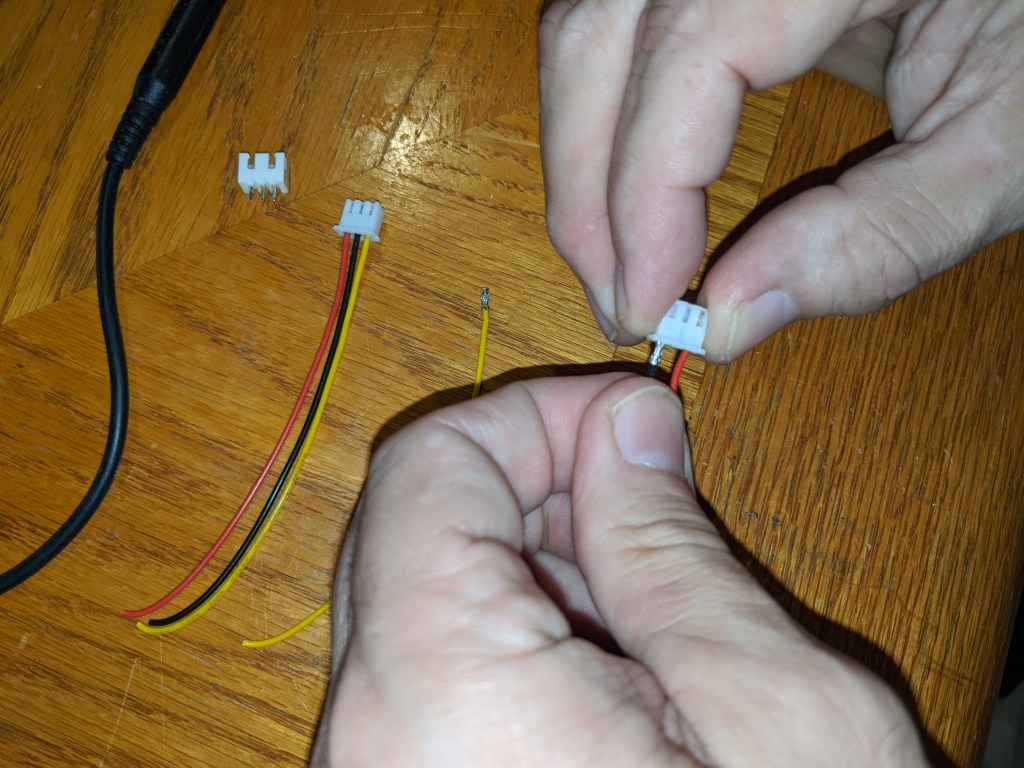
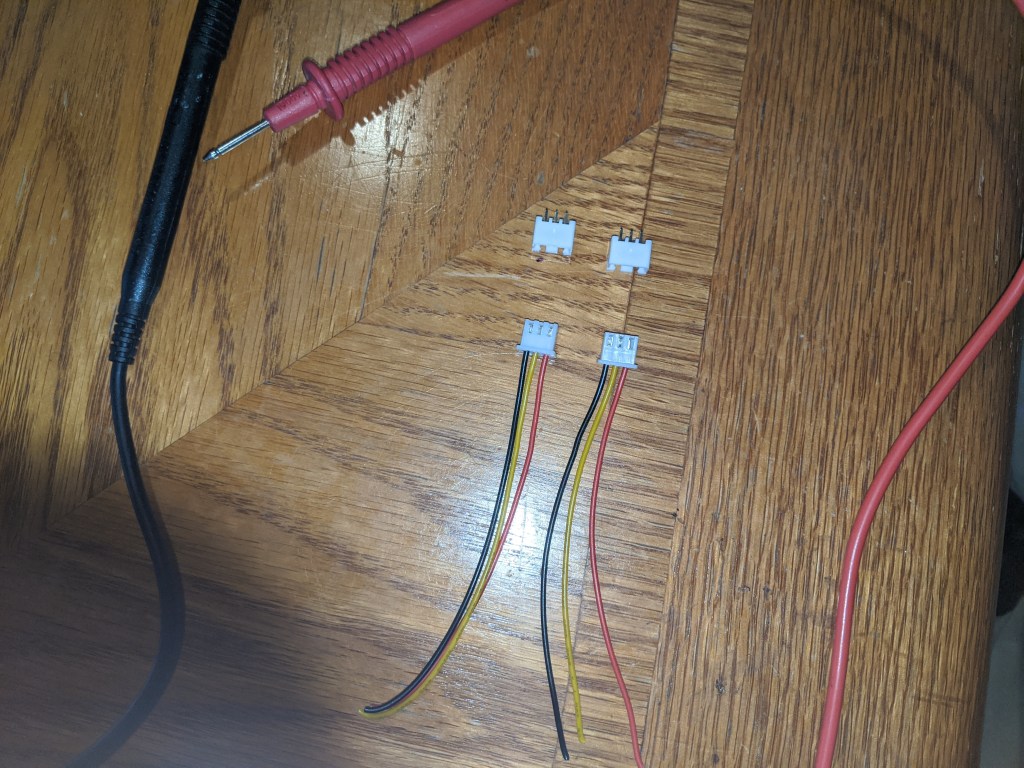
Time to mount the male connectors to the proto-cape. Tin the connector leads with solder beforehand then all you’ll need to do is re-heat them on the back side of the proto-cape. They should fill in the pin holes with solder holding them in place. Add more solder as needed.
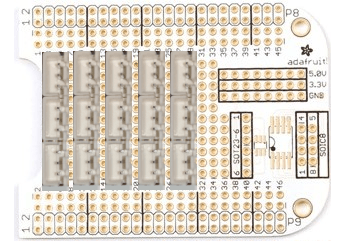
The back-plane wiring of my cape turned into a rat’s nest, but here’s a top down diagram for how I soldered each connector in parallel and then to its termination at ground, 3.3v, or data (pin 12).
Container Orientation, Sun Angle, and Sample Rate
For this shipping container, which is only used for storage at the moment, it’s orientation is pretty much set with North-South. For now anyways. As you can see from the drawing above it gets the full force of the sun in the morning and in the evening, not just mid-day. Only the data will tell if one direction is better than an other but in the end it might not matter due to the plans to paint, clad, and/or shade the final prototype container with a roof.
For the “live-aboard” shipping container the plan is to deliver the first of two new 40′ high cubes by mid-August and they will be oriented East-West. Not because we want to keep the walls out of the summer morning and evening sun but because the finished product will have solar panels on its roof with a southern exposure. For the time being, let’s see what data the Beagle can capture on the storage container so we can establish a baseline and find out which insulating methods work best.
For sampling frequency I’ve decided to go with 15 minute intervals, for now. My guess is temperature changes won’t change that drastically in a 15 minute period. As a side experiment, I might take one day where I change the interval to 5 minutes when there’s clear skies part of the day and then partly cloudy the rest. This may indicate if changes happen that quick or not. If it does, we’ll take samples more frequently. Which brings up more questions that we’ll need to test. See below.
Beagle Temp – Version SN2
Using CAT 5 cable I wired up three DS18B20’s internally mounted to the port side(East), starboard side(West), and ceiling using Gorilla Tape. I also connected two waterproof versions to capture internal ambient at head height and external ambient just outside the container but in the shade of the North side. I’m worried some heat on this outside ambient won’t be just the air temperature but some of the radiated heat coming off the container wall. I also took the time to mount one directly to the cape so we can monitor board temps in case there’s a failure of the board.
What’s Next?
Who knows, but we have more questions. I’ve got to get this out to the container and hooked up this weekend to get some data! Next post we’ll go over the changes required to the code and some new Pros and Cons I hadn’t expected. Until then, here are some new questions:
- How can we chart the sun angle automatically on the graph to show sun rise, sun set, and Culmination, also known as sun peak?
- How can we find out how much of the container’s heat is caused by radiation versus ambient air temperature?
- What about infrared heat from the sun?
- Would a solar cell connected to the Beagle show when it gets cloudy so we could chart the difference between a cold front coming through and the sun’s radiation dropping off due to clouds?
- Should I use monocrystalline or polycrystalline?
Update: 7/19/2020
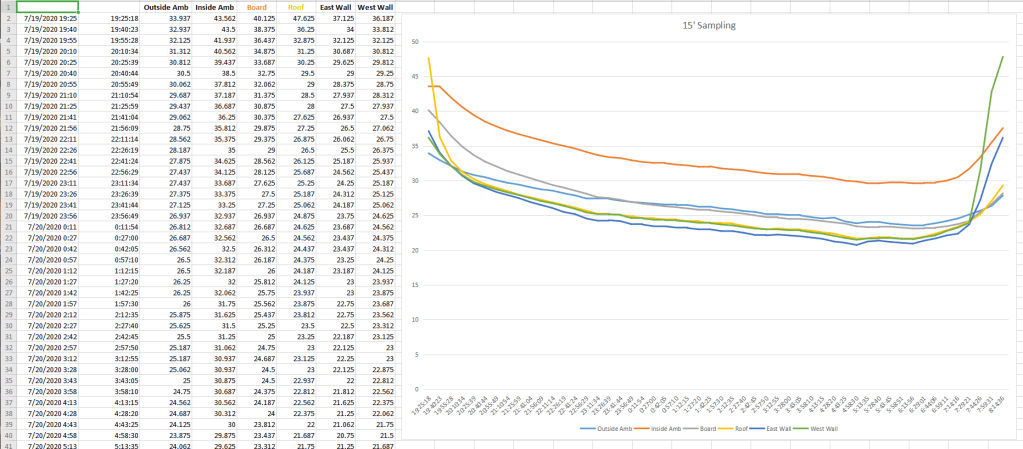
All wired up and gathering data you can see the container cooling off over night and then heating back up very quickly as soon as the sun comes out. Stay Tuned for more data, more charts, and of course…More Questions!
