
Cuts, Bucks, and What-The-
…InSoFast?
I know it doesn’t rhyme but it does roll off the tongue. It’s not as good as:
Ricky-Ticky-Tee…Kick ’em in the Knee!
-Unknown
Ricky-Ticky-Tass…Kick ’em in the other Knee!
But I Digress
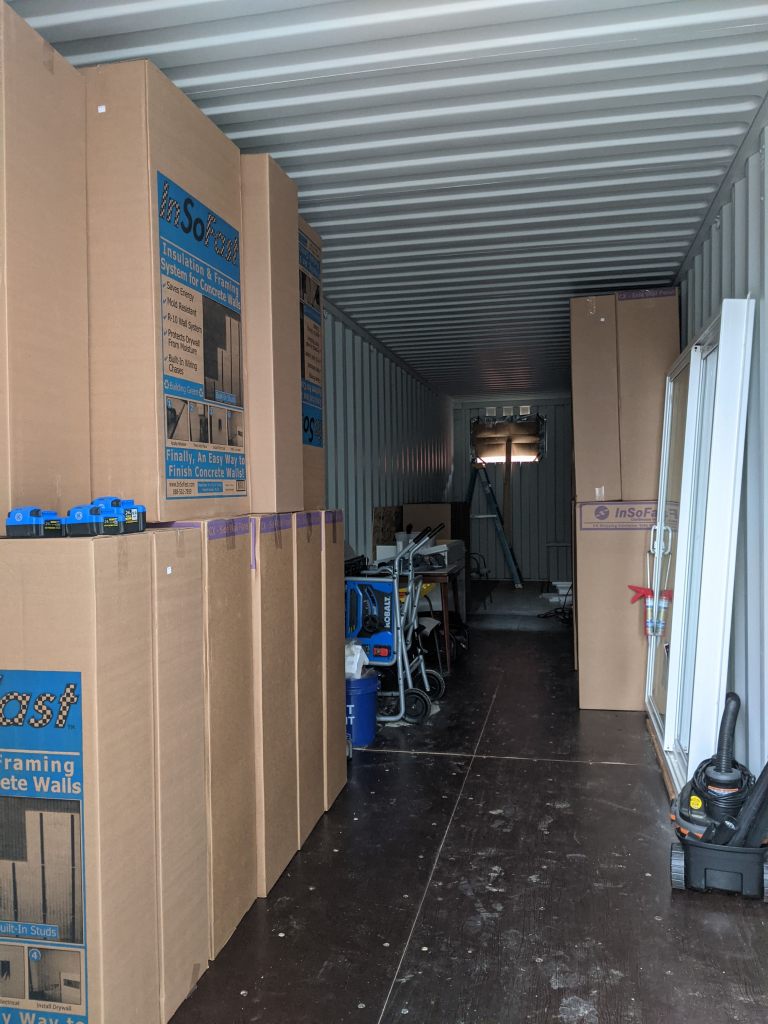
This month consisted of finding room for all three palettes of insulation panels and start with my first attempt at cutting a window opening. And believe you me I watched Ed’s window cutting and buck building videos/techniques several times before attempting one myself. Like most things, the first time is always the slowest, and seemingly the hardest. But the second window for above the kitchen sink took a fraction of the time of the first.
The Order
Paula was really helpful as they have the ordering process down to a science. She asked the dimensions of my container and how I might be cutting it for doors and windows and such. I explained that I only had one container to begin with but want to build with the second (and third) in mind with the LEAST amount of waste.
I suppose now’s as good a time as any to show the master plan for Phase 1 thru 3 so it will make sense when I describe how I told Paula what we needed.
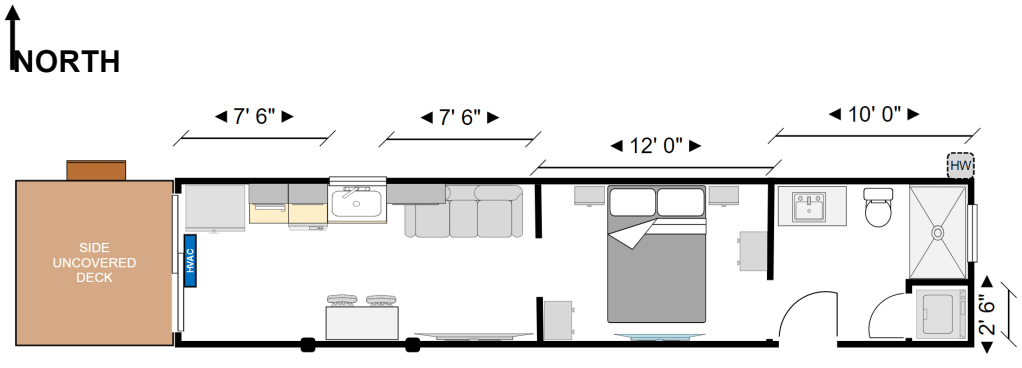
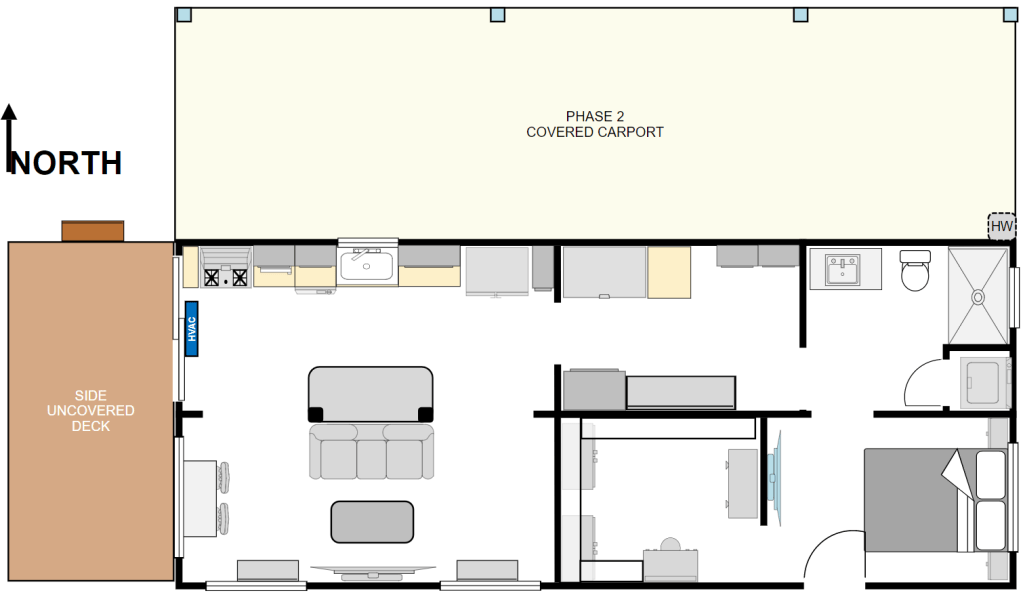
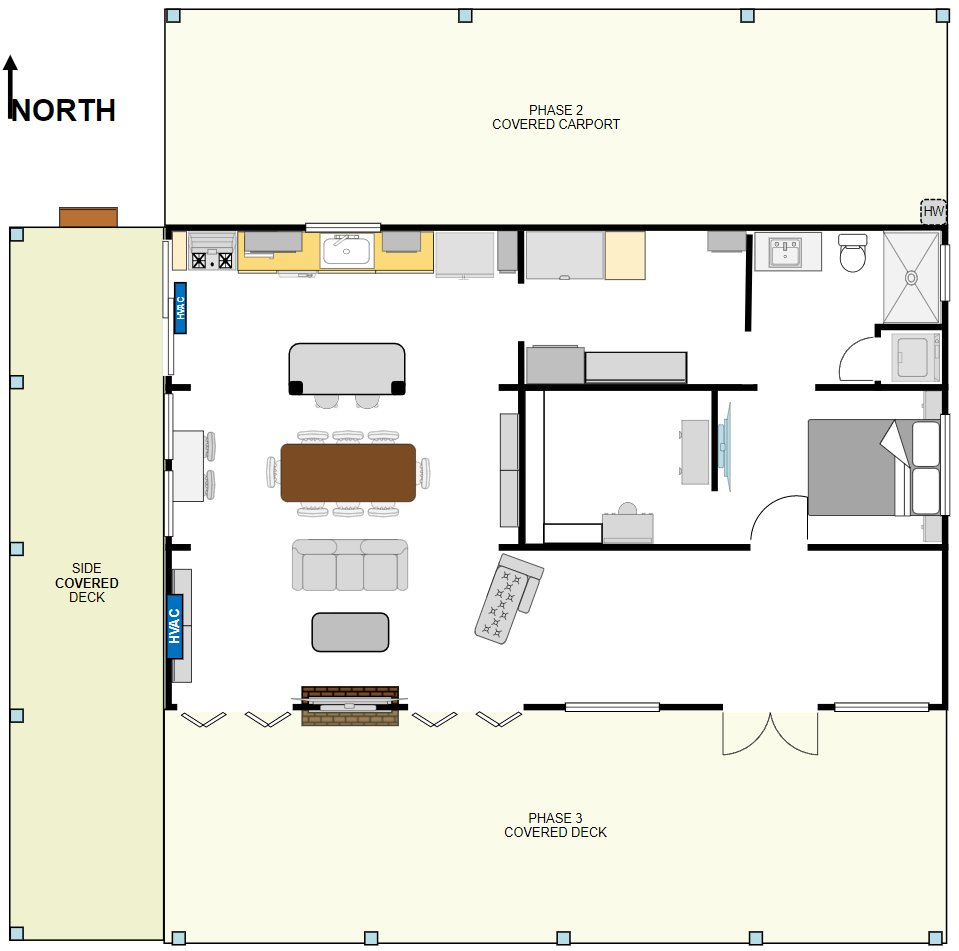
Now that you can see what Phase 1 looks like, and what we’ve got to plan ahead for, you can see that when we add the Phase 2 container we’ll be cutting out a huge wall section about 16 feet in length opposite the kitchen counter. So it doesn’t make sense to put permanent InSoFast on that wall just to rip it out later. InSoFast suggested using cheaper inserts, to create a flat wall, and then we’d simply put 1″ or 2″ thick insulation board up that we could glue some cheap paneling to in the interim.
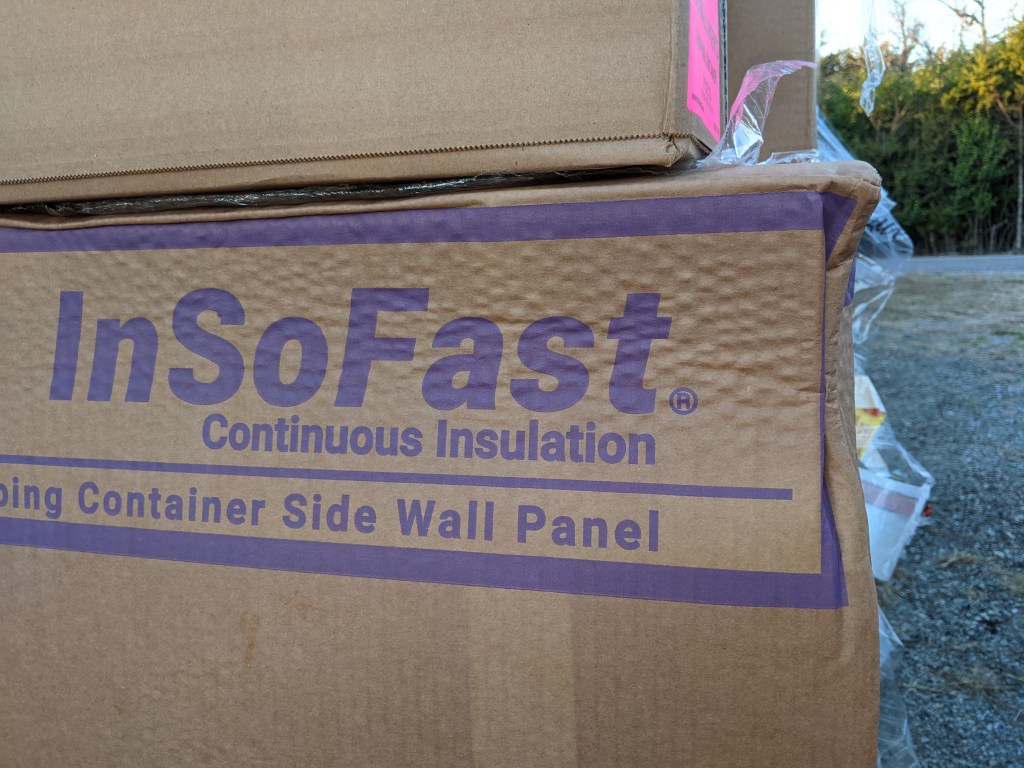
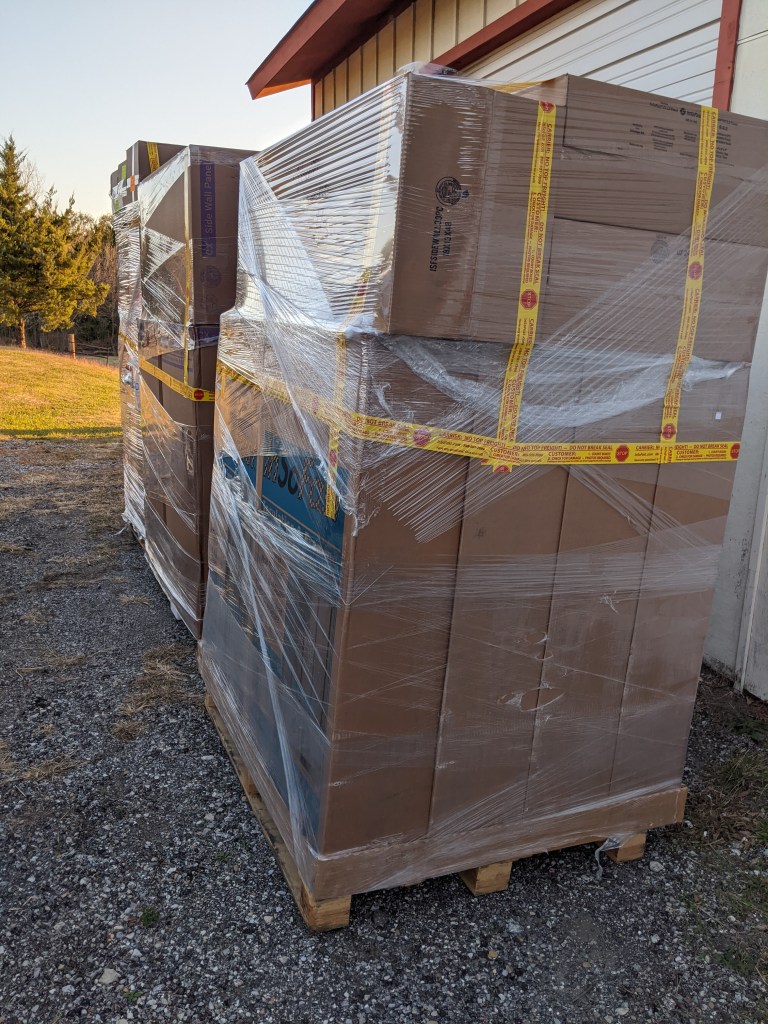
InSoFast Arrives!
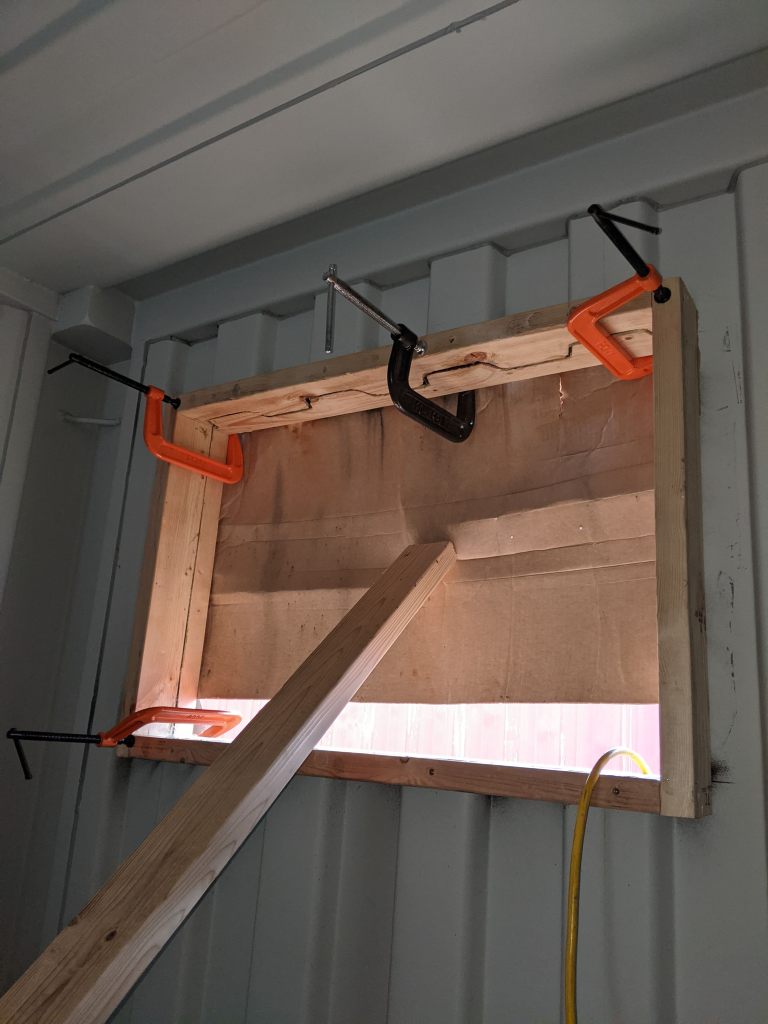
First Window Cut
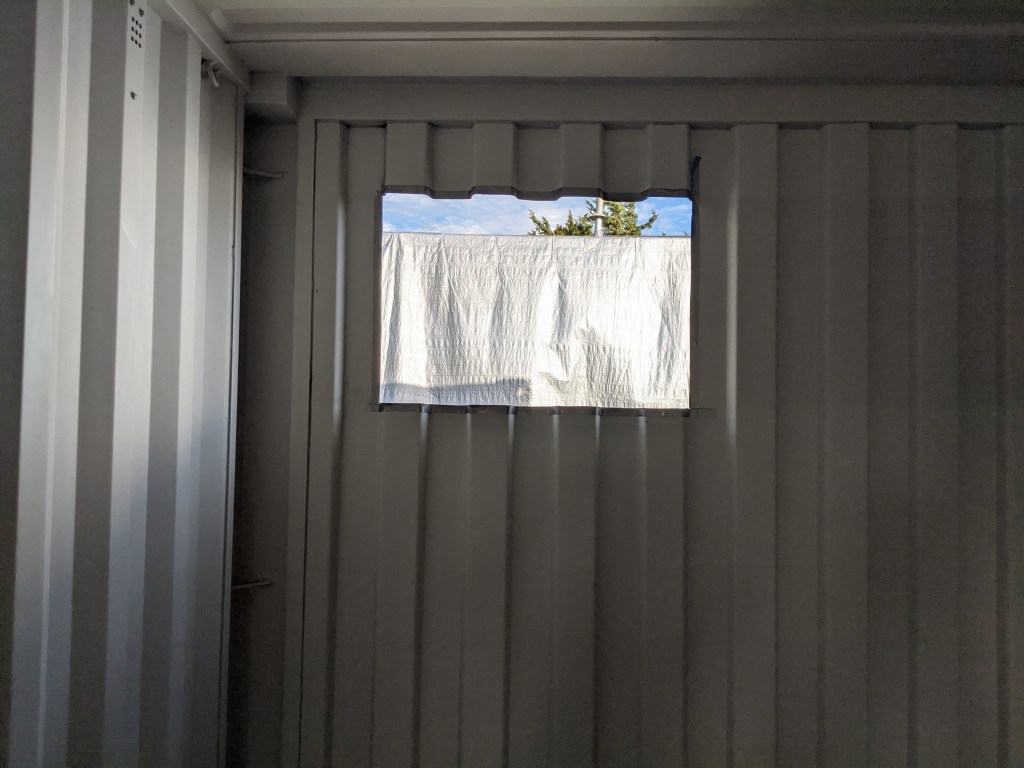
This window is off-centered and high up in the shower. Next, we dry fit the window before working on the window buck.
Using Ed’s video as a guide we screwed a “straightener” 2×4 on the inside before drawing our cut lines into the buck. Ed was right, the skin of the container is constantly under tension. As soon as you make any cuts, even small ones, the walls warp and begin to bow. So straightening them before building or welding on them is critical.
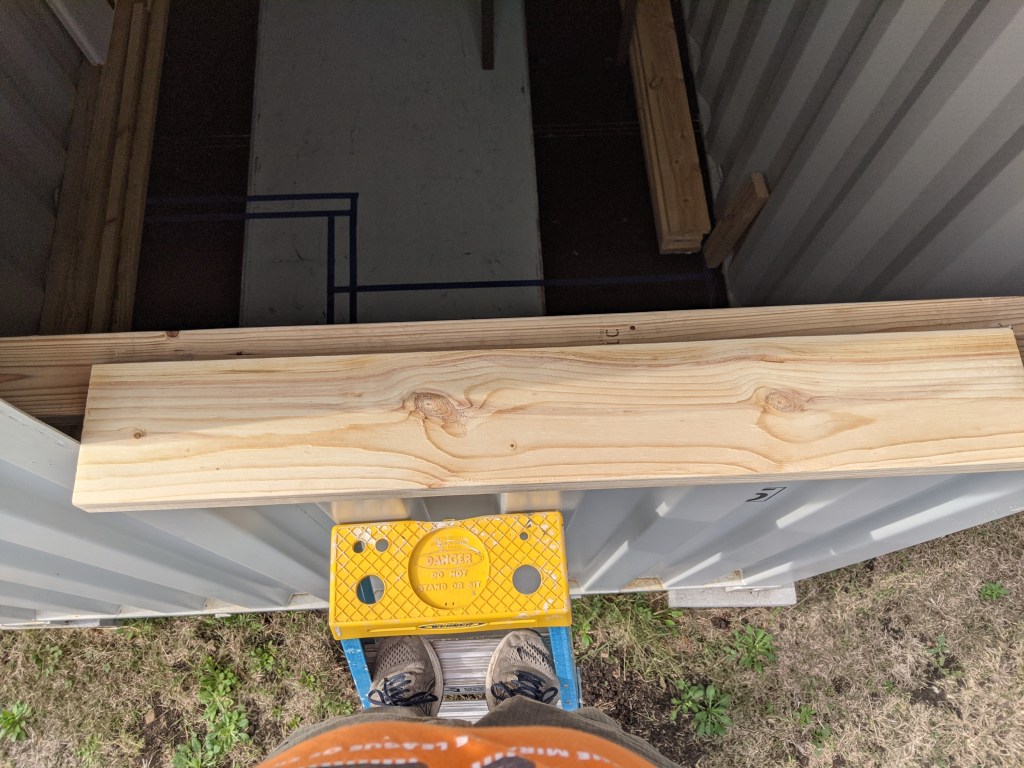
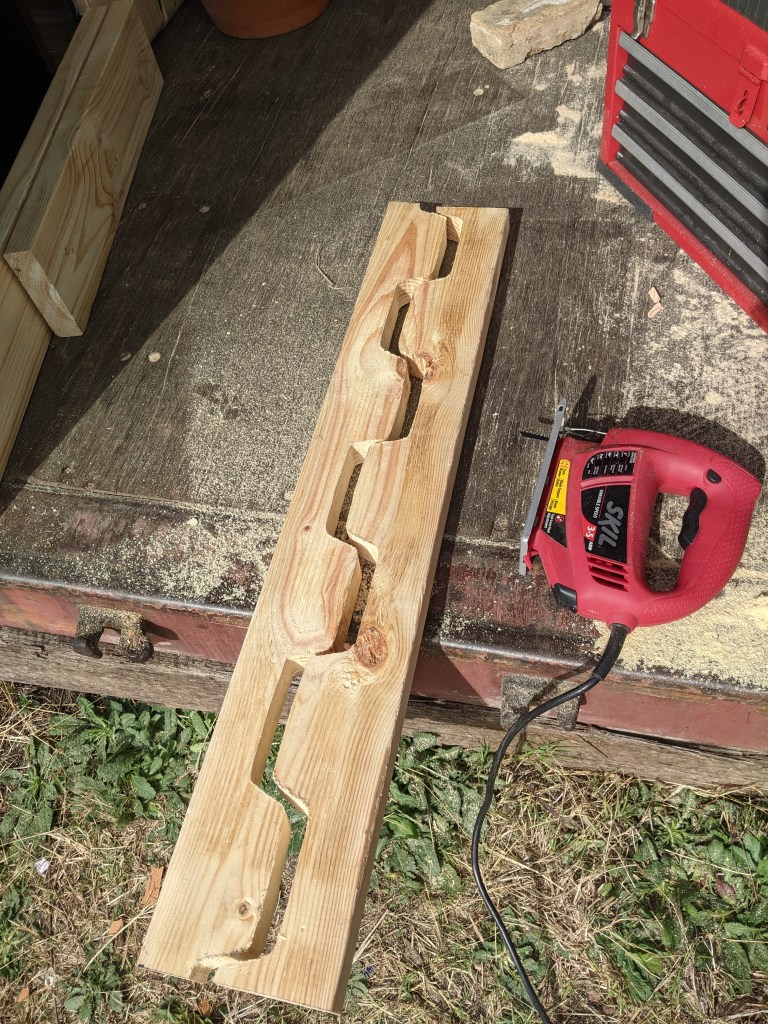
Then we cut and assemble the two halves of the buck.
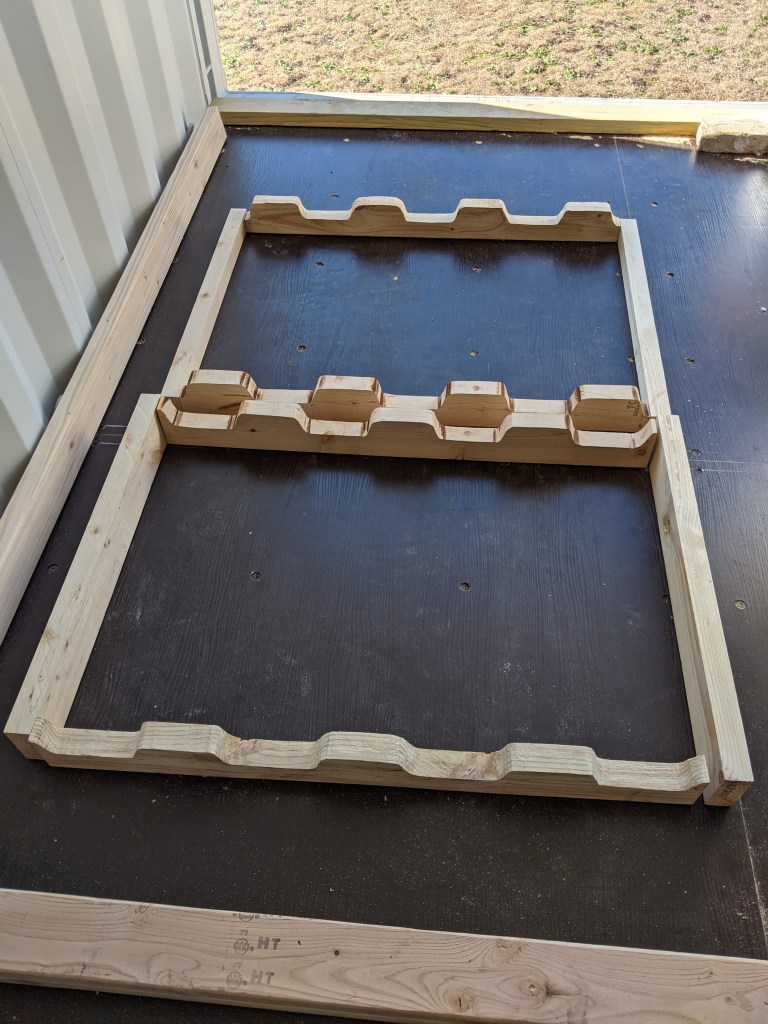
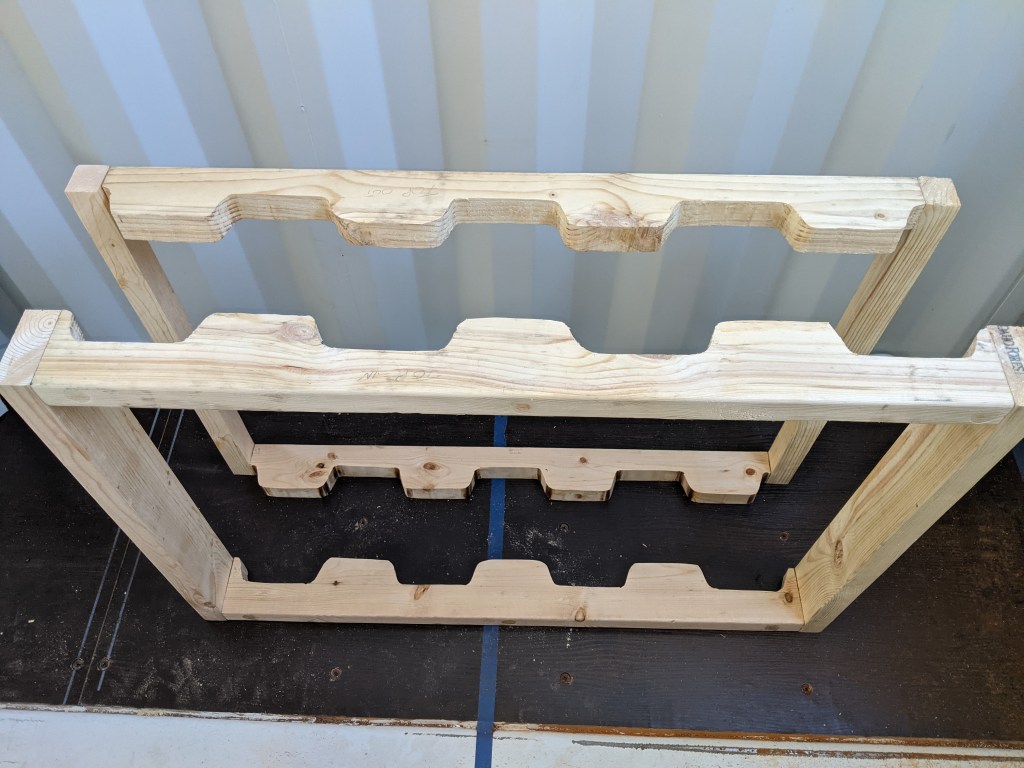
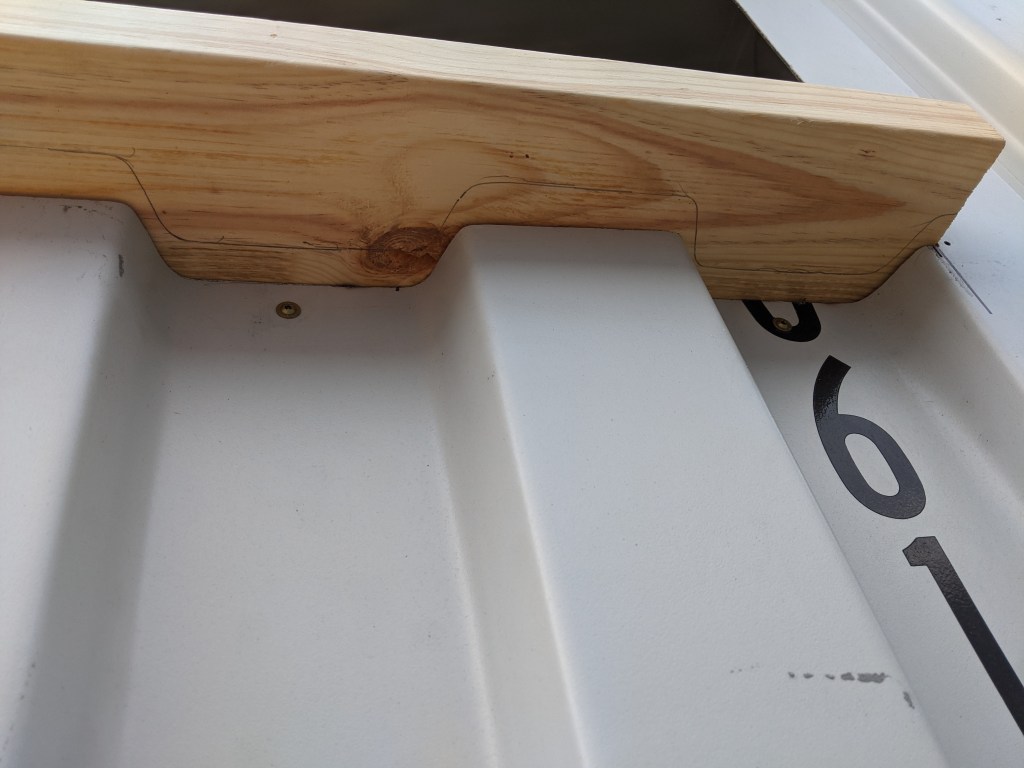
Luckily (actually I planned it more or less) the vertical 2×6’s could sit flush against the container wall on the flat portions of the corrugated walls. Not an easy task to line up and make the cuts work out. The kitchen window on the other hand will need mitered/angled cuts to sit flush against the steel.
Things are a tad tight plus we had to tape up some cardboard and wait out the rainy weather for a few days before we could finish installing the buck and window.
The jigsaw cuts won’t be perfect but with a few C-Clamps and a lot of glue, screws, silicone, and orange foam we made it work.
Don’t forget the flashing tape and if you remember, try to angle things so any water that hits the bottom sill will flow down hill and outside.

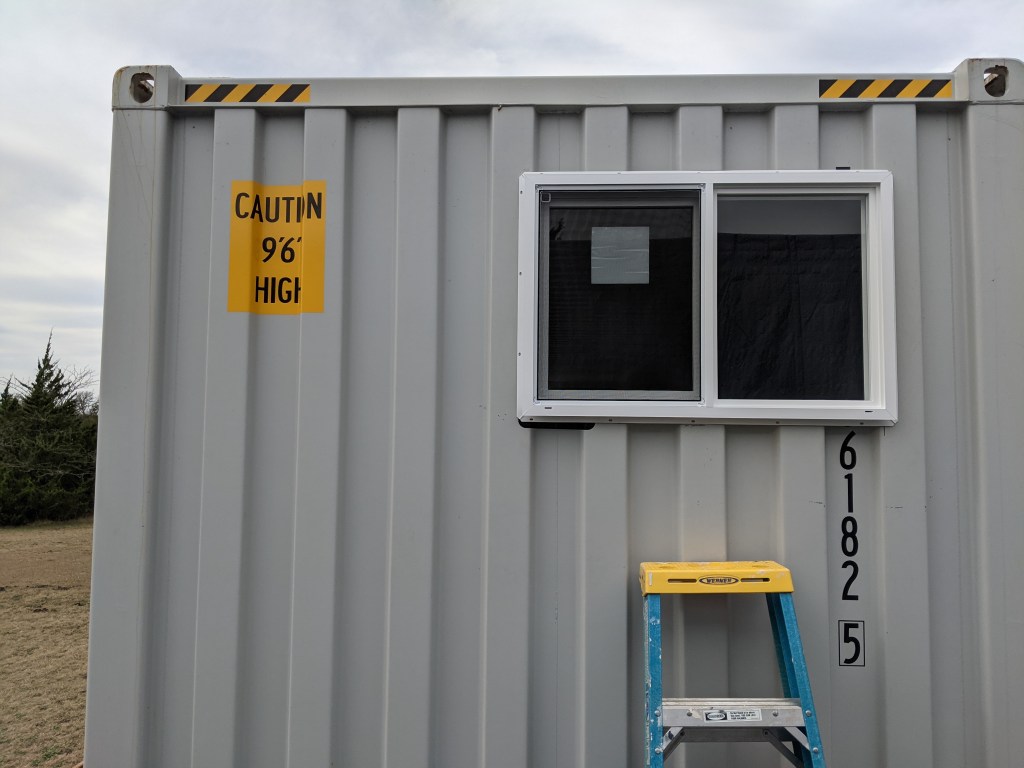
Then install your window making sure everything is plumb and level. Try to use wider tape than I did so you can cover the entire surface in the event any water gets under your window frame.
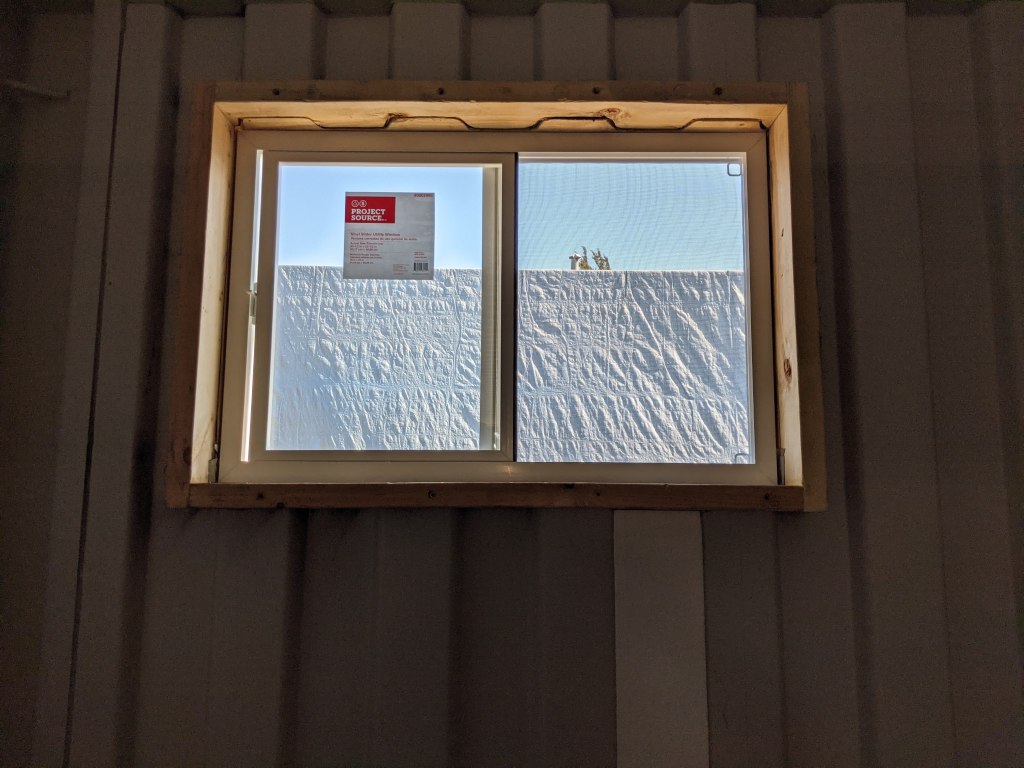

I didn’t get any pictures of the outside flashing tape but I’ll include some pics when we do the kitchen window. See y’all in next month!
