InSoFast Insulation Installation Time!
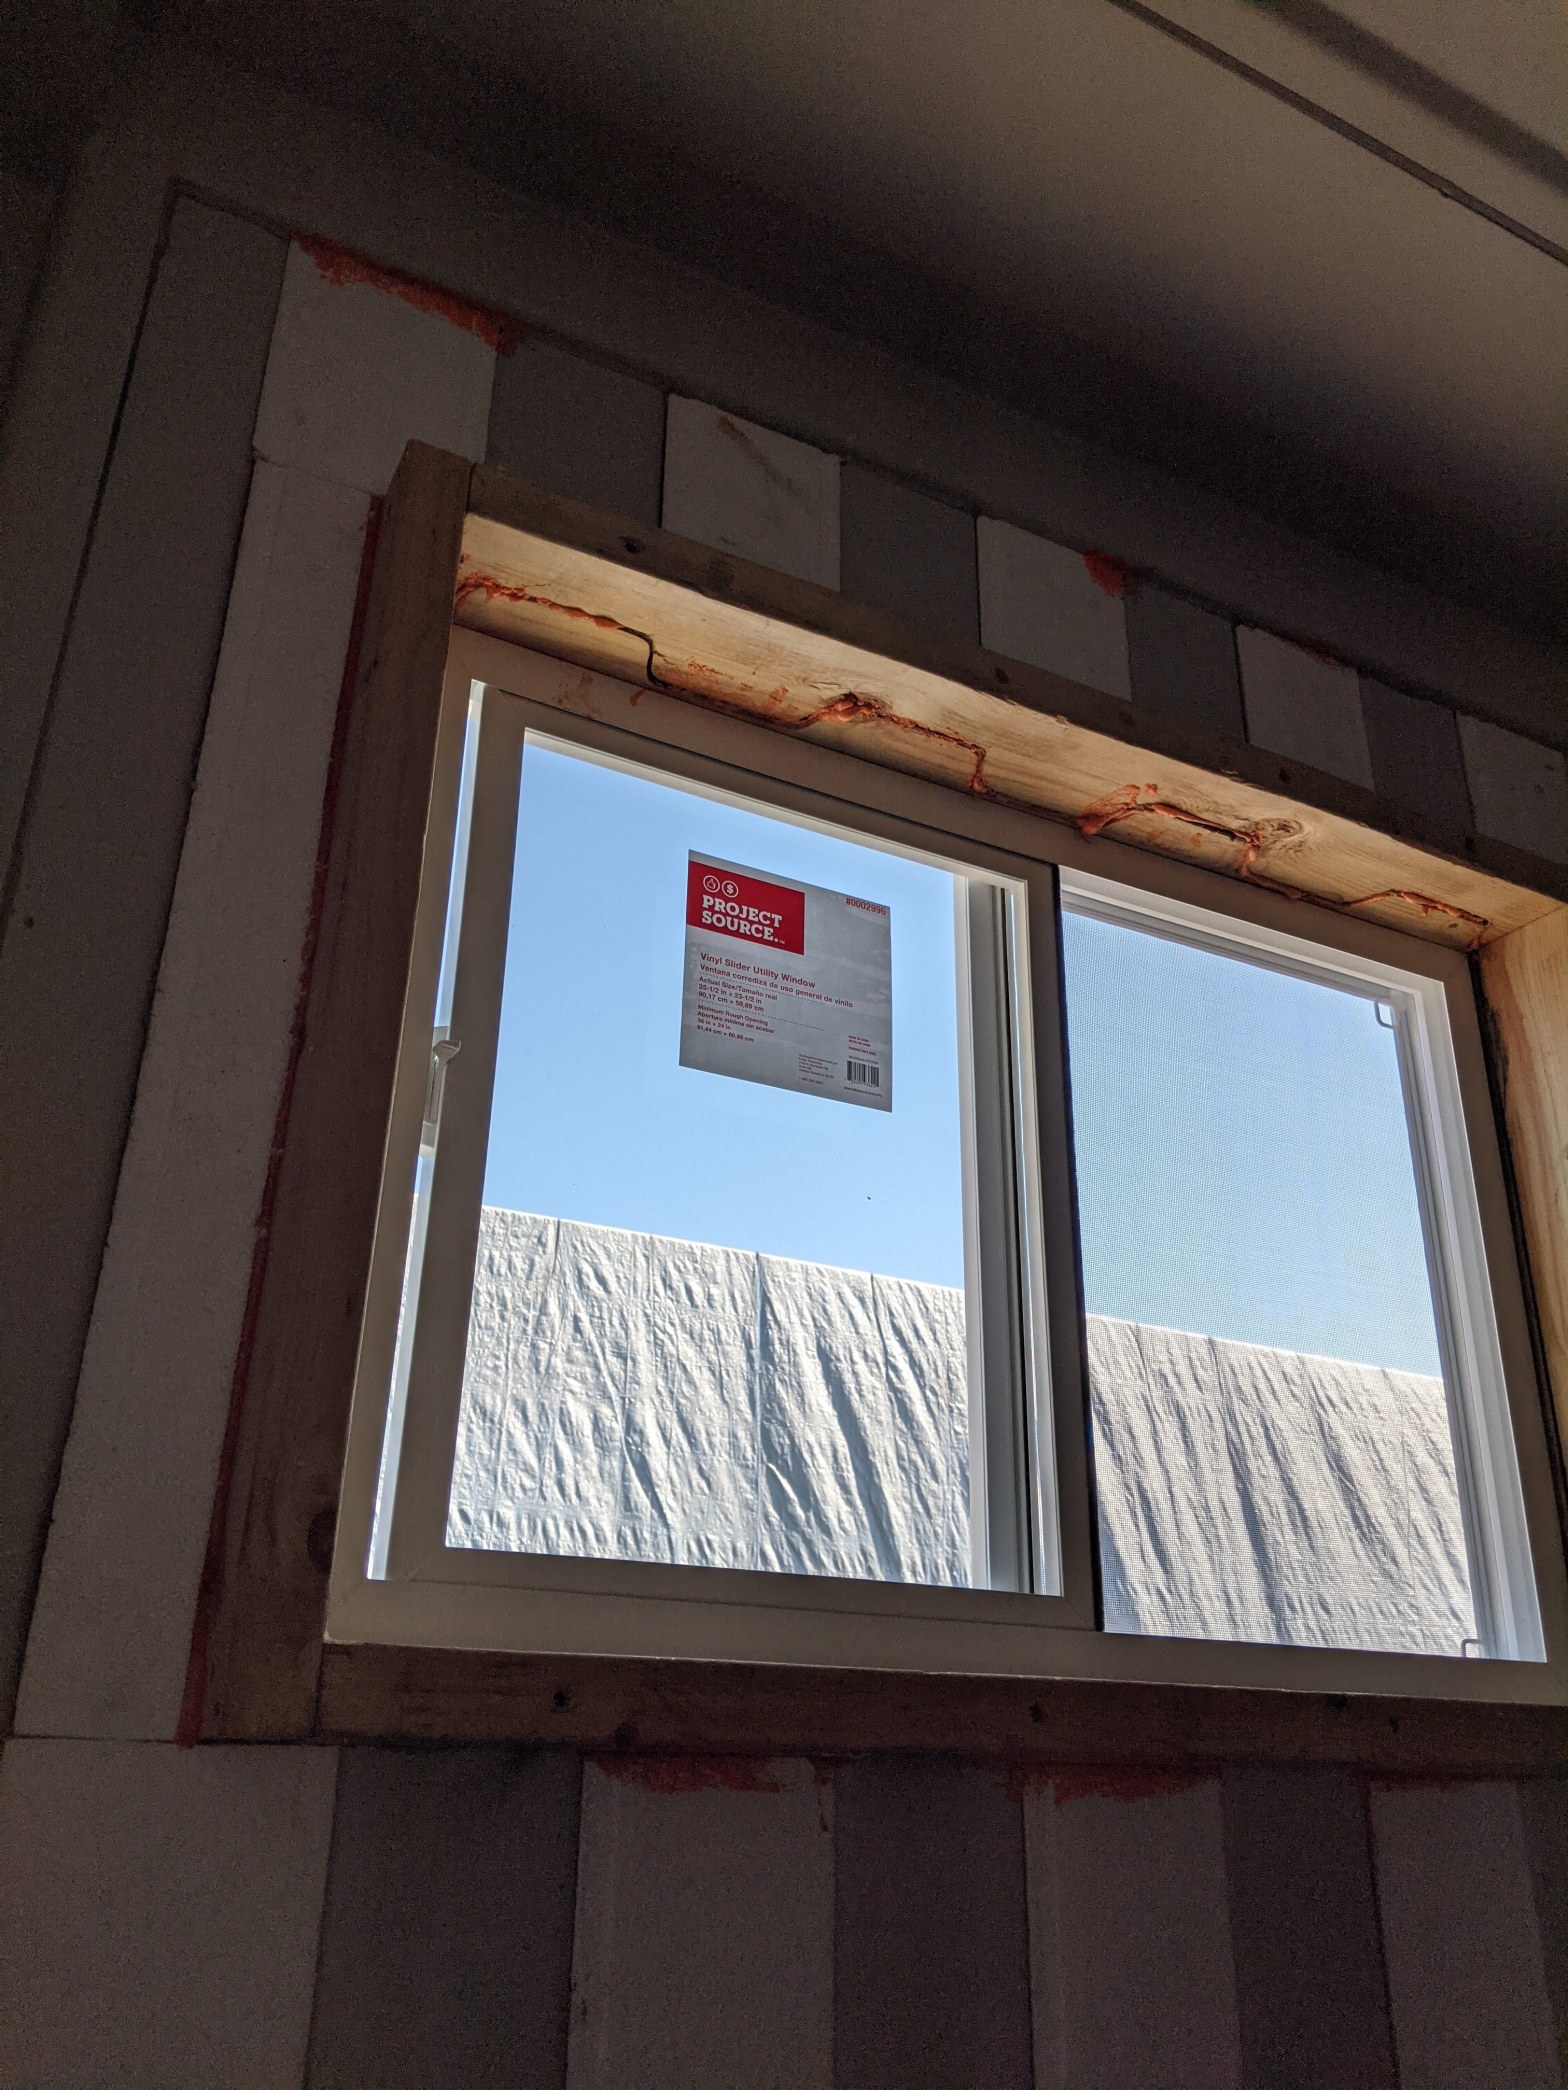
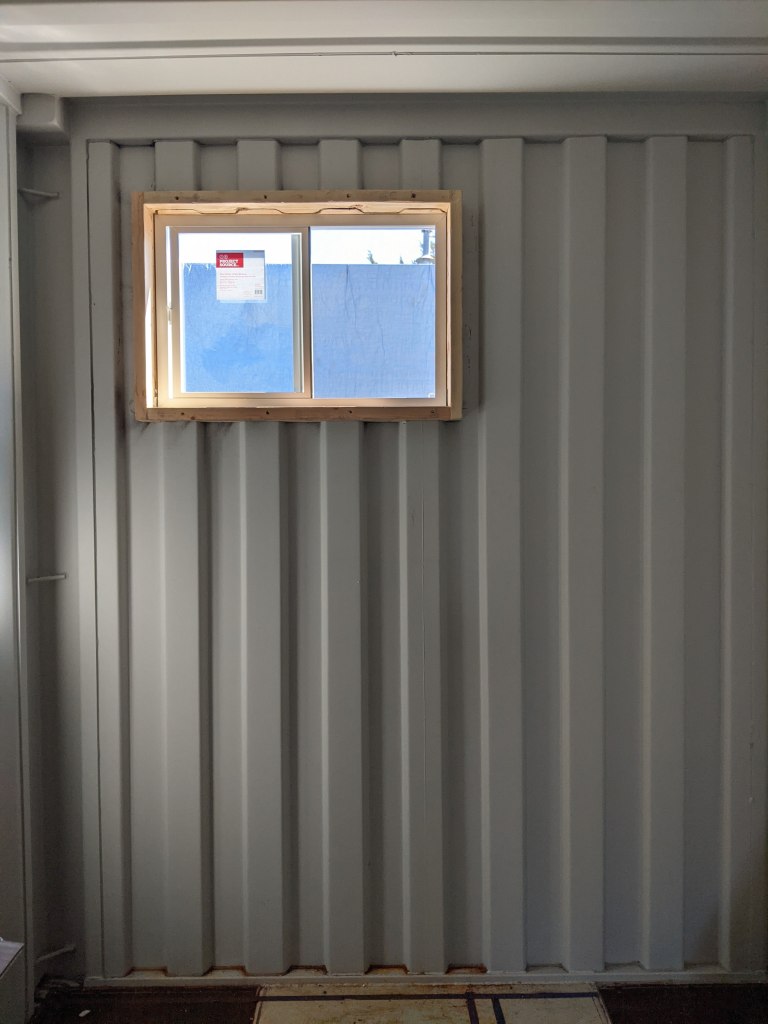
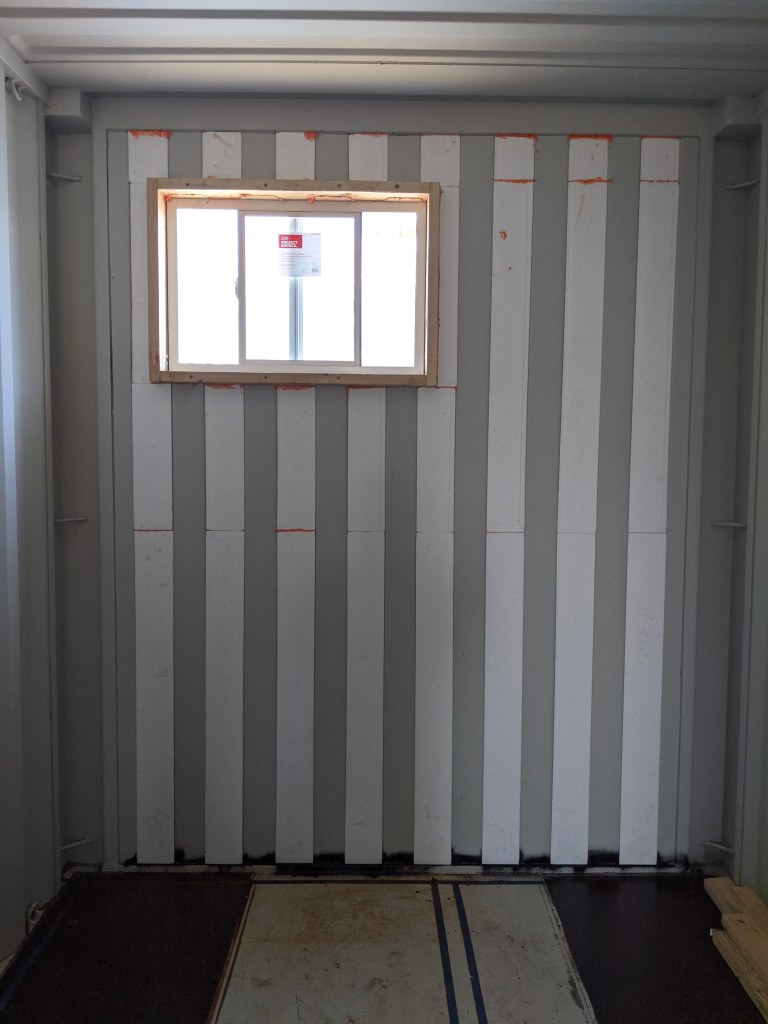
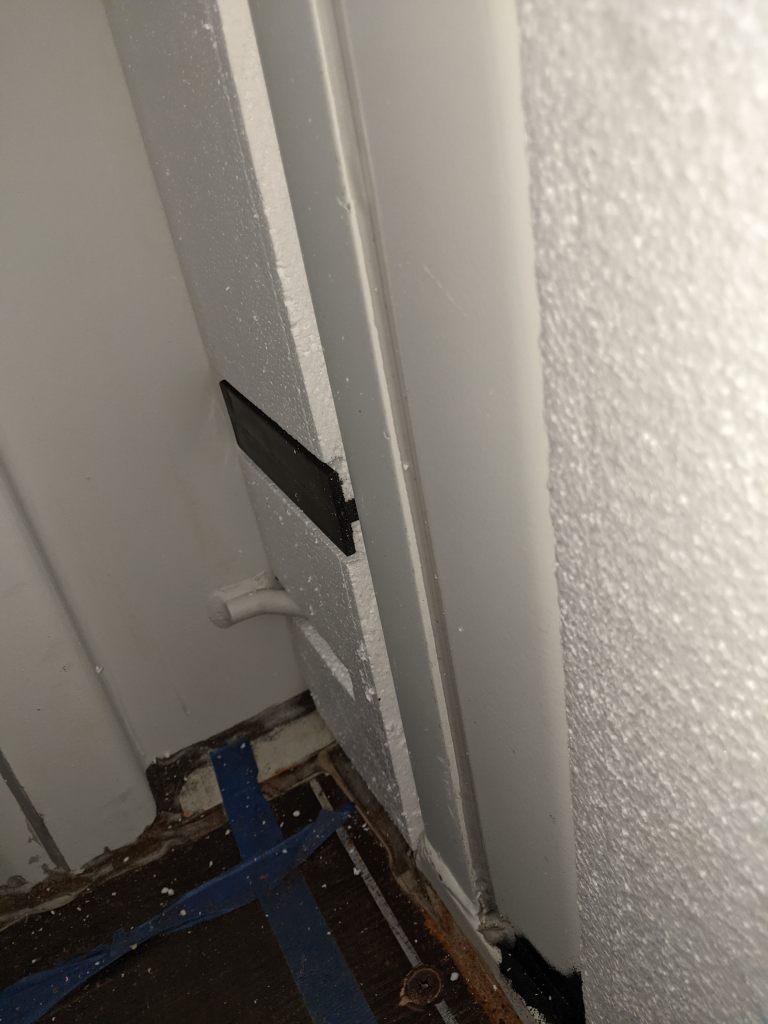
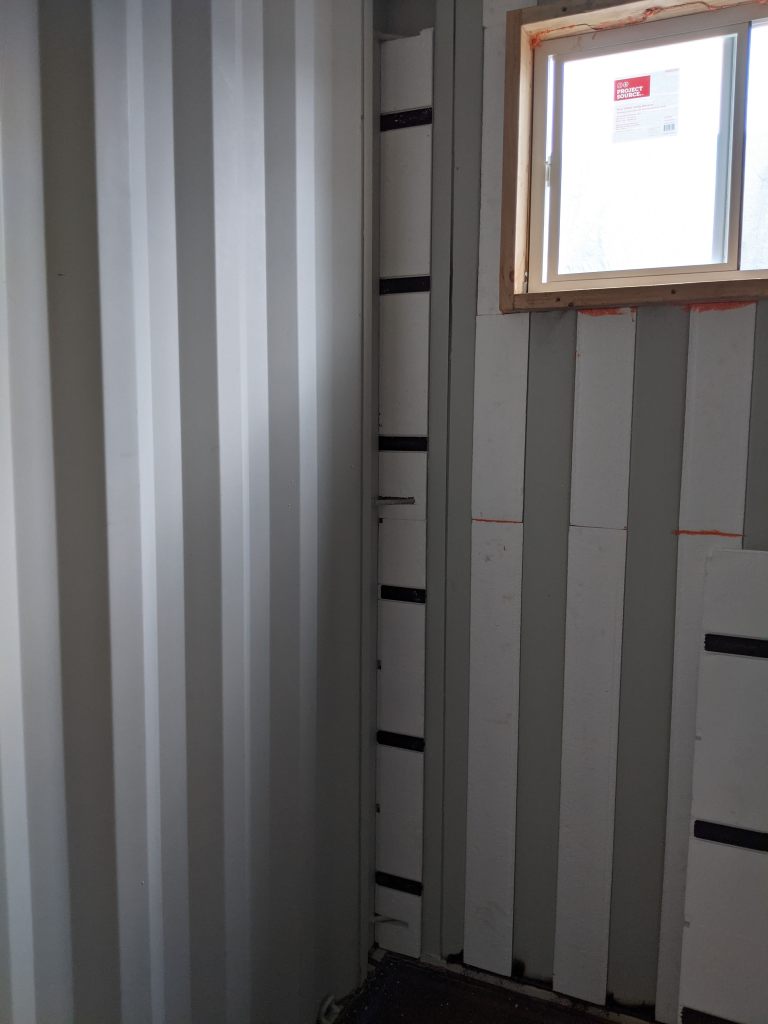
A picture’s worth a thousand words so here’s how the end wall (bathroom) came together. Pay close attention to the tools you’ll need to get your pieces just right so you get a snug and flush/flat installation. After all, these panels are both your insulation and your wall’s studs. In the end, the goal is “No Exposed Metal”. Don’t believe me? Leave a window open over night and check out what a morning dew looks like when humid air condensates on cold steel. It looks like horizontal rows of drippings the entire length of the container. Enough to soak up several towels. So yes, take insulation and sealing off the metal as serious as you can.
Always Dry-fit everything before you break out the adhesive.
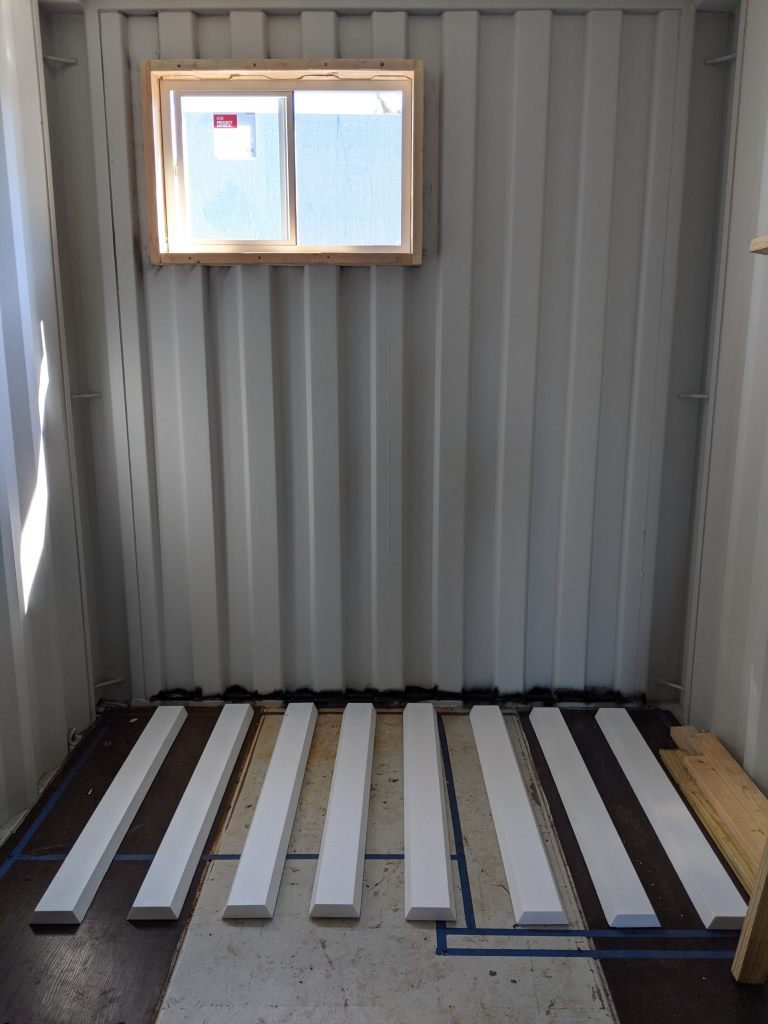
Then systematically add your adhesive and place according to your plan. It helps when you have one person gluing and one installing.

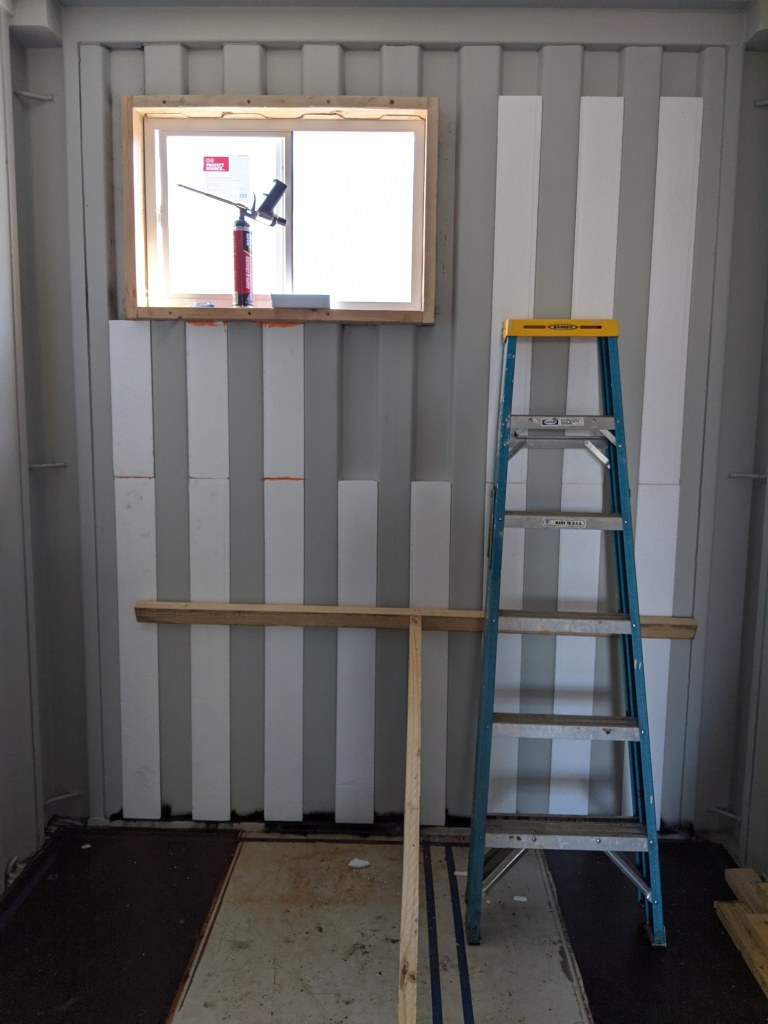
Don’t forget to fashion some support boards from spare wood so you can maintain a constant pressure as the adhesive hardens up. Just wedge your T-board against something heavy like a tool chest or cinder block.

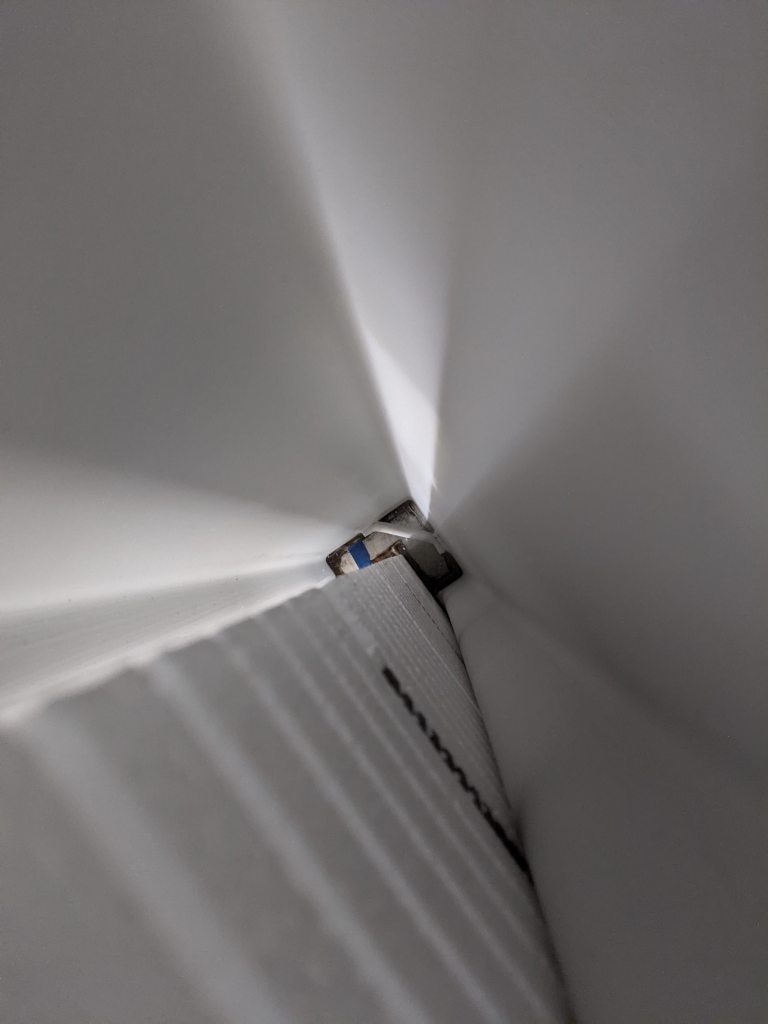
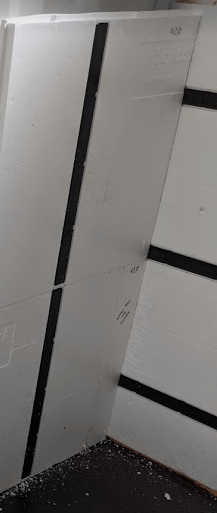
Even a ladder works in a pinch. Make sure to apply orange gap sealant between ALL pieces and ALL layers of pieces where exposed metal could find an air gap. I went kinda weak in mine but after watching one of Ed’s videos I saw that more is better. You can always cut off any excess that oozes out and hardens.
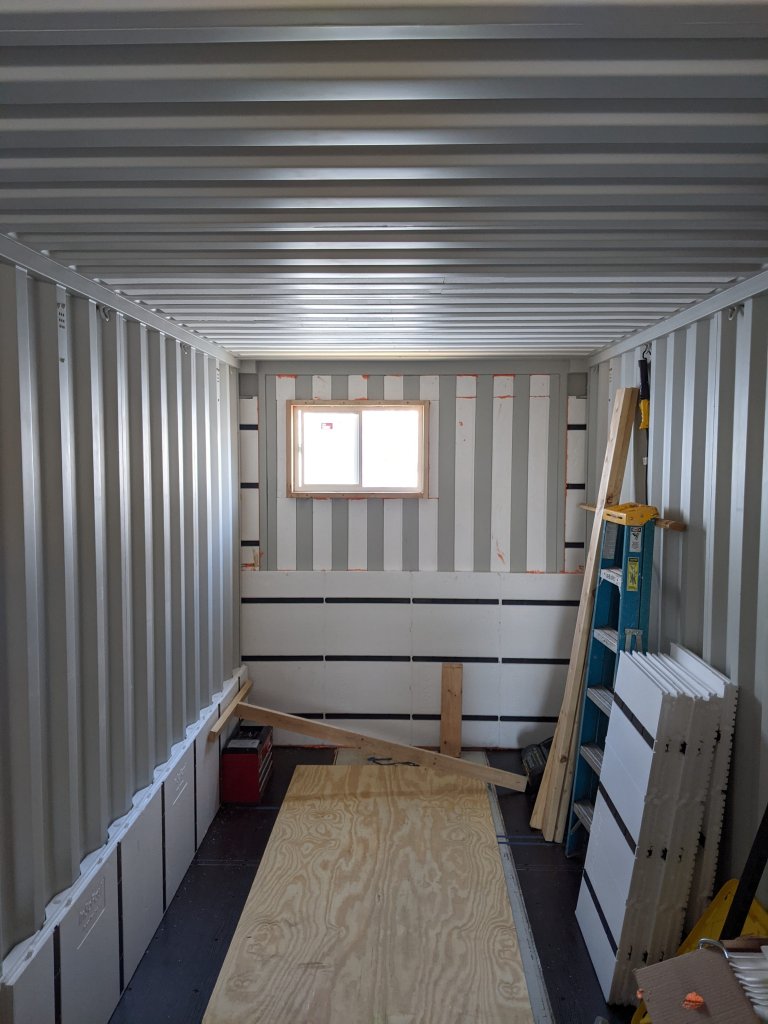
First section of inserts is done!
Now the fun begins. Custom cuts and filling in gaps like the following:
A dry fit showed me what pieces I’ve got to cut to fill in this gap.
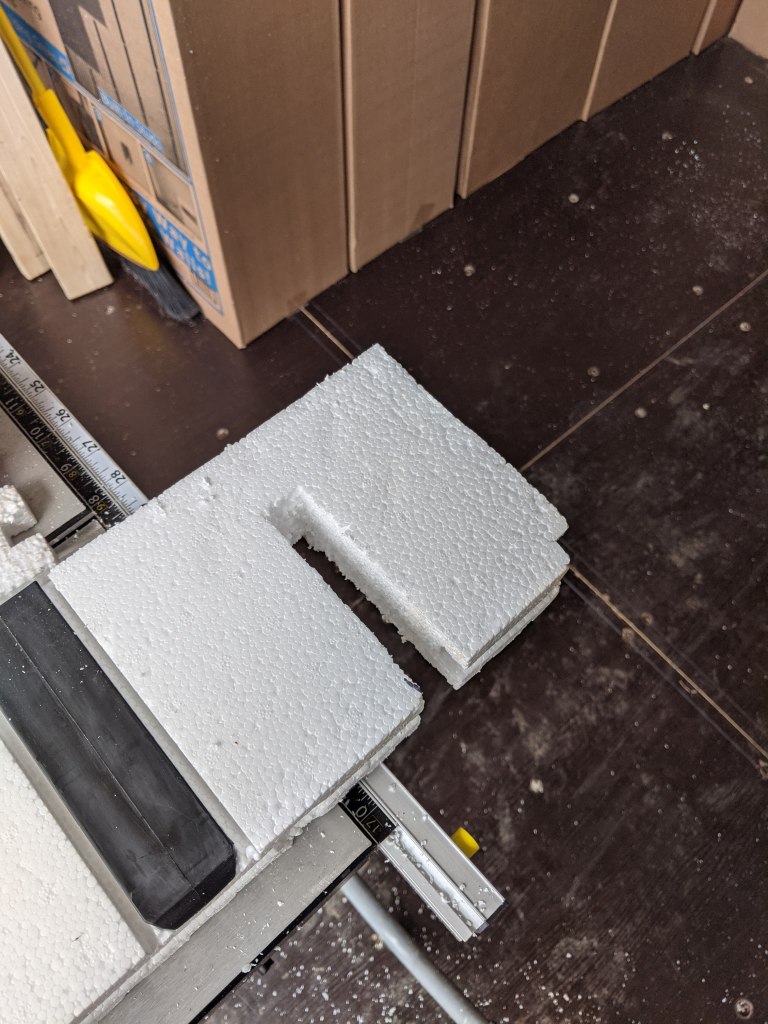
Hmmm…Not quite right.
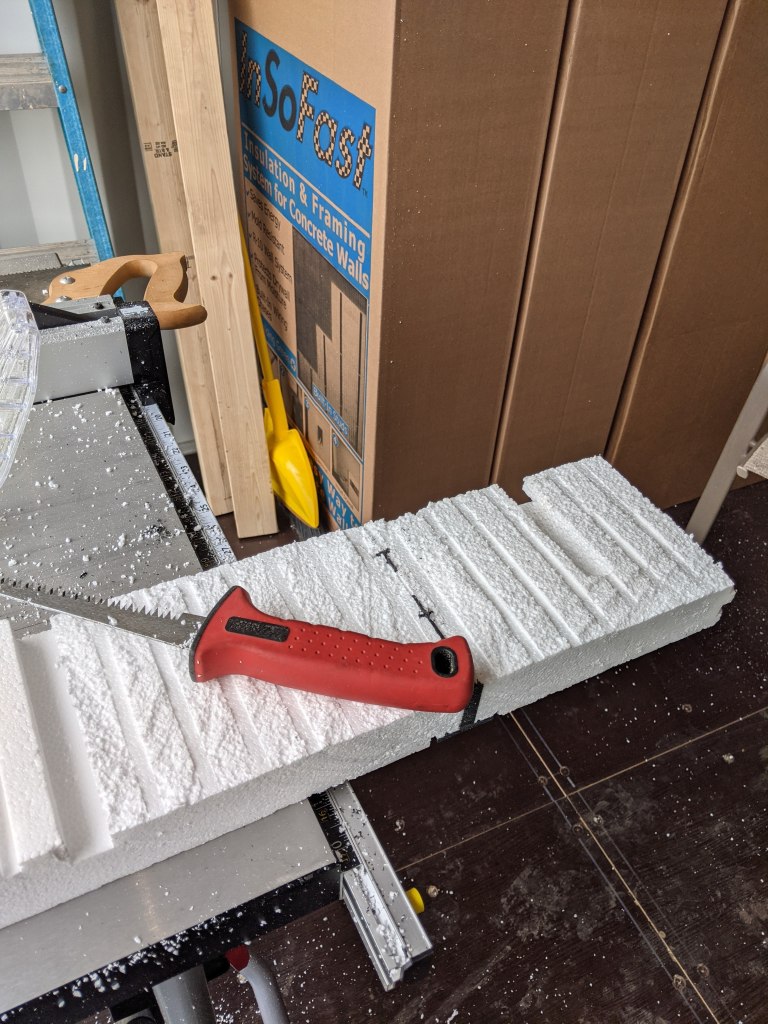
These are just a little too thick. Dry wall hand saw to the rescue!
That’s better.

Now to do the rest all the way up.
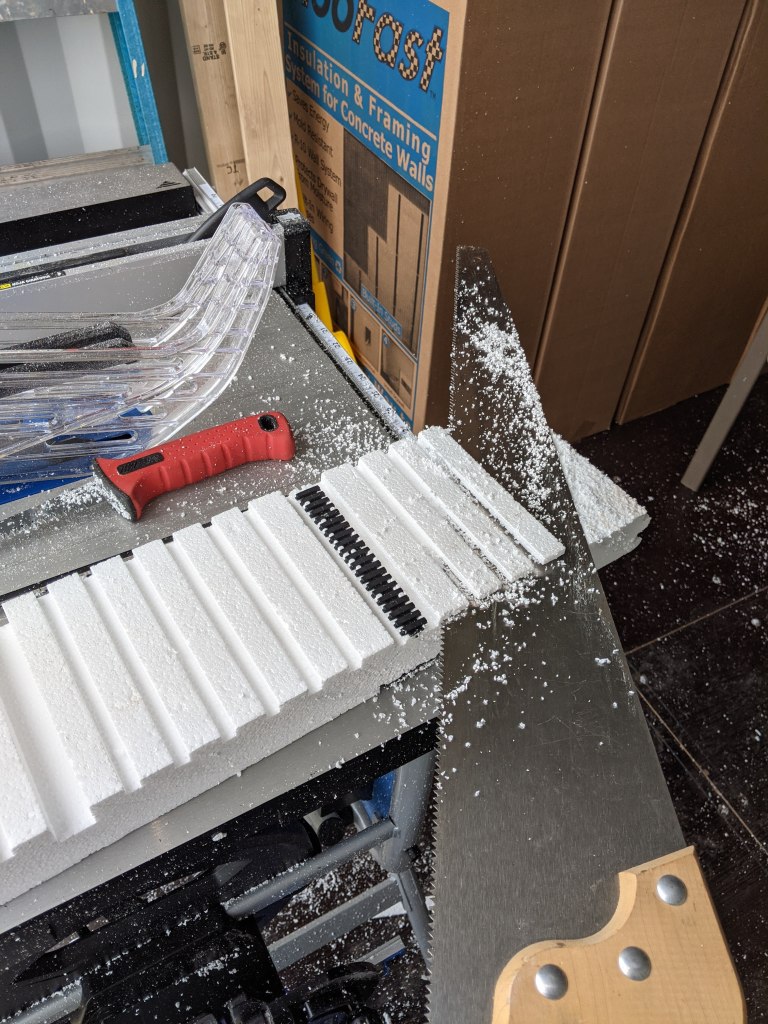
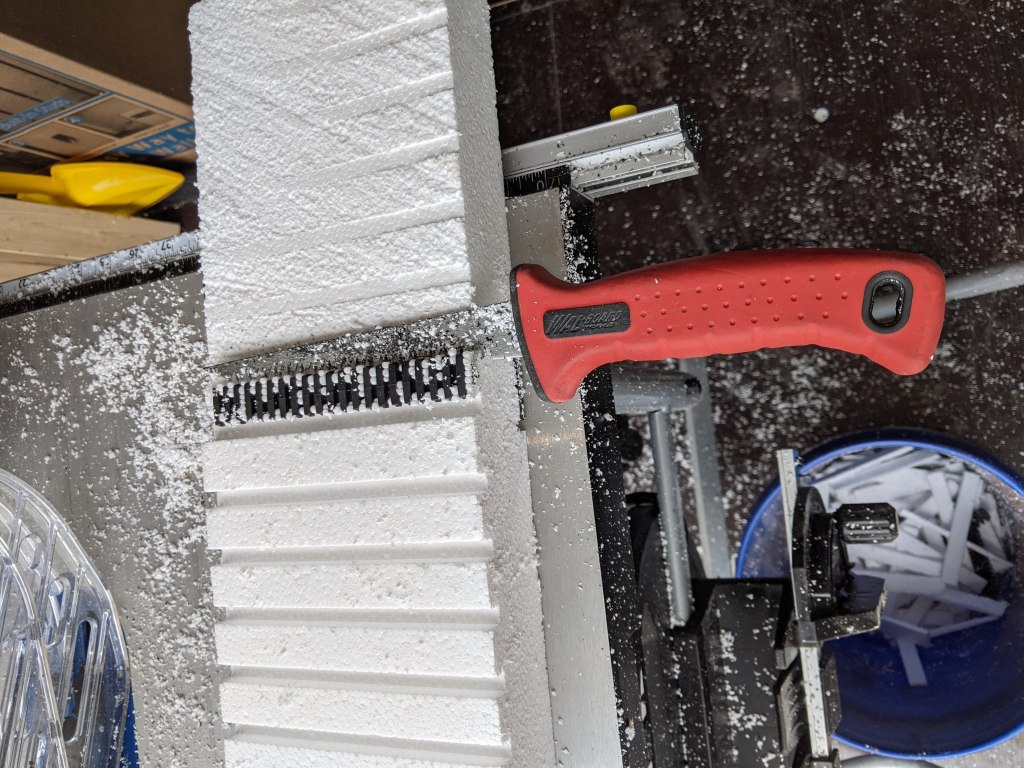
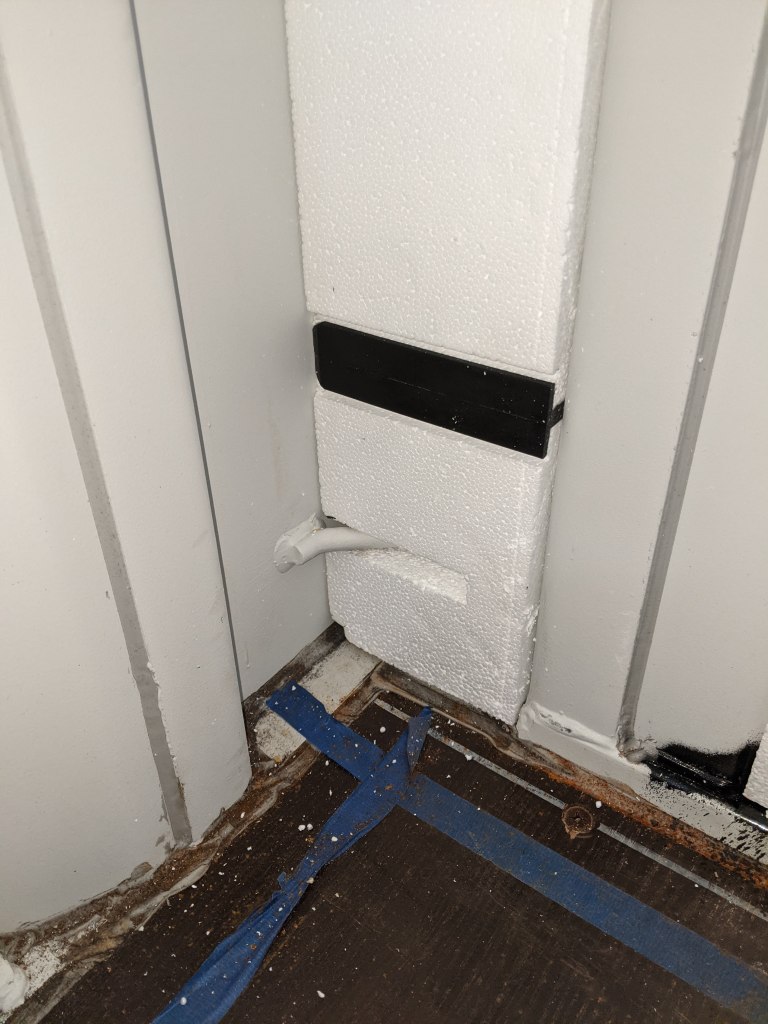
A big flat blade is best for the closed cell foam while the drywall saw is great for the “comb” side of the plastic stud.
Note: I’m not using these studs for mounting anything.
Dry fit everything first and then install with adhesive.
Now for the flat-back wall pieces. Not sure why but all of Ed’s videos show him installing these sideways compared to the corrugated side wall one which he installs horizontally. Oh well, mine is not to wonder why…
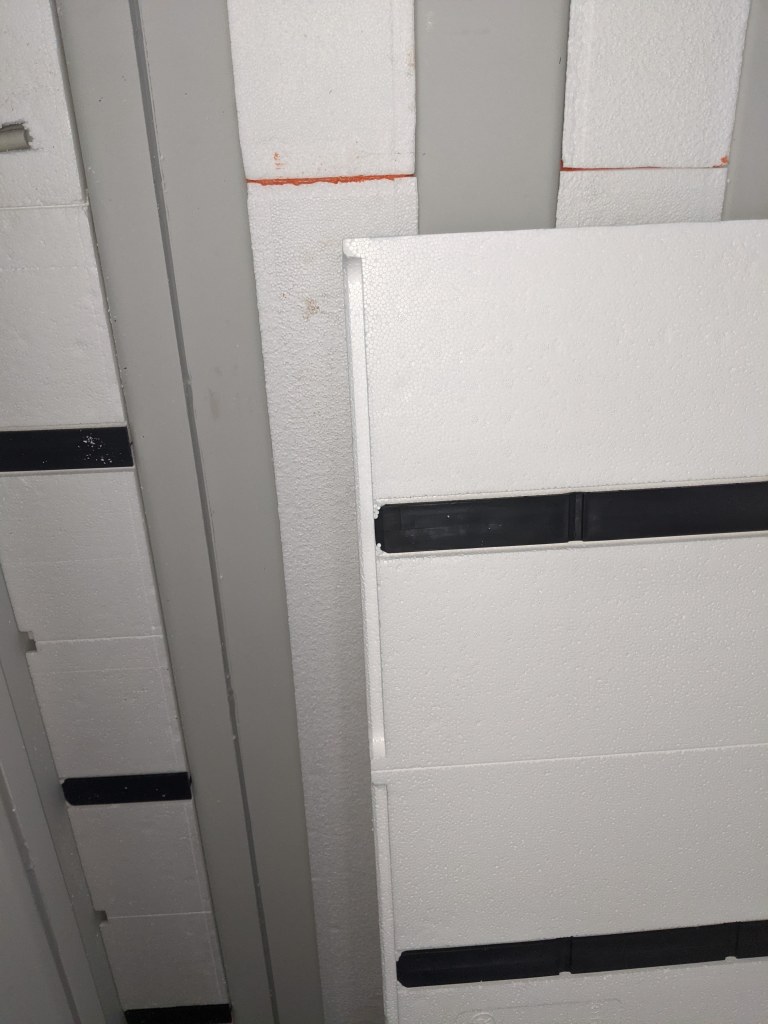
But I’ve got to cut off the tongue part of the T&G so it has a better flush fit into the corner.
Dry fitting reveals part of the container juts out slightly, creating a gap behind the insulation. That won’t work.
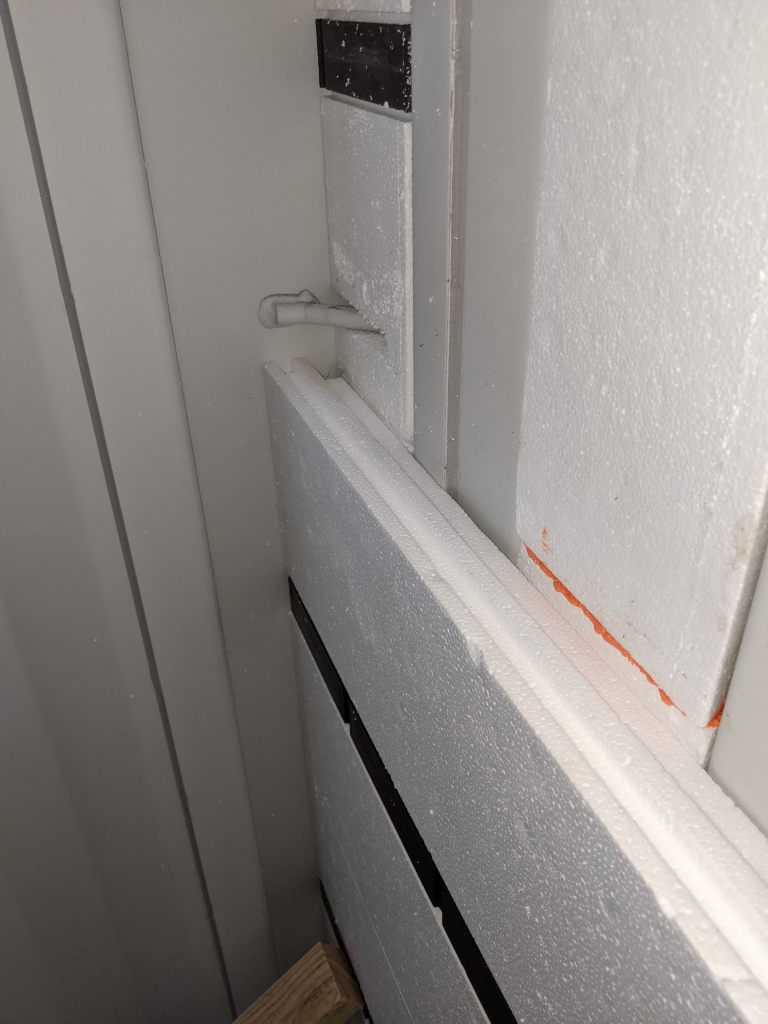
This is where having a sanding block to notch in the insulation a bit will help it fit flush. I couldn’t get a good pic of it but imagine shaving about 1/4″ from the backside about 6 inches from the left corner all the way down. Cutting a short piece of the “comb” just in the corner was also necessary and the gap just disappears.
See that rectangular gap in the corner? You can fill it with scrap to support what comes next. And you’ll need to cut the left end (~4″) of one of the side panels to take advantage of T&G with the first panel on the bottom row.

.
The small piece will fit flush against the back wall.
NOTE: Numbering your pieces during the cutting and dry-fitting will help you put them back up quicker when you start applying adhesive.
As each gets glued in place, I underline the numbering sequence so I know which ones are glued and which ones aren’t.
Wedge in your T-bar until everything dries and only do one row at a time so subsequent higher rows don’t cause lower rows to bow out. I know this goes against some of Ed’s videos when he does an entire wall in one go, but whose to say he’s not going back and shoring up supports after the camera gets turned off?
While the end wall’s first row is drying, why not start on the North wall’s first row?
One last trick for this month
See the ceiling skinny flute-like pieces I’ve already started installing? Well, when you’re not ready to put on any more wall pieces but you still have a little adhesive left in your tube, use the remaining to install some of these flutes.
See y’all next month as we continue the North wall!
