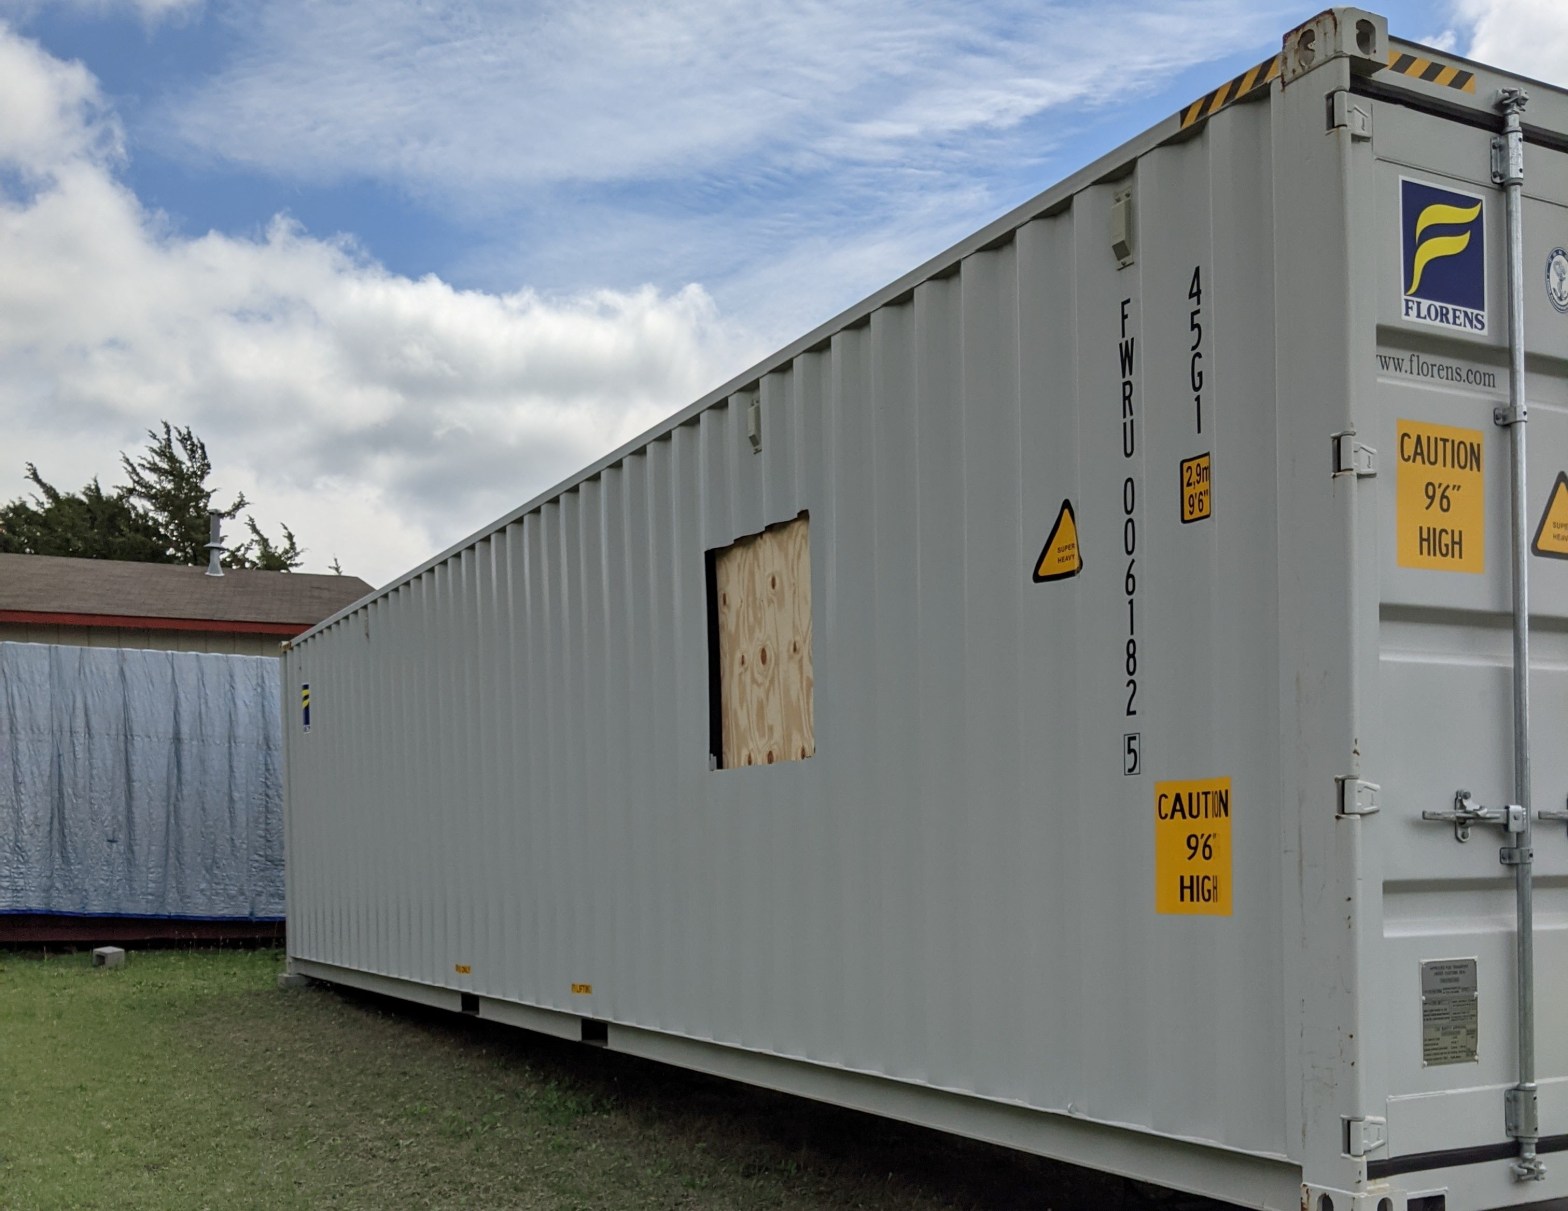
Another Window. Yes! And hopefully the last cut for a little while.
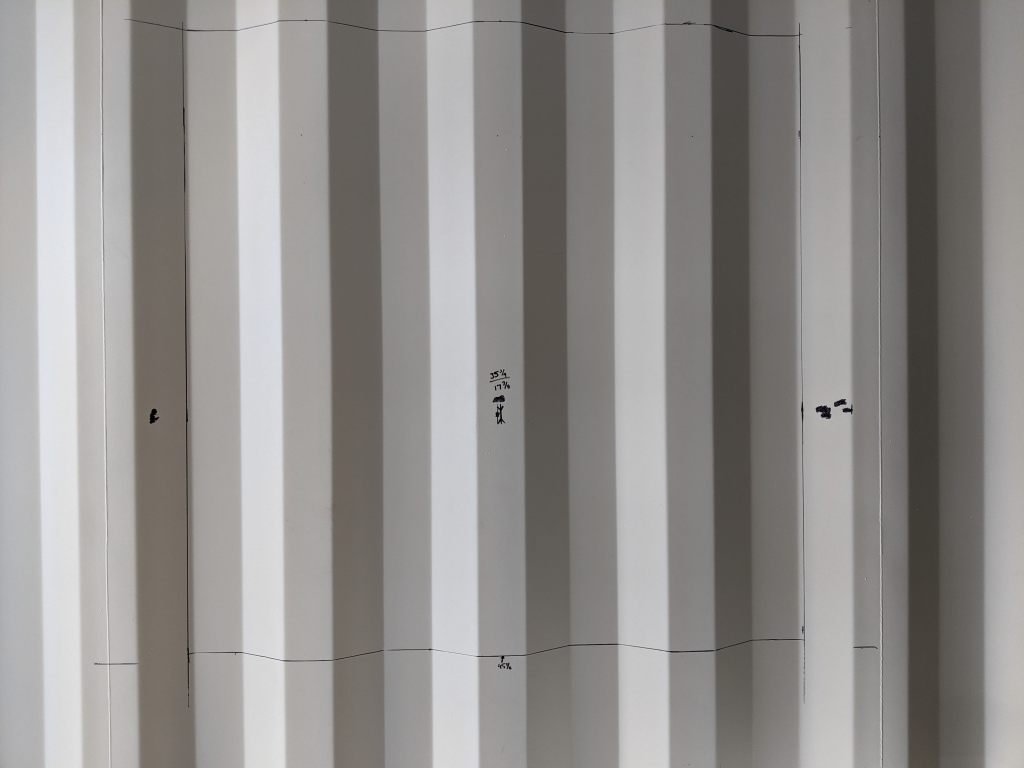
Draw Your Outline
Using your rough opening measurements for the window you’ve purchased, draw your opening being sure to make it level and square. The easiest way to do this is measuring from the floor and ceiling on both sides. The other important thing to keep in mind is centering your drawing in such a way so that the left and right vertical window buck boards will have either a flat or angled (and usually mirrored) cut. This will make more sense when you see the buck halves in a minute. For now you should notice that the left line is at the edge of a 45 degree angle inward and the right line is doing the same but 45 degrees inward in the opposite direction, mirroring each other.
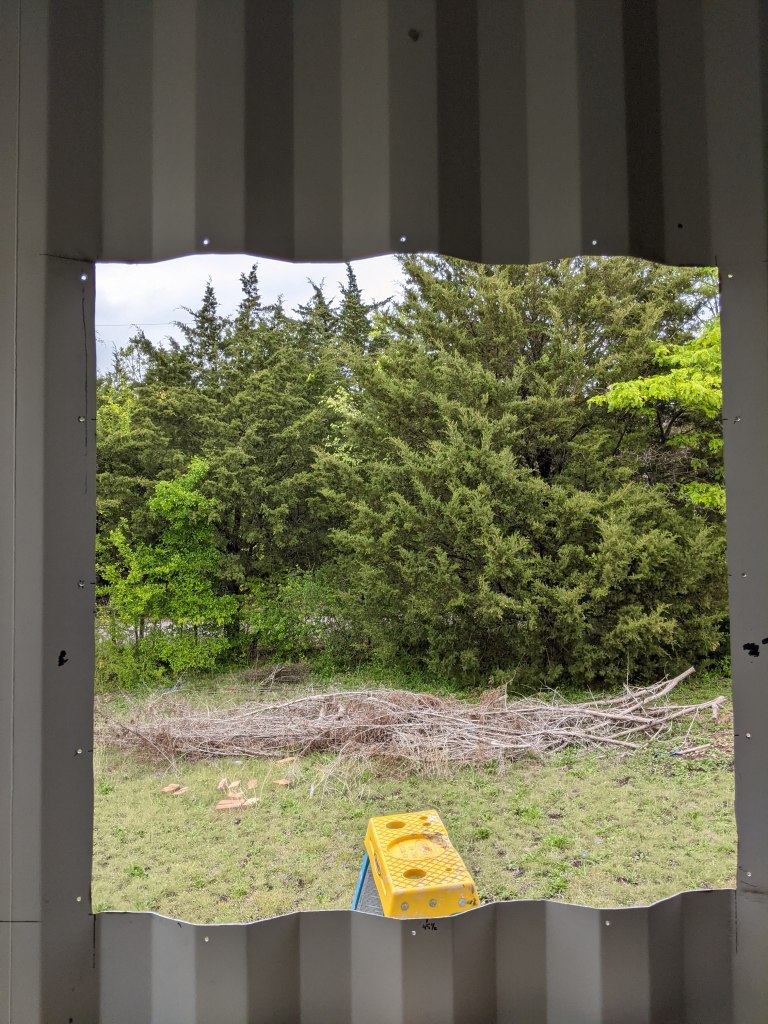
Use a cutting wheel on your grinder to cut the four corners and then just use a reciprocating “Sawzall” to make the long horizontal and vertical cuts. Note: leave yourself a little piece at the top left and right so that you have something holding it up until you’re ready to snip those off at the end. Use your grinder to smooth out the edges and check for level. If your container is level and the measurements you took earlier were accurate, then your hole should be square and level.

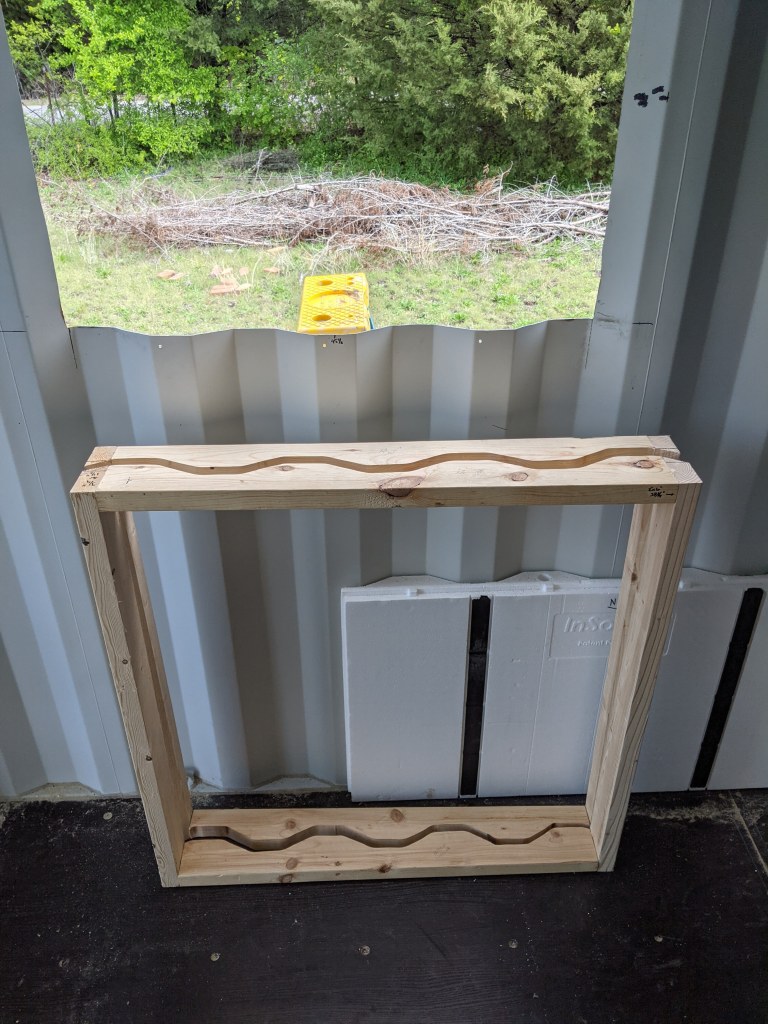
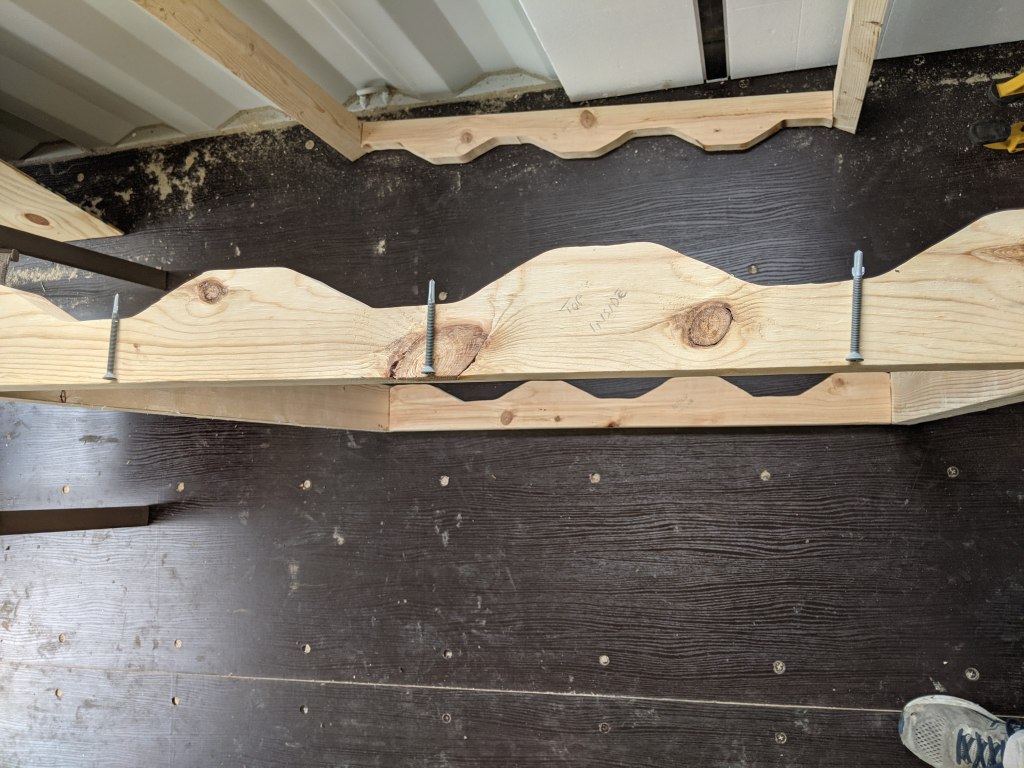
Drill pilot holes for your window buck frame and secure a 2×4 to the bottom to pull the now-bowing wall back to straight so you can draw a perfect line on your 2×6’s to the corrugation of the wall. Just like we did on the bathroom window. Break out your jigsaw and create your curvy window buck boards, top and bottom.
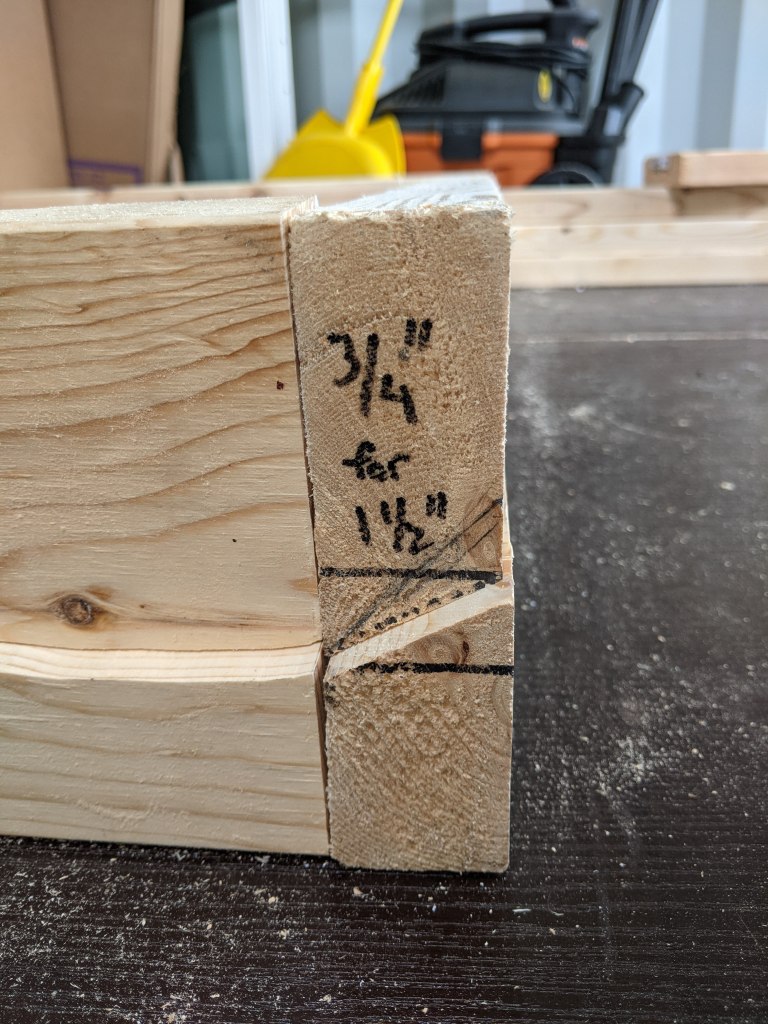
Now, to give a visual of that weird angle your left and right vertical window buck boards are going to need. See that top down pic of the metal? In short, what we need is an angle equal to 3/4″ over the 1-1/2″ thickness of the board. Set your table saw to this angle and rip your board. Again, this doesn’t have to be perfect but the closer you are to the angle, the more flush your inside and outside will come together.
Screw everything together to complete each side of the window buck, then go find your C-clamps.
Just like in Ed’s videos from InSoFast, apply your LocTite adhesive to your INNER assembly and screw in from the OUTSIDE. Note: it doesn’t hurt to dry fit this setup first to make sure your jigsaw cuts are good enough to give you a flush fit.
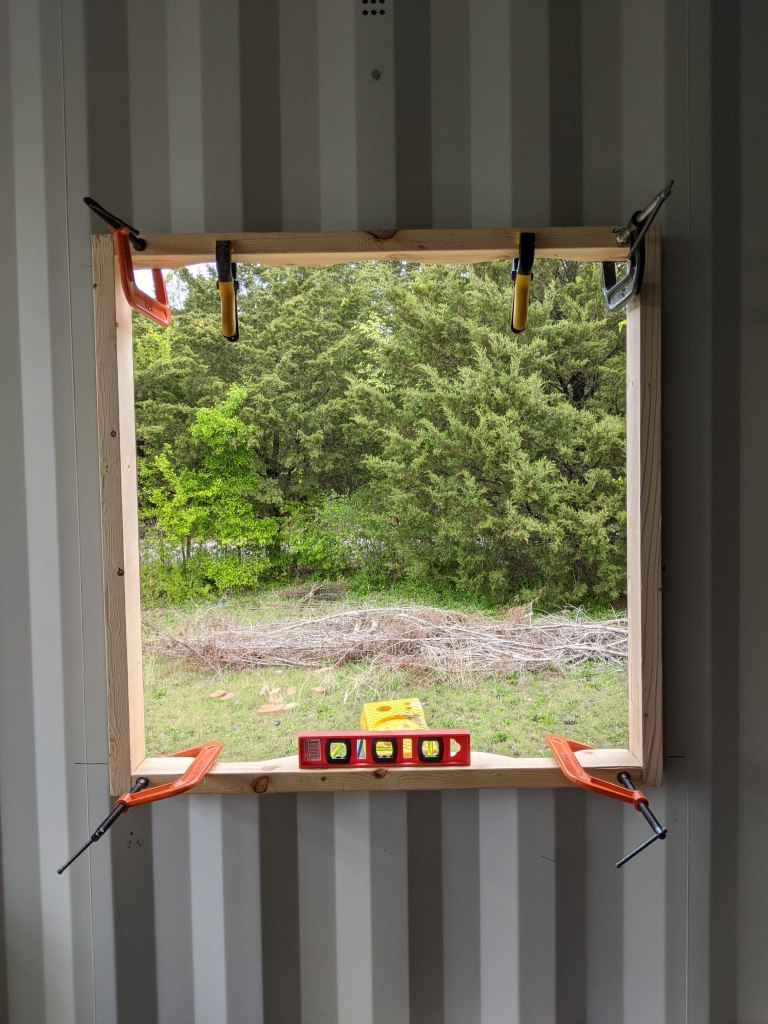
Apply adhesive to the OUTER piece and C-clamp into place. Drill some pilot holes from the inside (keeping to the right) and then screw your self-tapping wood-to-metal screws through the inner buck, through the metal, and into the outer buck. I also created counter-sink holes so the metal screws could grab as much of the metal as possible. In the following picture you can see I only did this to the top and bottom boards. You’ll see why in a minute.
Hole Positions
To reiterate: The Inner Buck is secured using left-drilled holes in the metal for the top & bottom boards and screwed from the outside. The vertical boards are also screwed from the outside using flush head screws.
The Outer Buck uses right-screwed holes in the metal for top & bottom boards and screwed through the INNER buck, through the metal and into the outer buck, pulling the whole assembly together. This “left” and “right” stuff is so that we can avoid hitting the screws used for the opposite board.
The other reason for this method is so that all of our screws only go through the narrowest parts of the wood. I could’ve used longer screws in this case but with the counter-sink I was able to get a good half inch past the metal and into the outer buck.
Lastly, drill pilot holes in the outer vertical buck boards and use self-tapping screws to secure in place going through the metal and into the inner buck. Notice how the position of these screws is off-set from the position of the original pilot holes drilled into the metal in step one? Again, we’re just trying to avoid hitting the opposite side’s screws.

Add flashing tape…
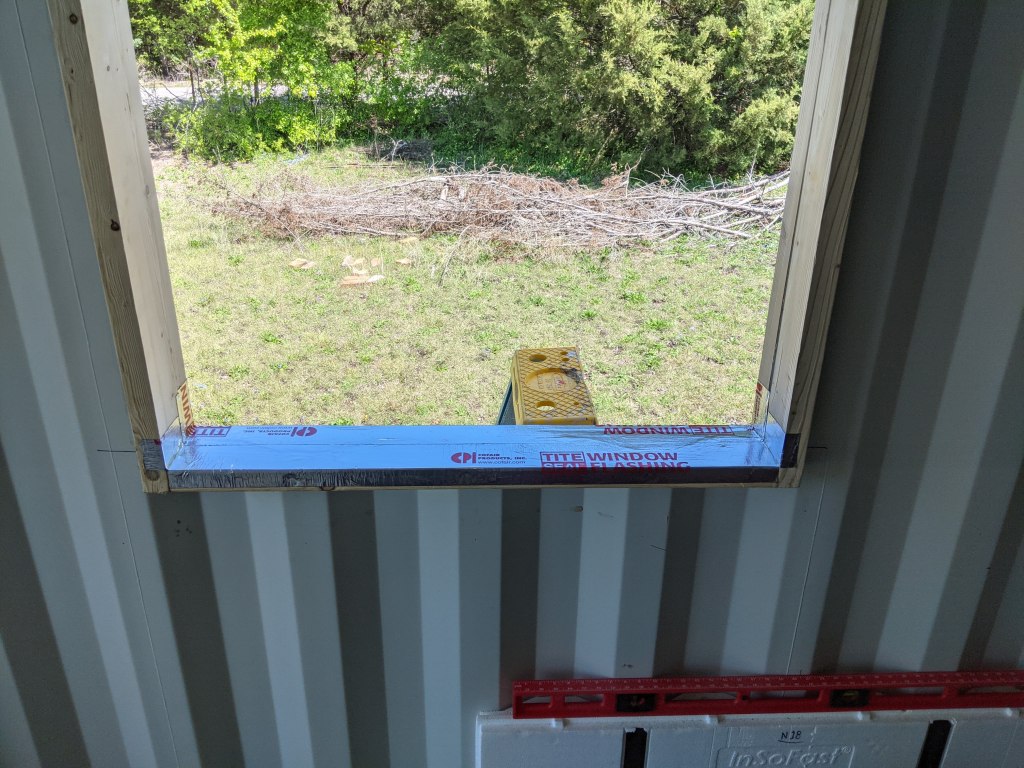
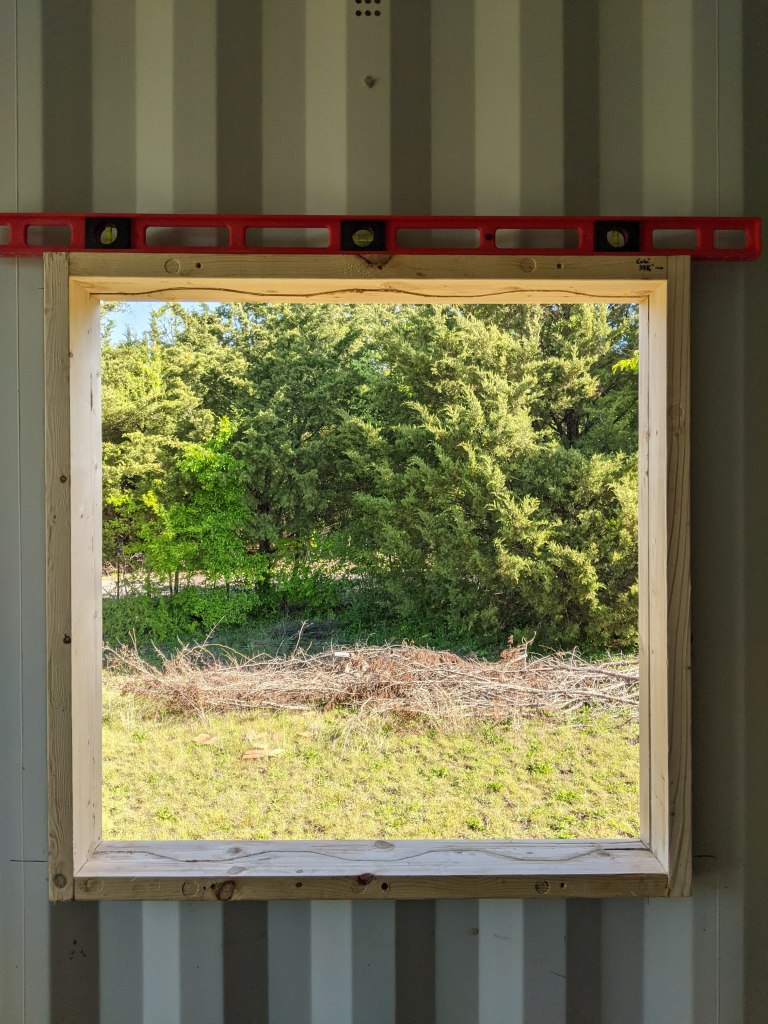
…and dry fit your window with shims (if necessary) to make everything level.

Apply caulking and screw into place. Then apply caulking to the exterior perimeter of the window buck where it meets the metal.

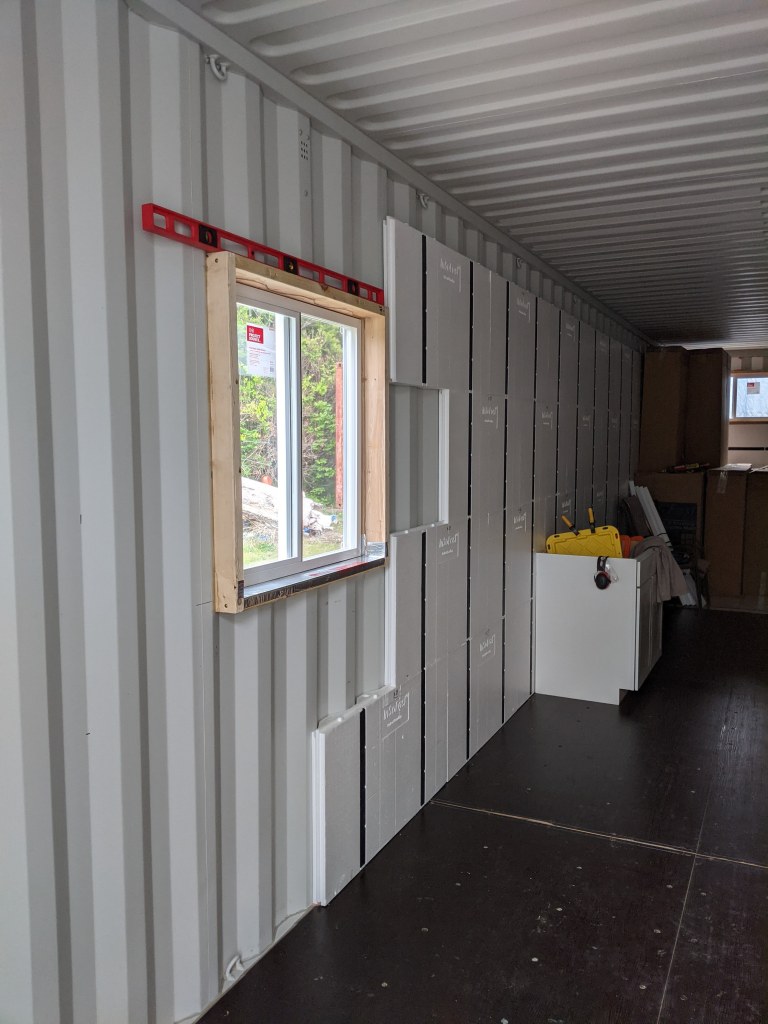
Let everything dry then check for leaks. Apply more caulk as necessary.

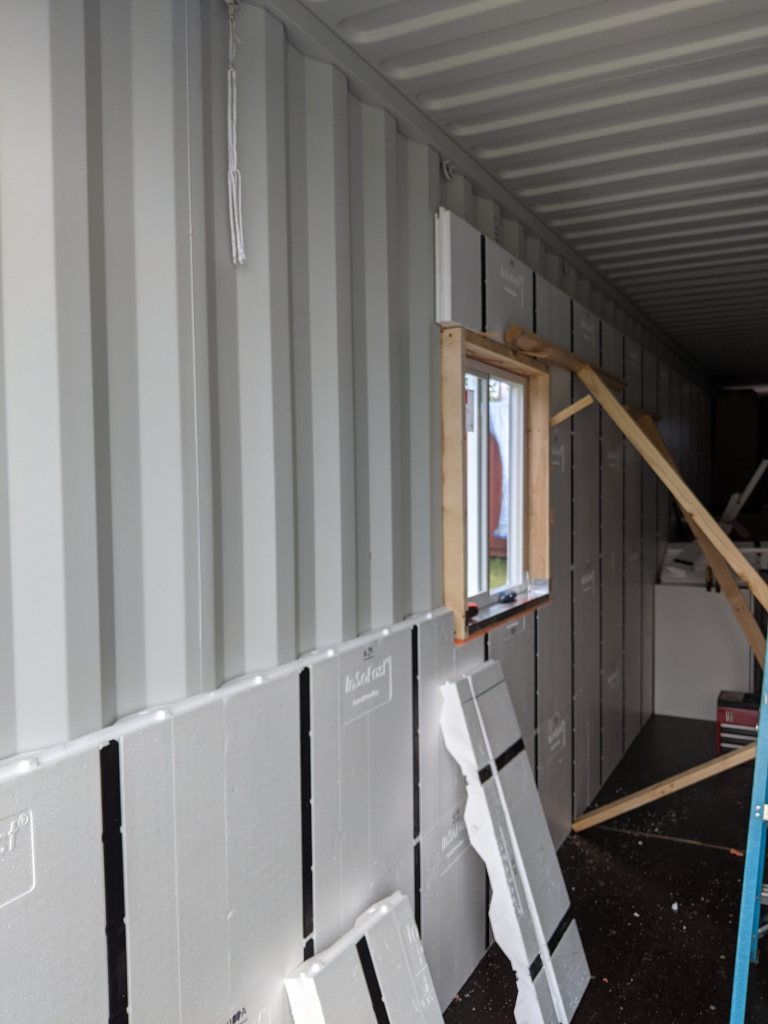
Finish the InSoFast Installation
Do a row, let ‘er dry. Do another.
Rinse and Repeats.
And befores you knows it, you’ll be dones. Allegedlies.
See y’all next month!
