
Door Frame Fabricating
I know I said no more cuts for awhile but it occurred to us, if we’re going to keep this thing modular and add a second container down the road (soon) we shouldn’t install insulation, expensive InSoFast insulation, just to rip it out in just a few months.
Options:
- Insulate across where the doorway will go and then be forced to rip it out later and try to clean it up. Not only is this a waste of InSoFast panels it’s likely to be messy and require pulling out more than we need to in order to weld in the door frame and then replace the extra insulation we had to pull out.
- Cut the door way between the bathroom and future first floor bedroom, frame it out with steel tubing, spot weld the corten steel back into where it was just removed, apply sealant along the seams, install InSoFast panels into this temporary wall and build the internal wall board / cladding in such a way so that it can be easily removed with the least amount of damage to the surrounding walls. Paint the exterior to match.
- Cut the door way, install the door frame, install an exterior door, and build it so it can be removed in the future after the second container is added and a barn door slider is install in the bathroom.
In the future, if we decide to build these “modules” for other DIY’ers, option 2 seems to be the cheapest option. From the outside it would be visible but would only appear to be a metal frame available for future use. Speaking of metal frames…
Tube Steel Framework
The design is simple. Provide complete support from the bottom structure of the container all the way to the top. Before cutting the shipping container we made sure we were level AND the container was supported in the middle. Because once a cut of this size is made, compromising the structure a little, we won’t be able to keep things square before installing this door (modular junction) frame into place.
Worse case, before you start cutting the wall, get yourself a bottle jack and raise the side up a little and then lower it down onto some concrete blocks just under the area you plan to cut to keep everything supported.
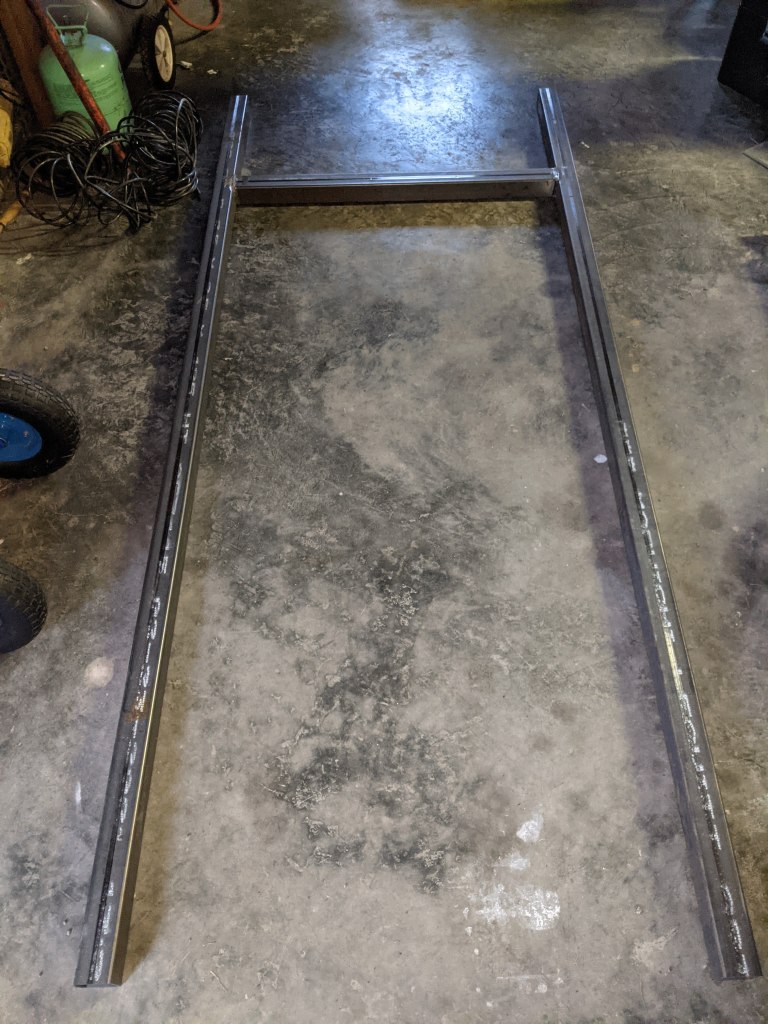
The guys over at Containing Luxury use 2″ x 4″ steel tubing so there’s a wider flat area to mount a door on frame directly flat against the tubing but we went with 2.5″ x 2.5″ instead. We’ll probably use their technique for the wider openings like those for the kitchen to dining room to living room but for this we went with square.
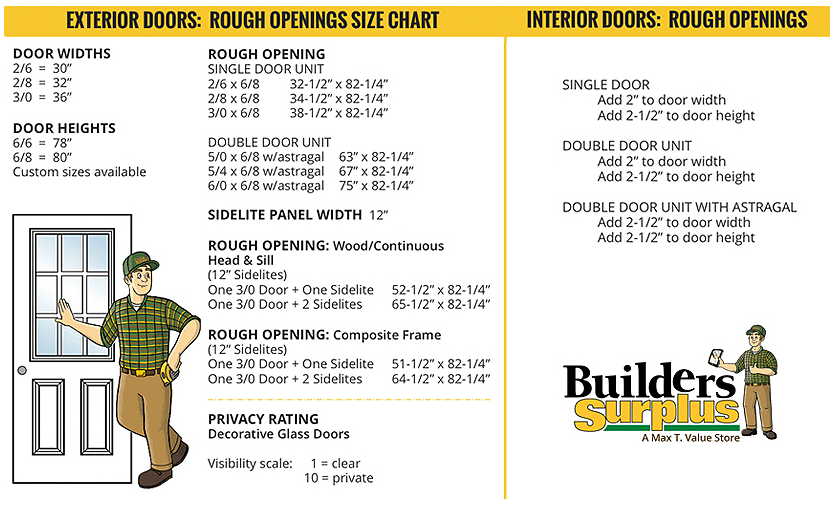
The metal frame was built and the door hole cut using standard construction recommendations for what’s called an exterior door rough opening. Then we just buy the door (on frame) that works for that rough opening. Here’s a picture and great reference link to Builders-Surplus: https://builders-surplus.com/doors-measuring-rough-openings/
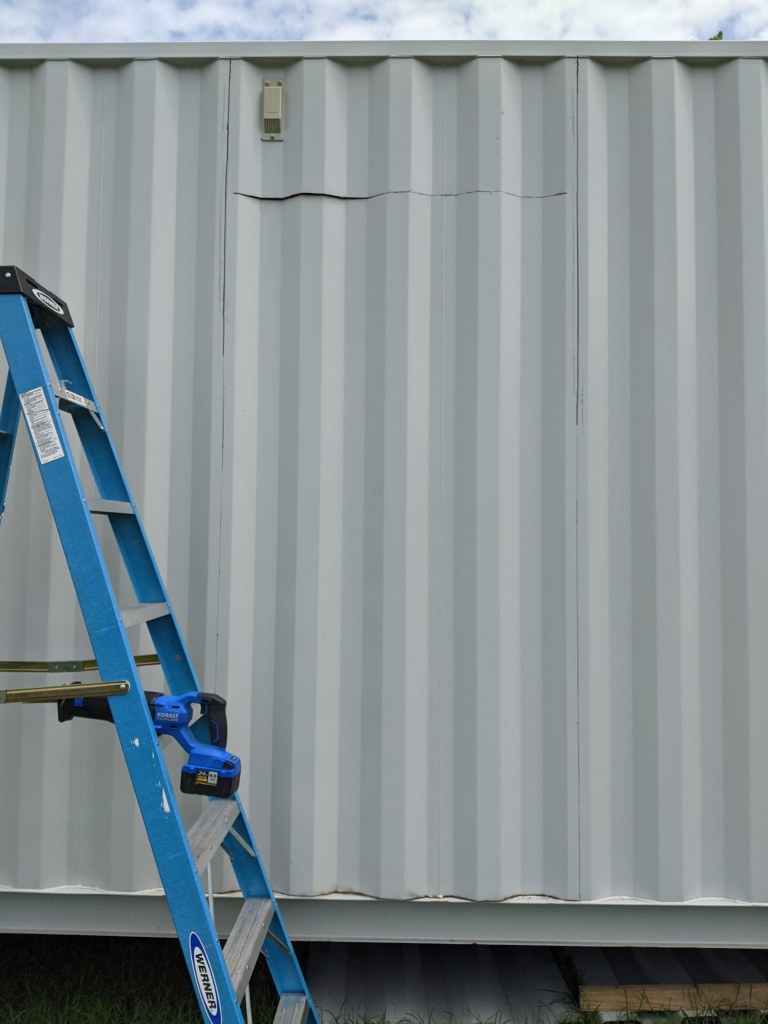
Door Cuts
Cutting the horizontal (bottom and top) cuts first makes doing the long vertical cuts with a sawzall a little easier. By making these horizontal cuts you take a little pressure off. Next, if you’re cutting flush to the bottom beam and you plan to grind it flat like we are, then we advise using a cutting wheel on your grinder so you can cut right at the weld bead. You’ll go thru that disc pretty quick but it makes the grinding work later a lot easier.
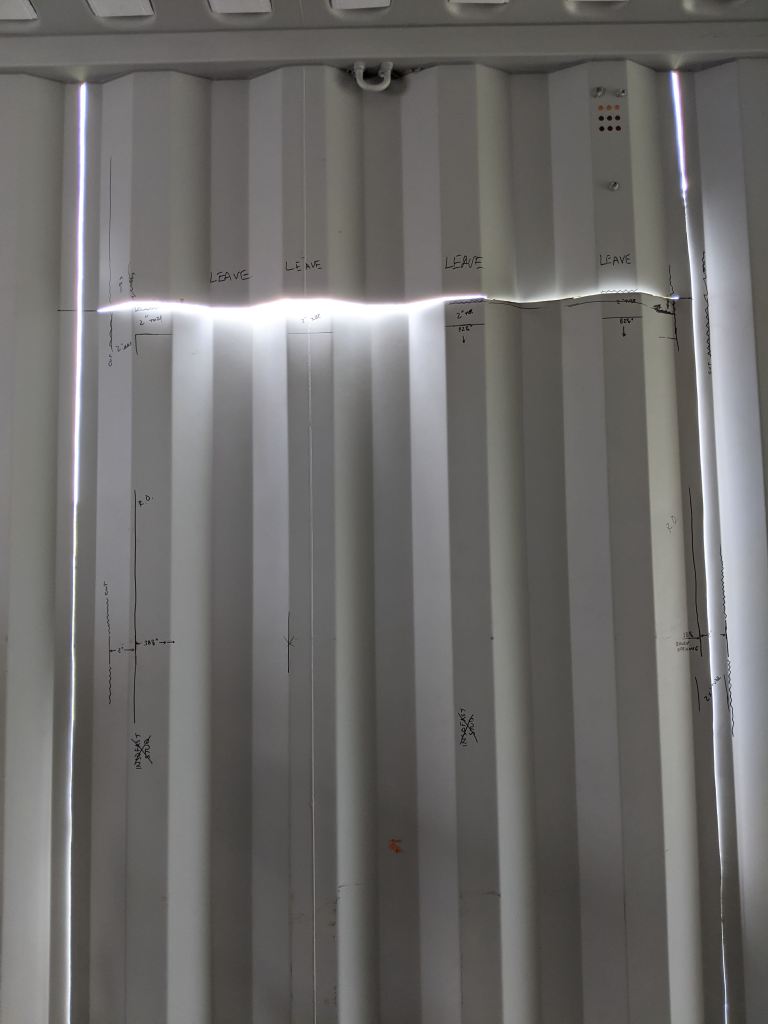
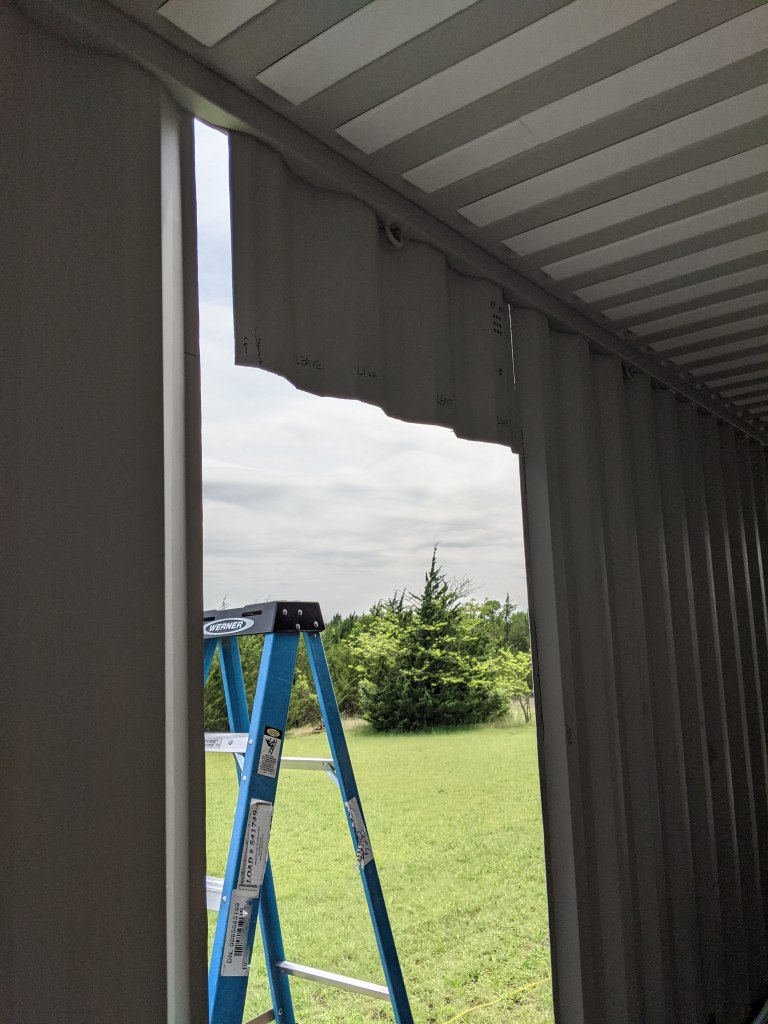
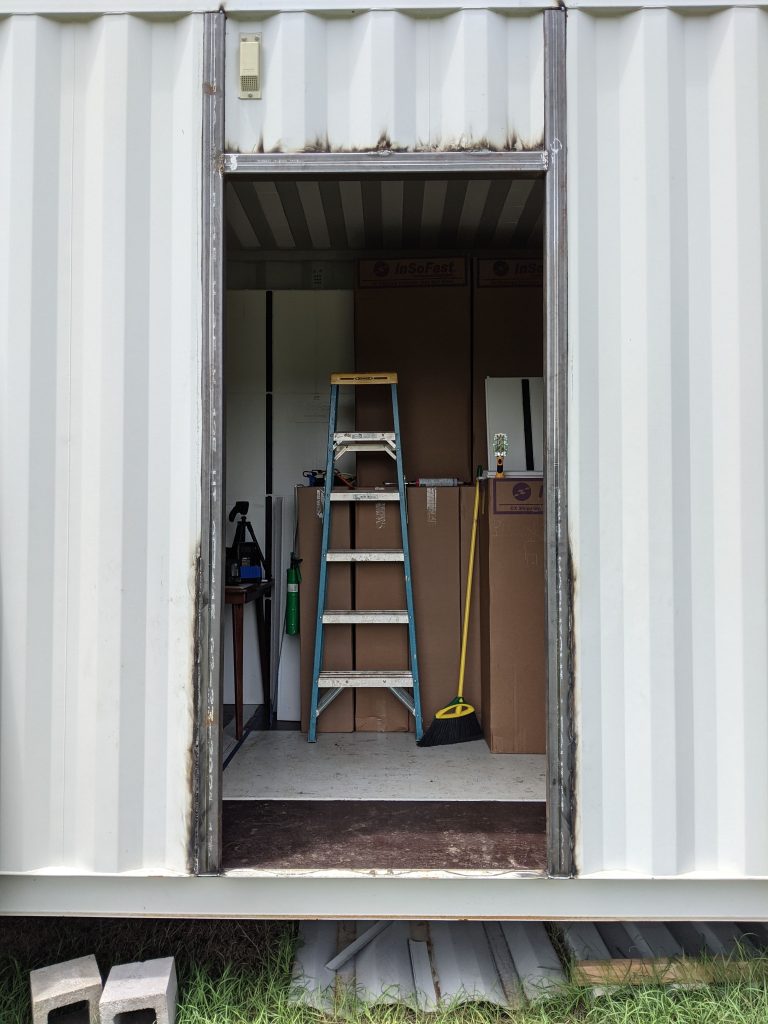
The top was a little more complex because we weren’t removing all of the wall all the way to the top, as you can see in the following picture.
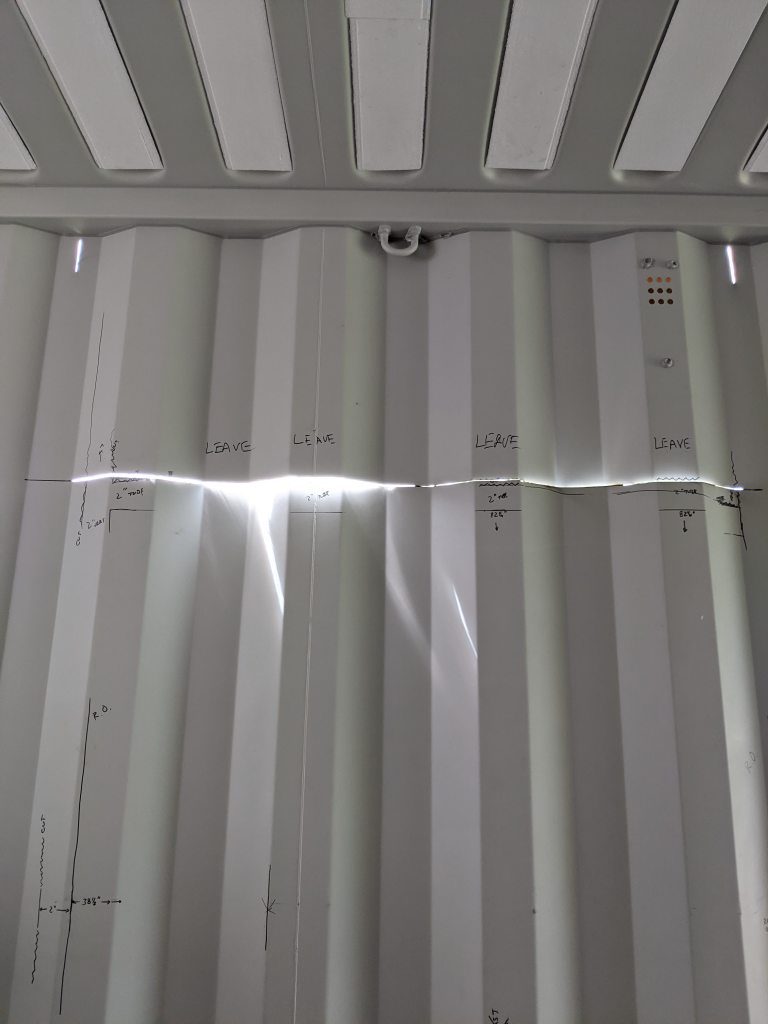
Remember to leave a little bit at the top left and right (or one in the middle) to make the final cuts allowing the wall to fall out safely. After cutting the outer vertical cuts with the sawzall, just bow the bottom out with a 2×4, make the last two cuts, and the whole lot will slide straight down.
Cut the inner vertical cuts for the top of your “H” door frame and you’re ready for a dry fit.
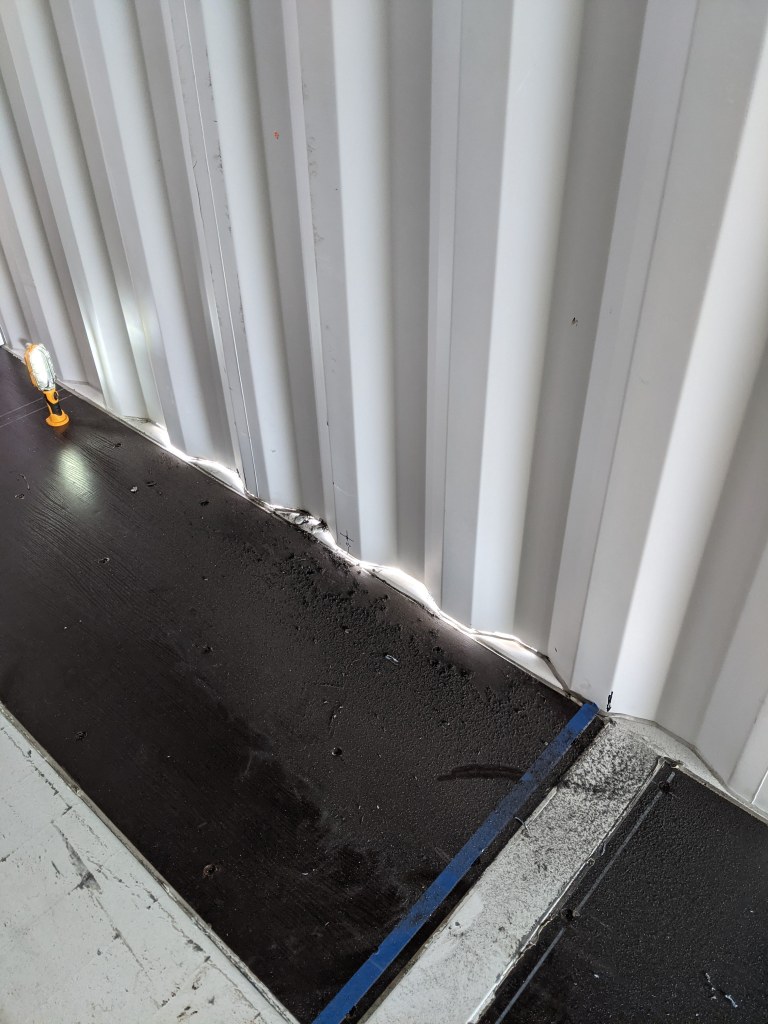
After a little (ok, a lot) of grinding out the weld bead, and notching the inside edge of the top of the “H”, your door frame should slide into place easily. Well, sort of. The notch isn’t enough and there’s lots to grind out the old weld beads.
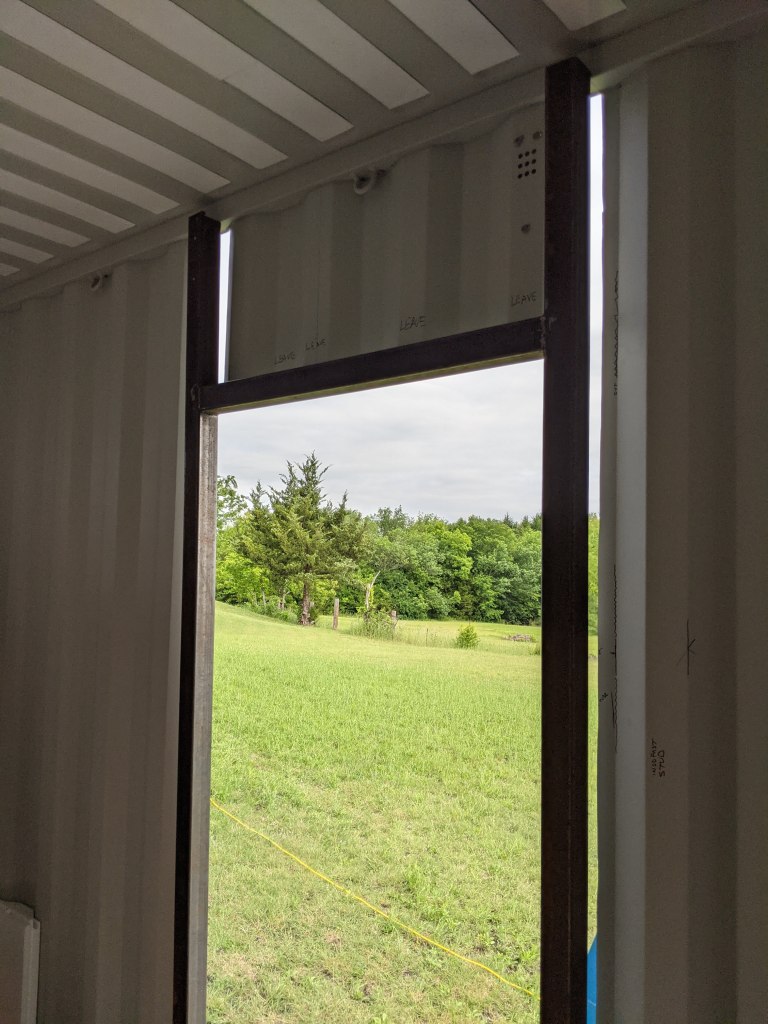
The following image isn’t the final for the “notch”, I still had to cut/grind the remaining bits so that only a flat lip remained. With this notch cut, the size of the 2.5″ square tubing comes out to be flush to the outside of the container top and bottom rail beams.
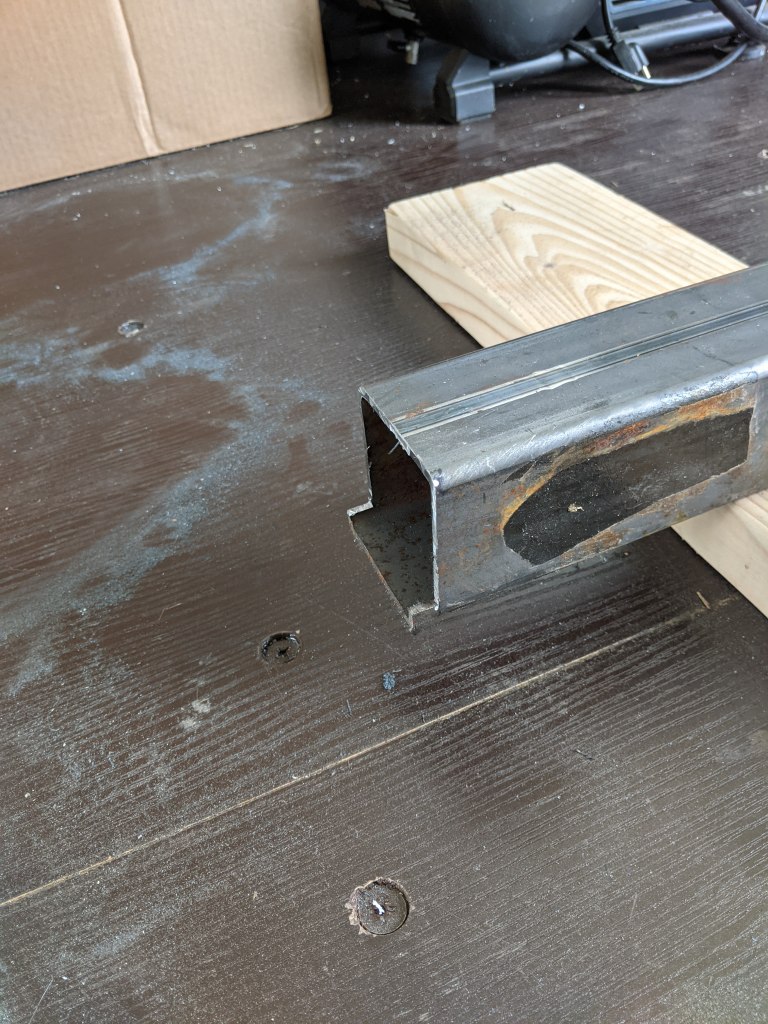
Make sure everything is square and level, and spot weld into place. Then the hard part, welding a bead all the way down those vertical sides.

Next comes the sub-floor and then the door. Until then, here’s an update on the battery cell progress.
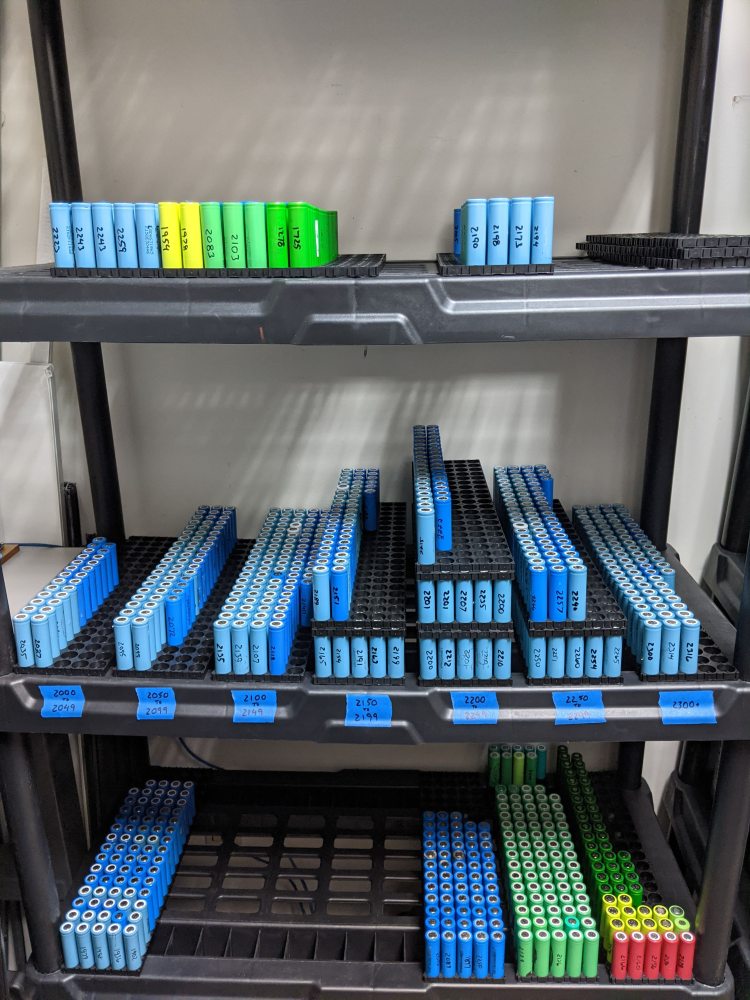
That middle row alone is about 800+ cells ranging from 2000mAh to 2300mAh. We have approximately 400 more awaiting leak testing and another 400 that need to be shucked.
See y’all next month!
