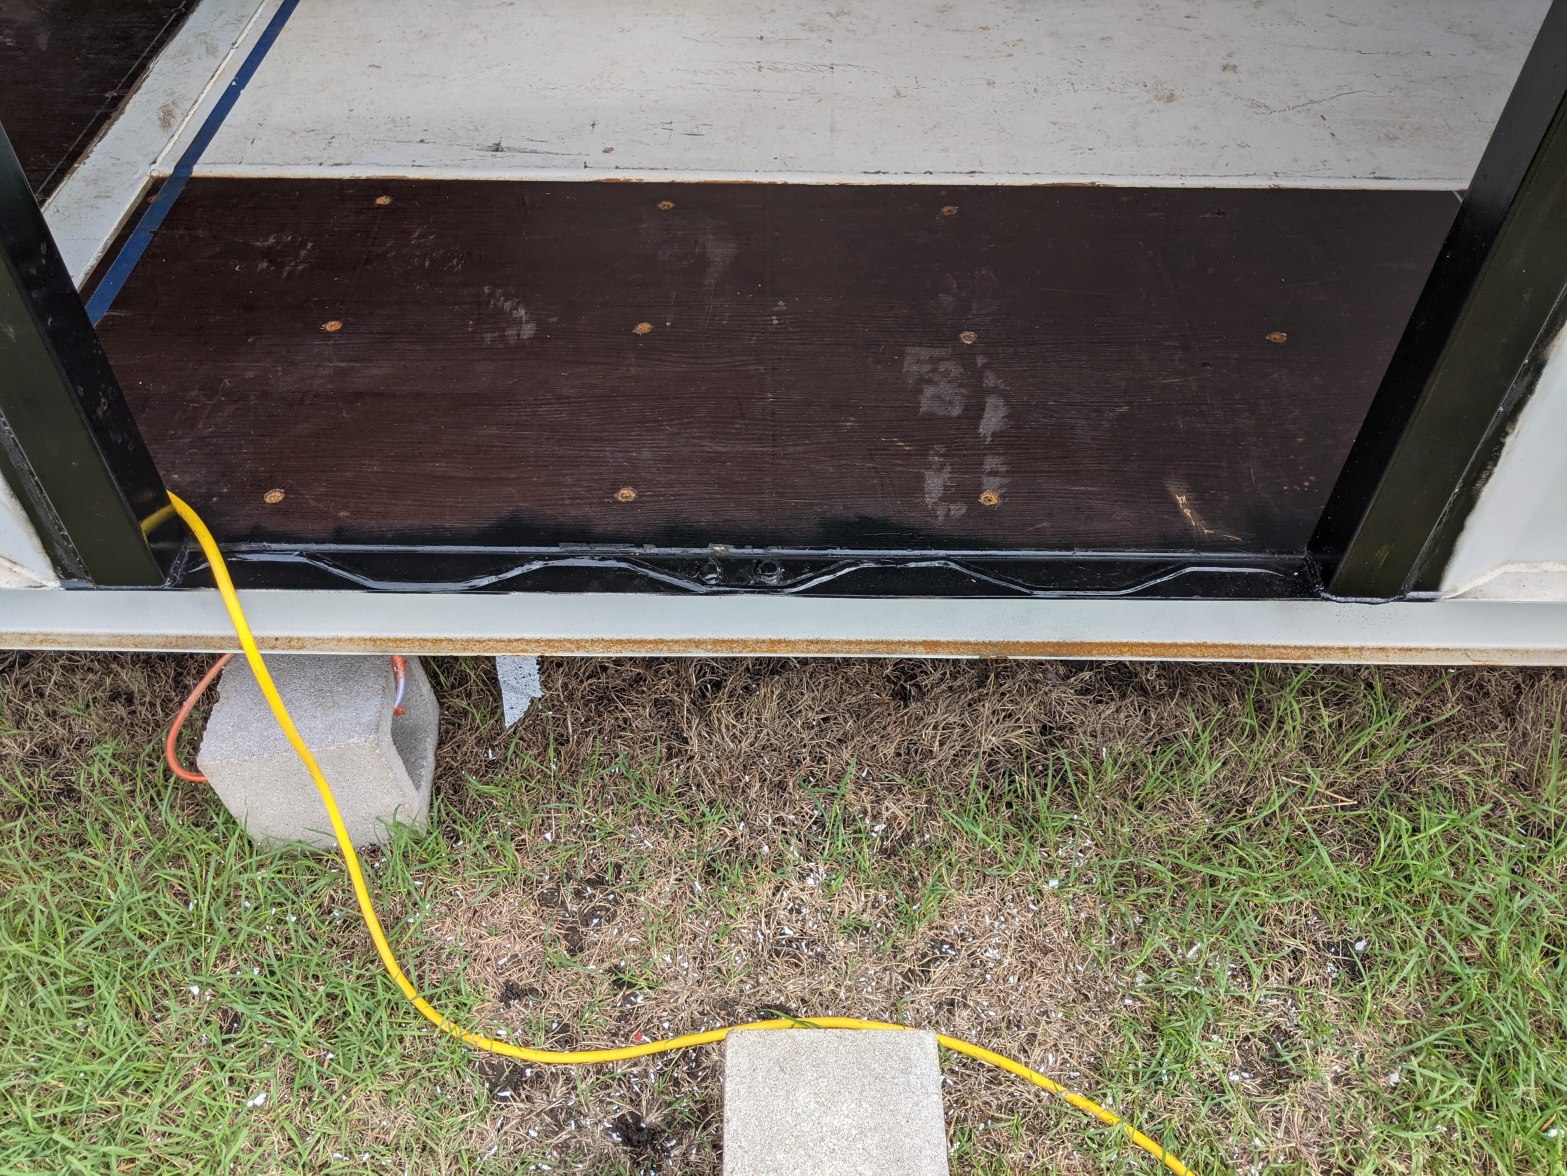
More InSoFast and some sub-floor work. And that remaining weld bead (above) will need to be grind down flush before the sub-floor is installed over it. We just sprayed a little Rustoleum on it to keep it from rusting.
Spray some Rustoleum paint to stop the rusting and we’re ready to continue with the door, the floor, and the beginnings of the bathroom.
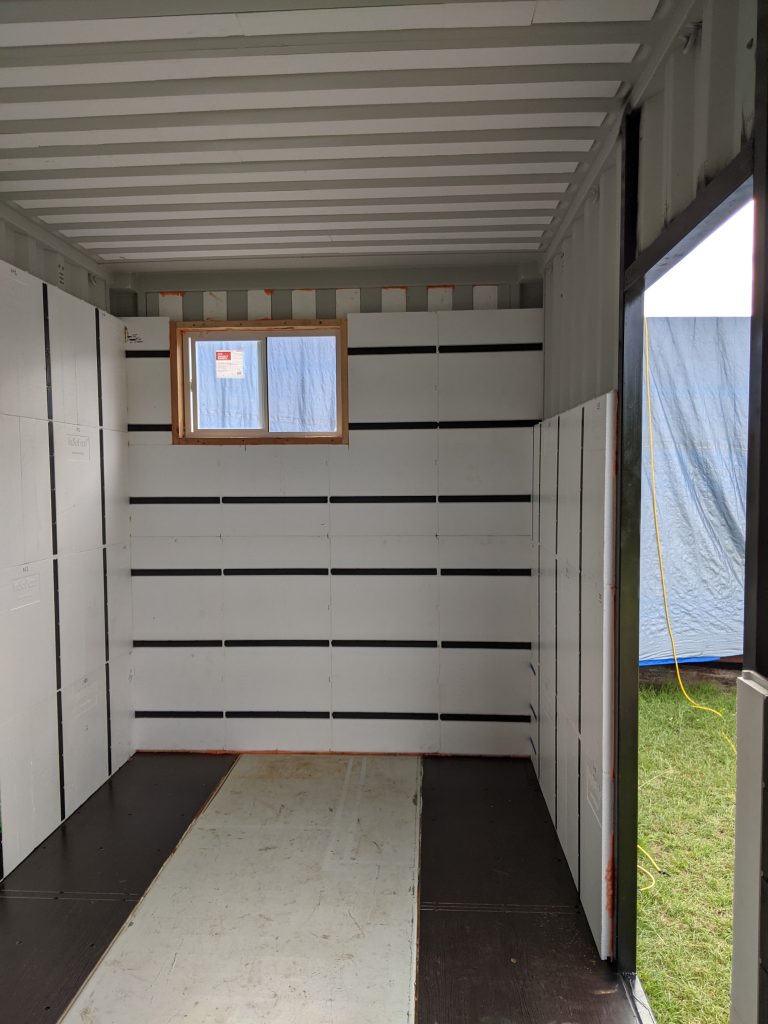
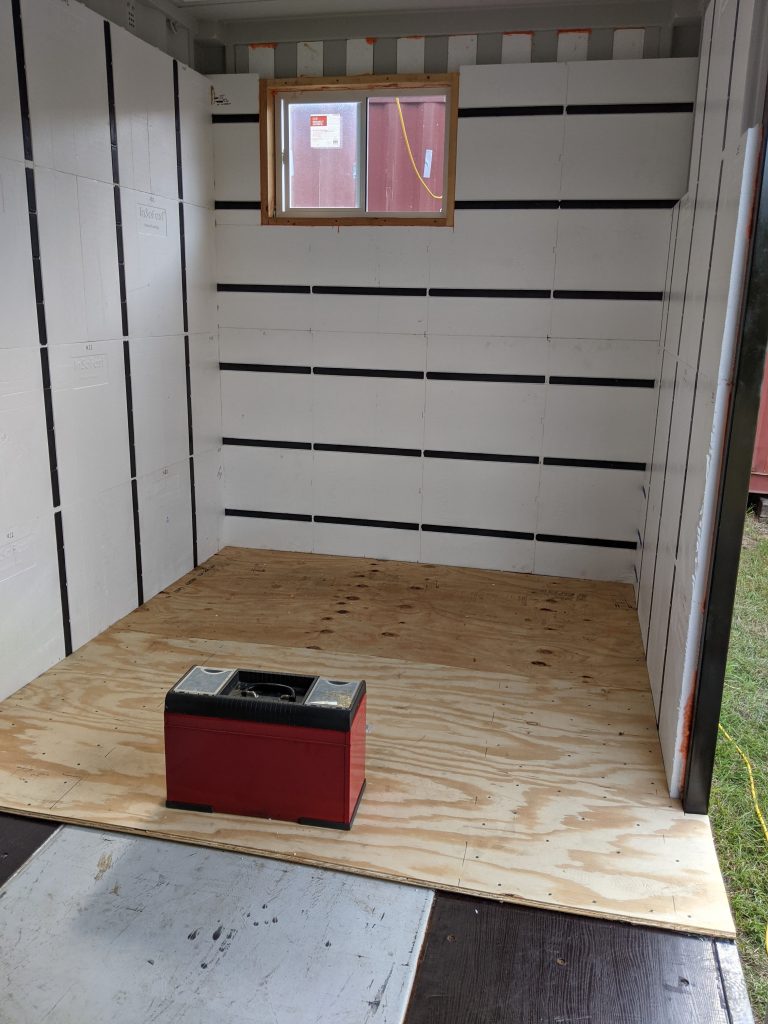
3/4″ Tongue and Groove (T&G) sub-floor plywood with lots of LocTite and lots of screws, being sure to watch out for the metal “box” and any metal C-beams underneath.
Yes, that’s a slight bow in the sub-floor. The metal “box” is about 1/8th of an inch higher than the existing flooring. But, when the world hands you bugs, turn them into features.
Since the shower pan drain will be aligned left it will have a natural tilt already available courtesy of our bowed flooring. Next two sub-floor boards, please.
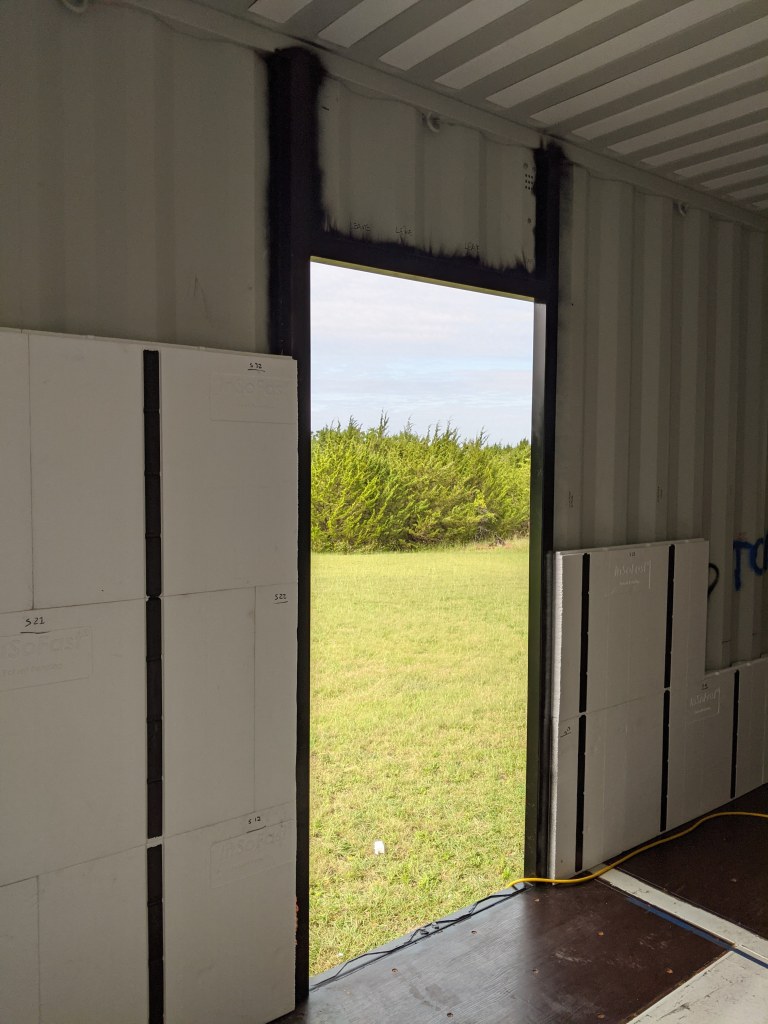
Door Frame
NOTE: Dry Fit at every stage to make sure everything is coming together nicely as well as level and square.
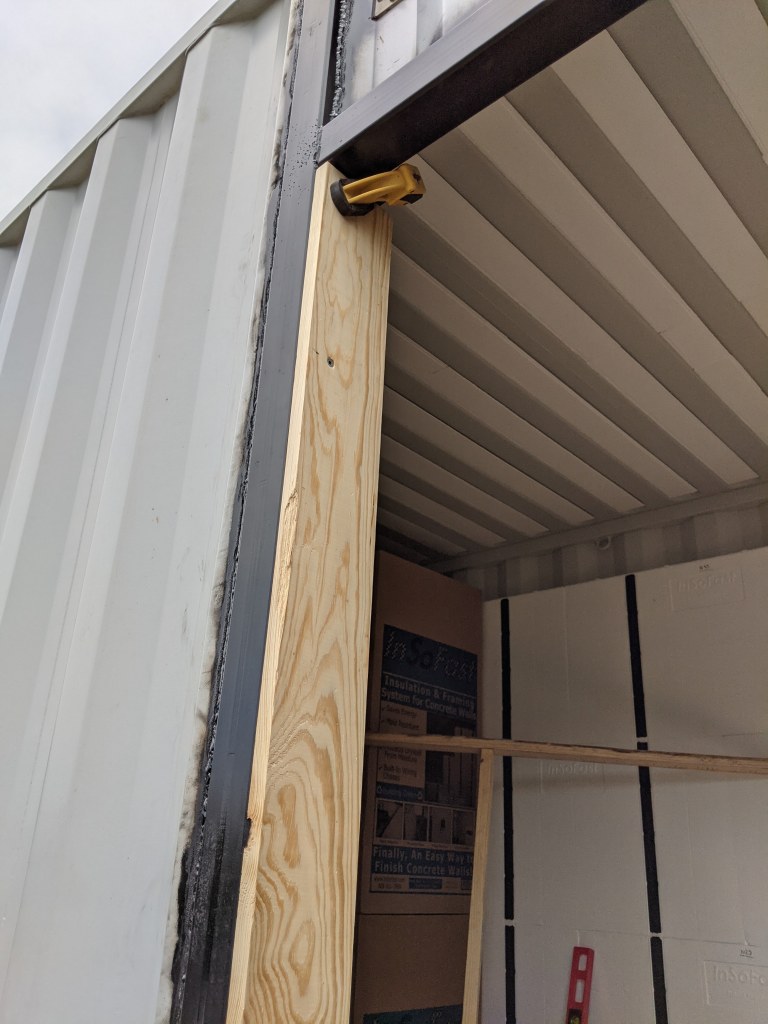
The dimensions we used for the metal door frame allow for approximately 3/4″ on the sides and top around the door-on-frame frame. Since most door frames require shims to get everything square and level AND…
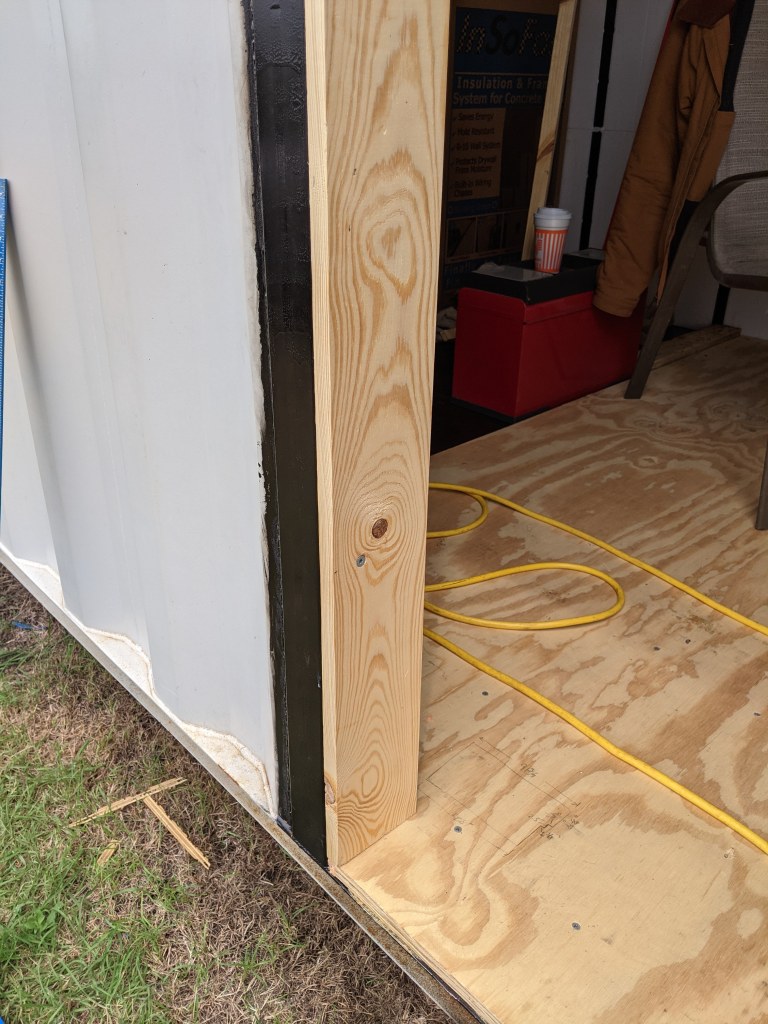
…since this metal “H” door frame will mate with another identical “H” on the next container, we opted to go with 3/4″ x 4-1/2″ pine on the sides and top so the door frame would have something easier to screw into besides metal. Three self-tapping wood-to-metal screws per side and two on top should do the trick.
NOTE to Self: I should’ve gone closer to the corners with these screws because once we started screwing in the door frame, it was able to pull the ends of the wood boards back towards the door frame, leaving us un-square. I had to go back with one more metal screw at the tops and bottoms to pull the frame flush and vertical to the metal tubing.

We chose to drill a pilot hole in the wood, then create a counter sink with the big bit, and lastly, create a small hole in the metal tubing with a carbide bit to help guide the self-tapping metal screws. Trust me, a little work up front can save you from digging a broken self-tapping metal screw out of thick metal tubing.
Be sure to mark the edges of your boards so you know where the metal screws went in. That way, if you have to add more screws that go through the door frame and jam AND the metal tubing, you’ll not hit a preexisting screw.
Next, check to see if the door manufacturer advises removing the door slab first or leave it installed. Ours advised leaving it assembled. When you’re ready to screw in your door-on-frame you should be able to use standard wood screws (Lots!) behind the door jam gasket allowing you to just miss hitting the metal tubing.
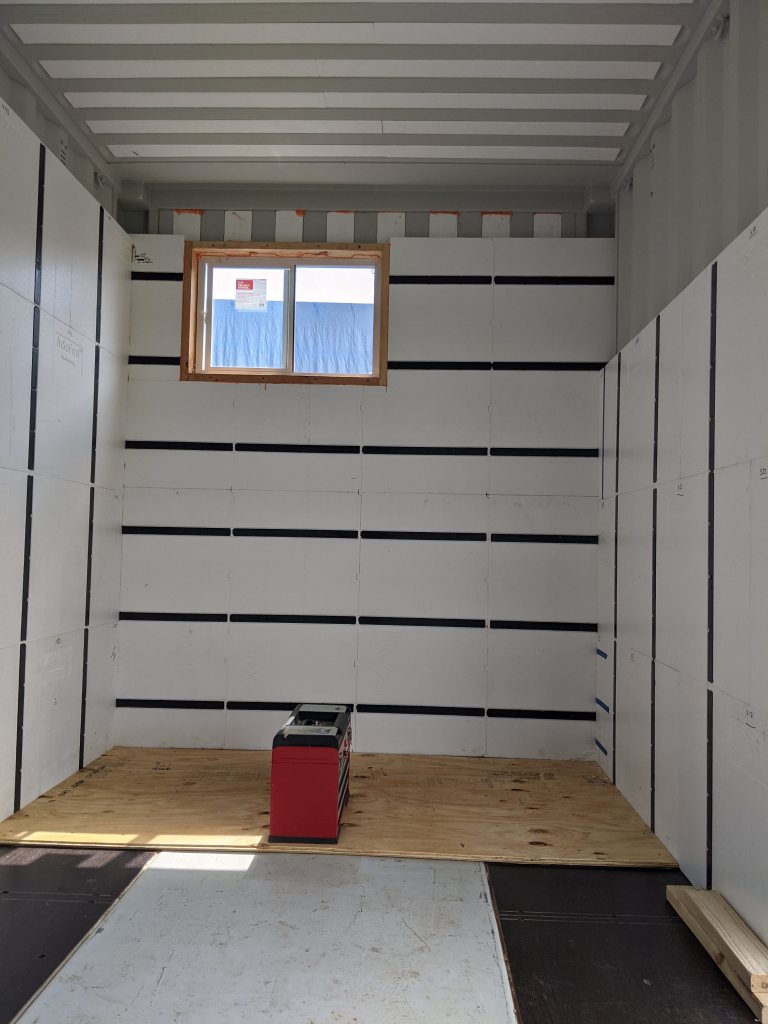
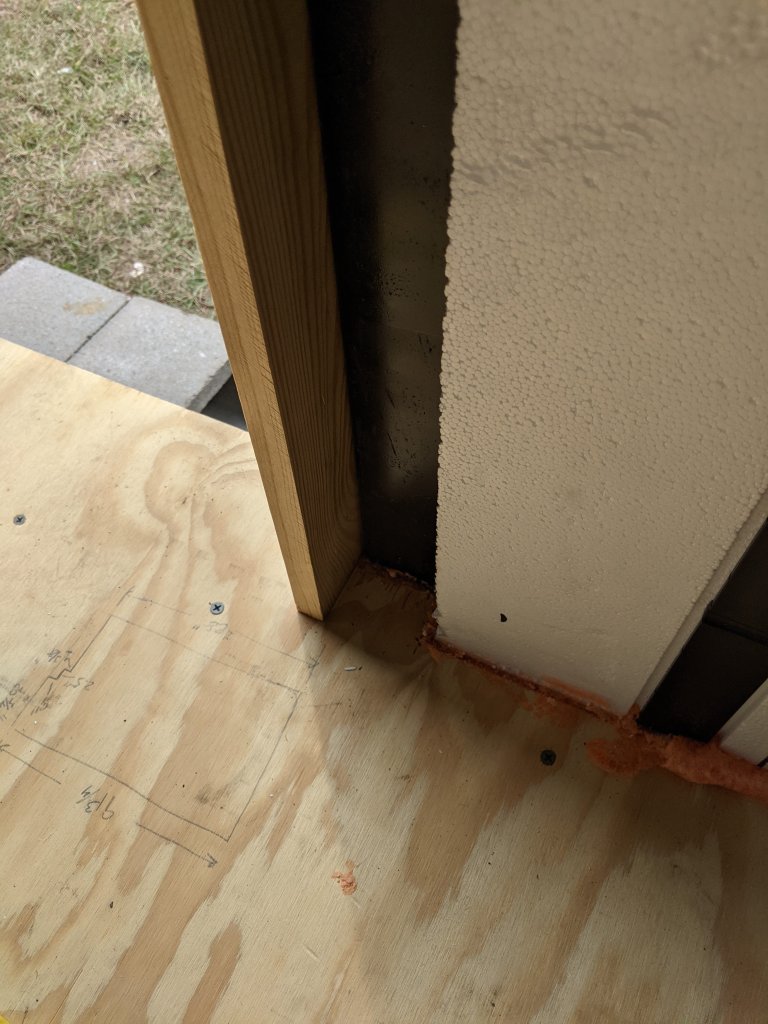
No exposed metal is the name of the game, so you don’t get any condensation. 1.5″ x 2.5″ foam board can be glued in place over the metal tubing, which also covers the screw threads, leaving about a half an inch of door frame extending past your insulation for whichever wall boarding you wish to install later. Finish off the door frame(s) with trim and your door is in and looking good.
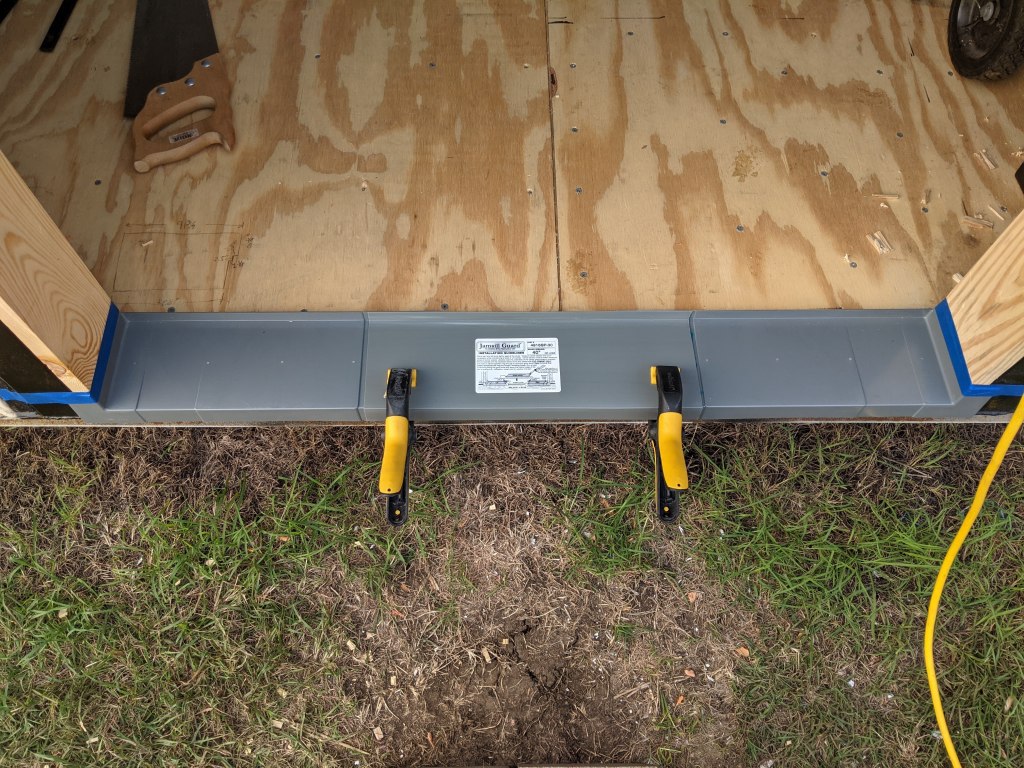
Install a door sill pan following manufacturers instructions. And make sure it’s secure. Can take up to 24 hours depending on the adhesive you use. Do NOT screw through your door frame and through the sill pan into the sub-floor. The whole point of a sill pan is to create a path for water to find its way out and keep your floor dry.
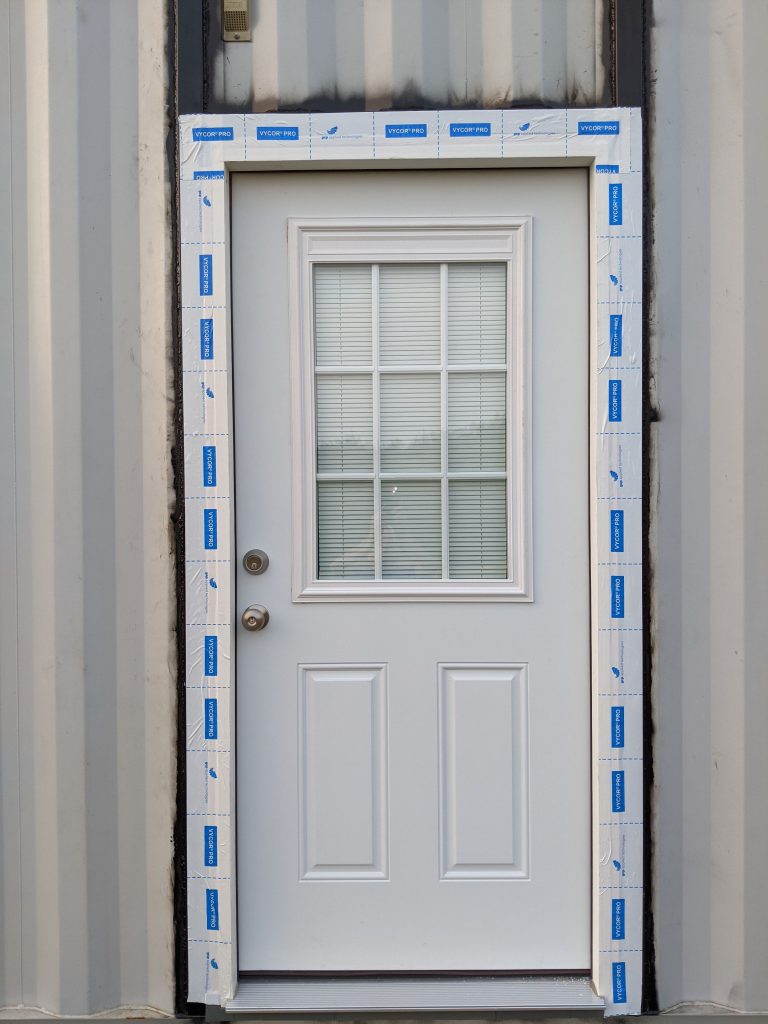
Install your door-on-frame one more time, only this time be sure to use caulking for water proofing and shims to level/square. Then apply door/window flashing tape to create a water proof seal that you can cover with trim at a later date.
See y’all next month when we finish insulation around the bathroom walls and ceiling. Then we can install a drop ceiling so we have something to mount the inner walls to.
