Hot Water, 6KW of solar panels and a 12KW Inverter. All we need now is a crapper!

Before you continue reading, please remember this is a Pro-Tow-Type!
None of this is gonna be pretty for awhile.
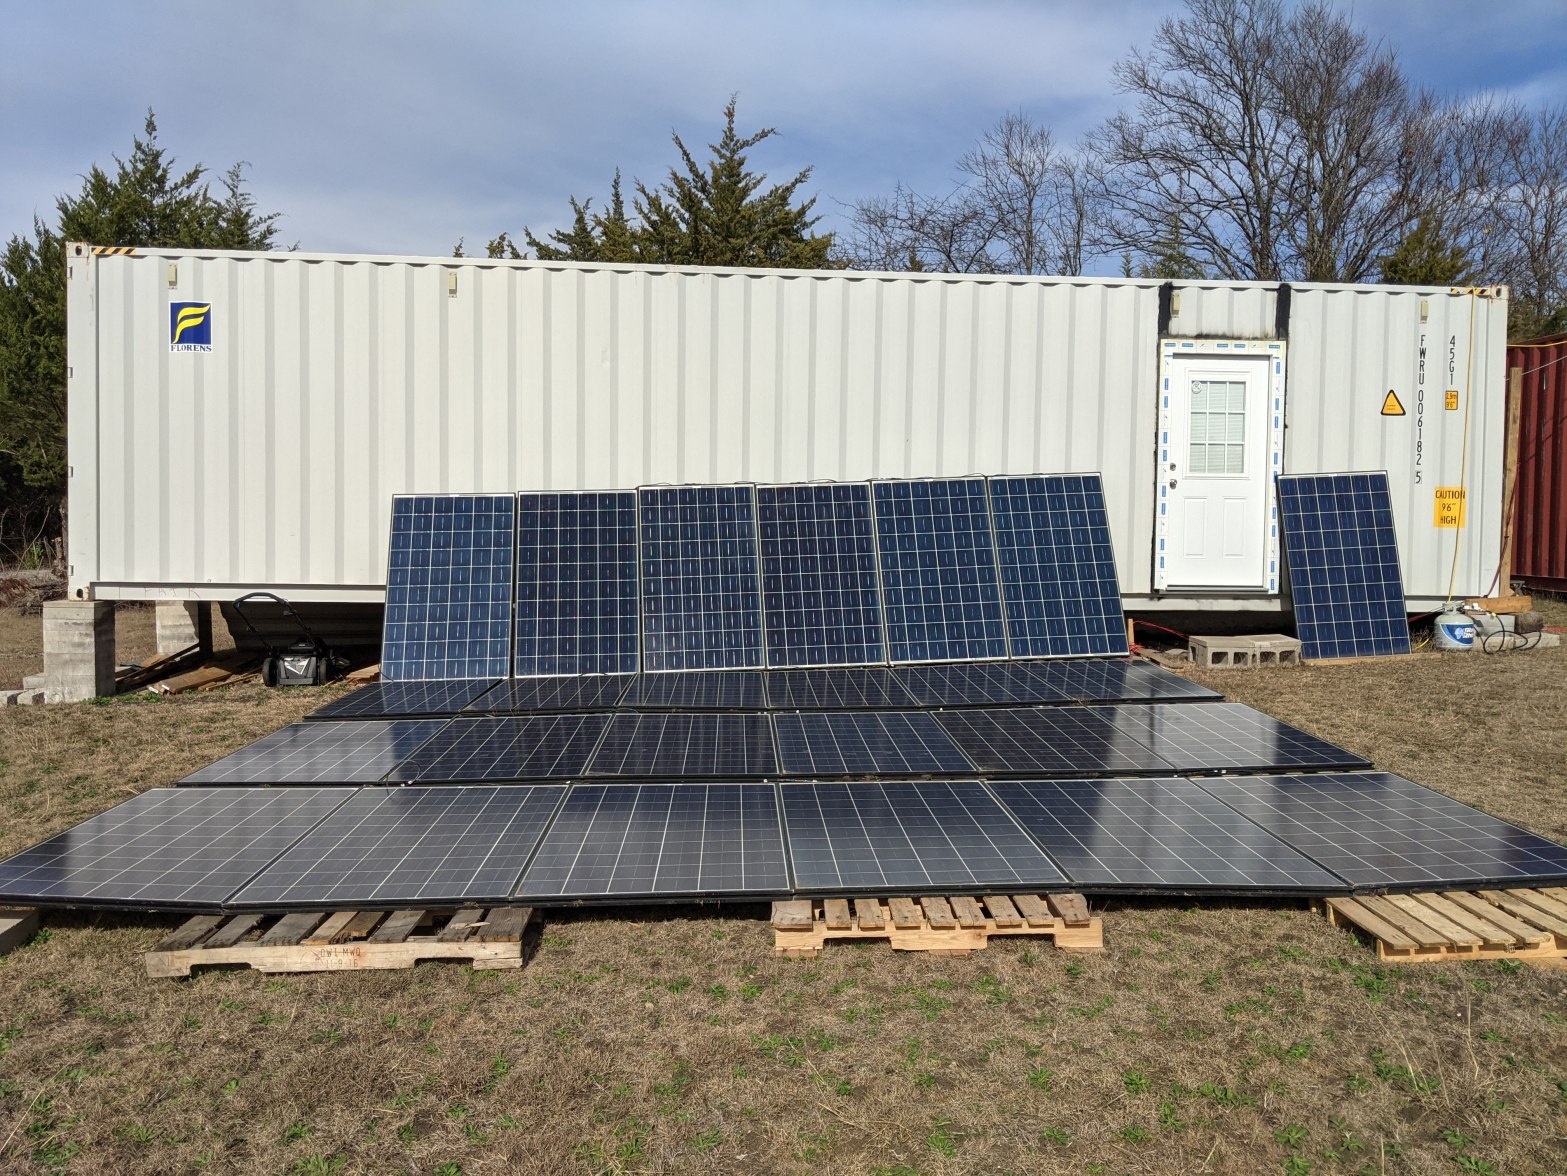
Current Configuration: 24 panels at 250watts each, 30amps @ 220v of grid power for working at night, and the battery packs haven’t been built & installed yet. But that’s happening soon. At least during the daytime I can run everything I need off the solar panels.
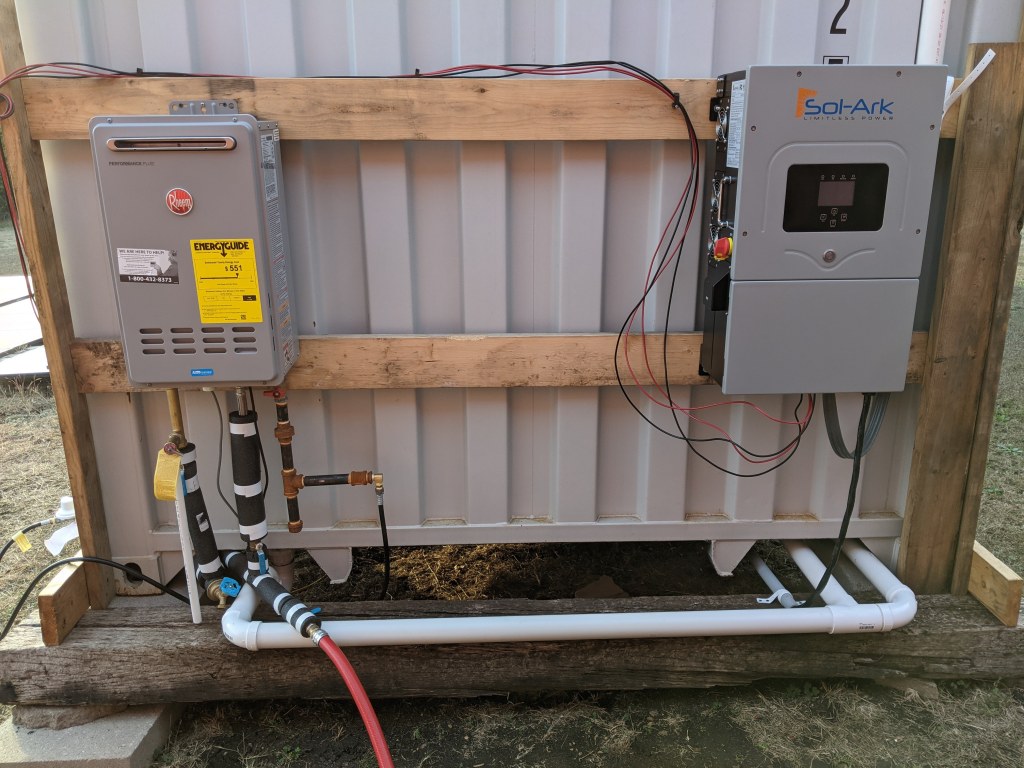
Again, this is all temporary while we fabricate the more permanent “mount” that will organize and cover all this stuff, while providing proper separation AND separate ventilation. The water heater and the Sol-Ark are rated for outdoors as are the cables. I spent the extra money to get direct-bury 6/3 AWG to run AC from the barn. Mostly for the purpose of using its two buried grounding rods but it will also give me up to 30Amps of 220v so I can run lights and a heater while I’m working at night.
FREE Power!
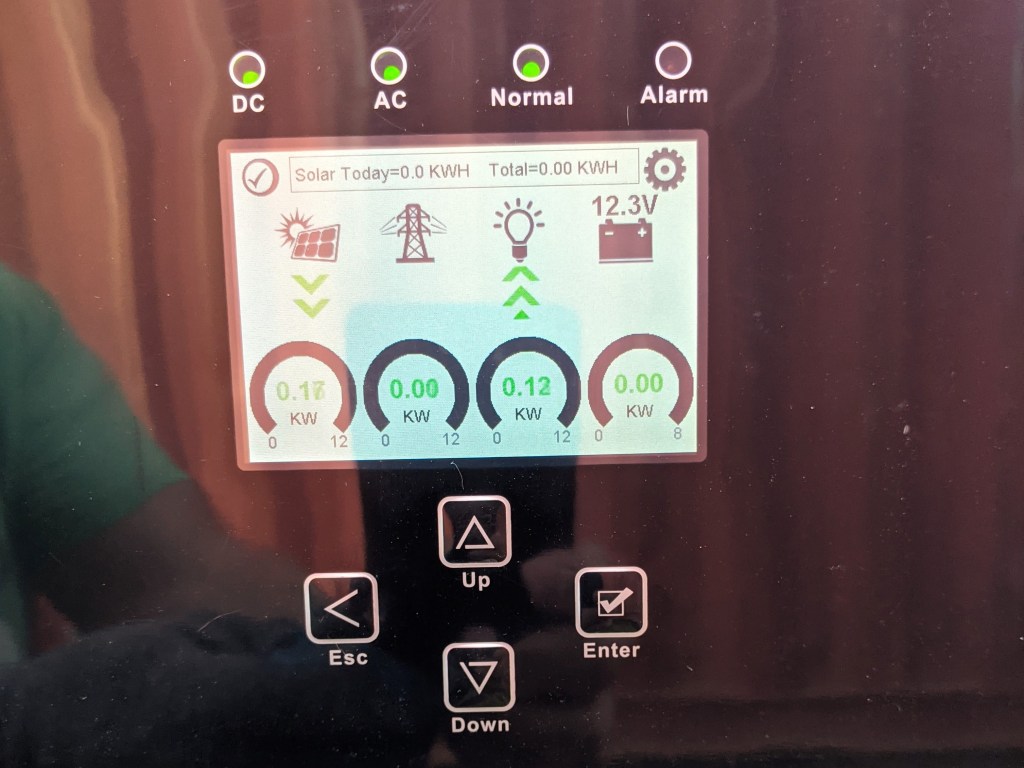
The Sol-Ark is currently configured to only create enough energy as the loads require. So there’s no telling where the solar panels max out. But of course, I tried to plug in everything I could find.
Remember that first computer printer we bought back in the day? Remember? After setting it up we printed everything in site? Picture a noisy little Radio Shack dot matrix printer precariously balanced on a folding TV dinner tray buzzing away like a miniature sawmill. At each carriage return the whole contraption swayed back and forth like an old metronome promising to topple over at each completed line. It drove the cat nuts! Good times.
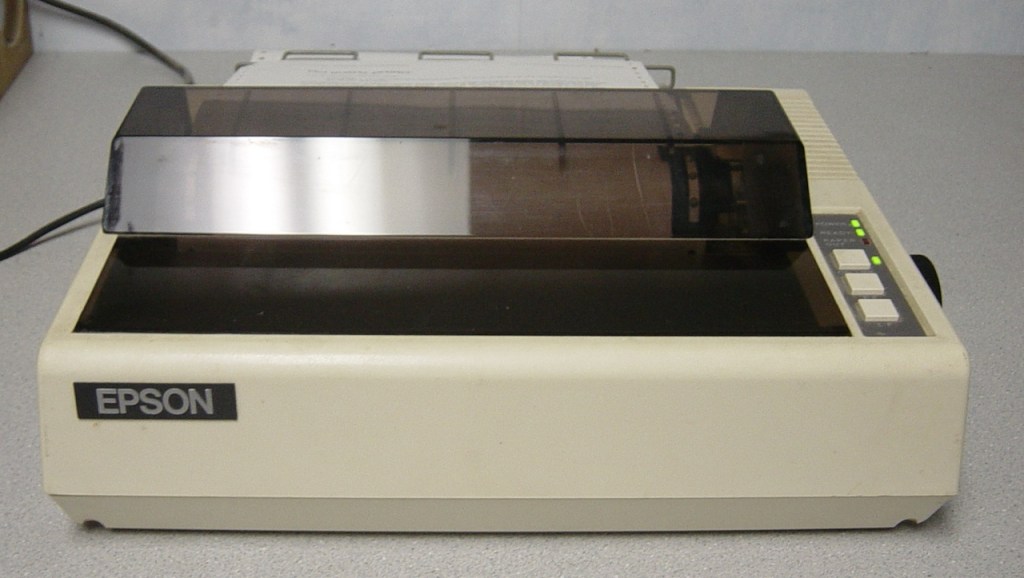
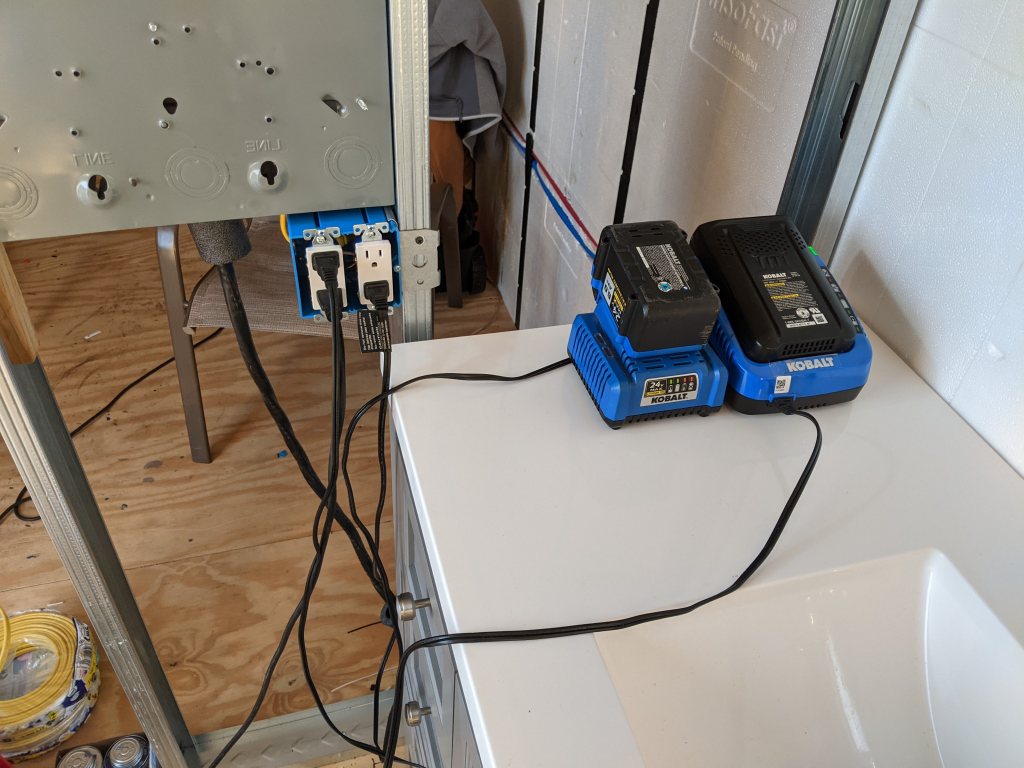
Like that old printer, I plugged in everything to the first 4 outlets I’d wired to the breaker box. A portable heater, two Kobalt battery chargers, a couple of lights and even the shop-vac. The solar panels just kept giving. Occasionally, the clouds would come over and it pulled a little from the grid (barn) when needed but the Sol-Ark keeps everything running smoothly.
A quick test with the multi-meter when the sun was at culmination on a cloudless day revealed in excess of 6,000 watts for both of the two strings. Awesome. Used panels with lots of life left!
Ok, enough playing with the toys. On to the time consuming stuff.
Hit the Showers!

I highly recommend Jeff’s YouTube videos from Home Renovision DIY (https://homerenovisiondiy.com/).
Yes, he still makes it look easier than it actually is but at least he slows down to show you some tricks of the trade.
If it’s not obvious I’m kinda old-school. It’s been 30 years since I installed a shower/tub and I used OLD tech back then. And it was a pain! After watching a half-hour of Jeff I was able to install this shower in about an hour.
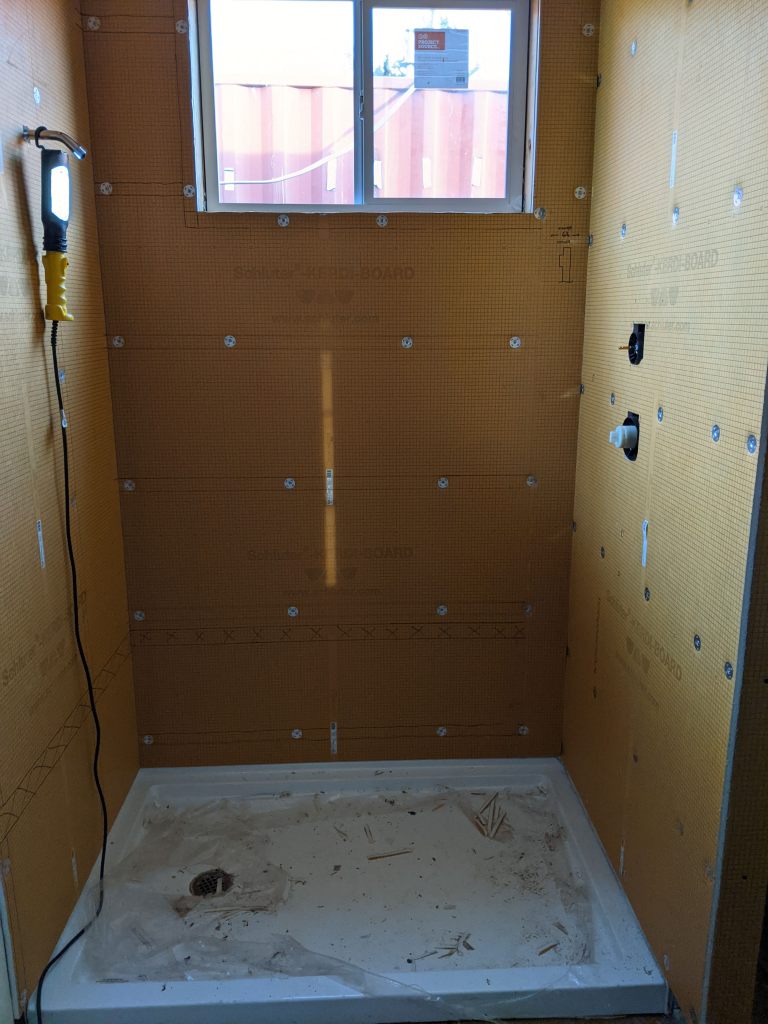
Schluter Sytems Kerdi-Board to the rescue.
It’s not cheap but it’s very light, very water proof, and it goes up quick.

I know someone’s going to ask so, allow me to es-plain, Lucy.
See that clear plexiglass sheet on the right at the bottom? Well, unless you want to custom order it (muy expensive) a left-hand drain assumes you only need a lip on the left and back. A right-hand drain, only on the right and back. Yep, only a center drain will have a 3-sided lip (left, back, right).
Solution: Slide an 18″ x 36″ piece of plexiglass down that side, epoxy it to the studs, then fill the crack with generous amounts of caulk to seal it up. Use the same caulk to seal between the Kerdi-Board and the raised lip (left and back), then install tile extending down below the Kerdi about 1/4″. Water-Proof!
For only a half inch thick this stuff is incredibly stiff. And it only gets better the more places it’s attached. Next comes the system specific tape and “mud” and we’re (fully) waterproof and ready for (peel-n-stick) tiles.
Going in Next Month
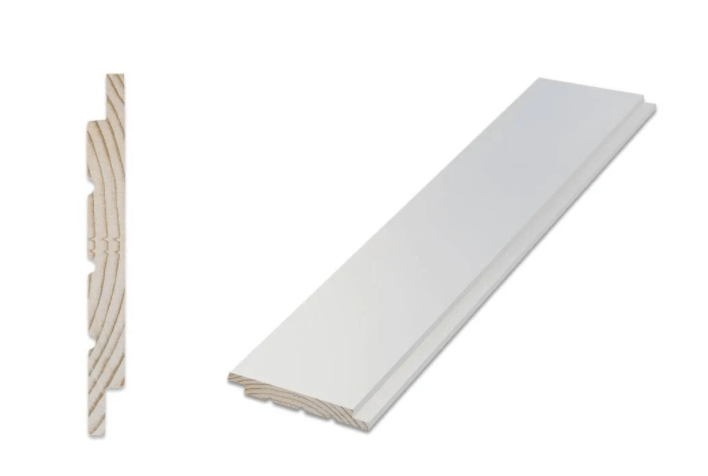
Nickel-Gap ship-lap walls in bathroom
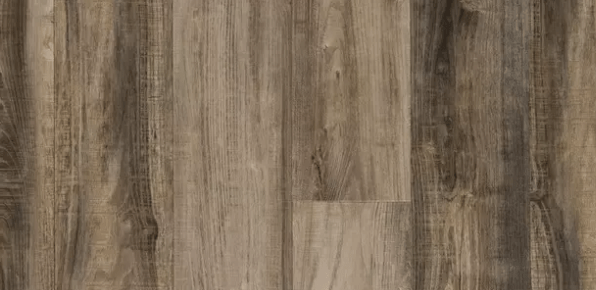
Rigid Core Vinyl Plank for the floors
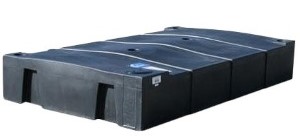
Temporary Above Ground Septic Tank… Until Sun-Mar Centrex 1000 or 2000
Finish sealing up the shower and install Peel and Stick Shower Tiles

And of Course…Speaking of Batteries
How Many Jelly Beans? Can you guess how many 18650’s?

And this isn’t all of them. There’s a shelf off to the right with about 300 more. Which means we can start spot-welding the 15, 100-cell packs together. Yeah!
We’ll dedicate a whole month to the assembly and testing of the packs plus another on the battery management system. We have two to work with:
- diyBMS: an order the boards, solder, and build-it-yourself design from Stuart Pittaway
AND - Batrium BMS. A tried and true, but expensive, turn-key solution.
We’ll test both. Stay Tuned!
