
It was like Deja Vu…all over again
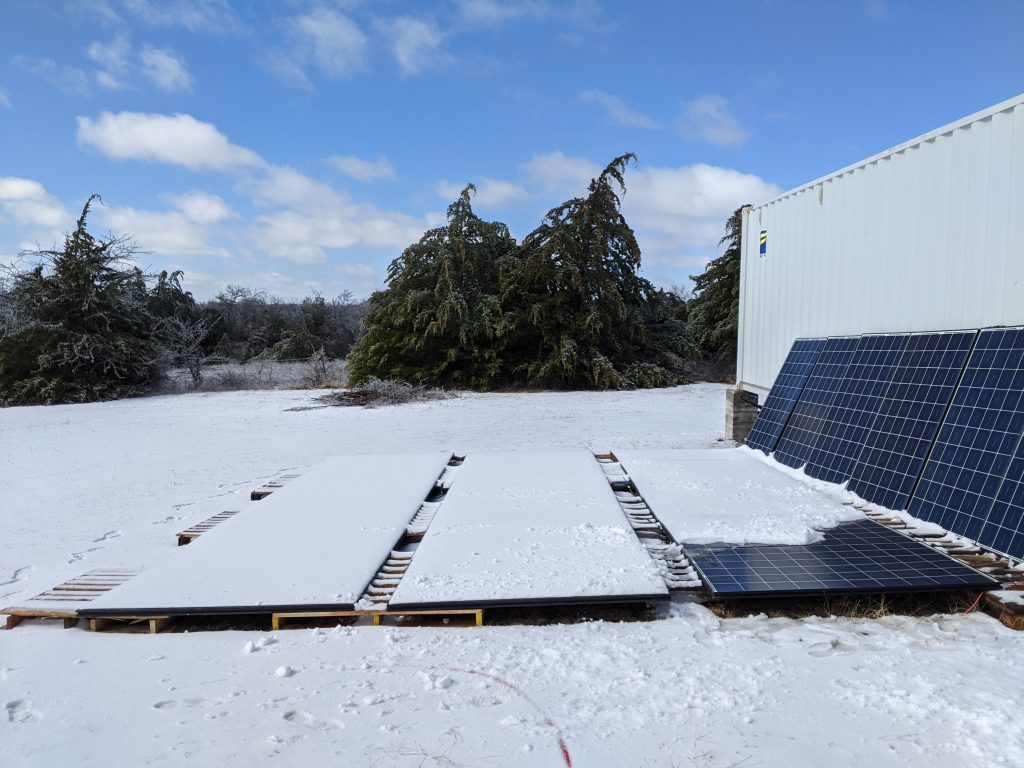
At the risk of sounding like an alarmist, we again had a dose of winter that looked to be like February 2021’s “SnowMageddon”. Thankfully, it wasn’t as cold and it didn’t last as long. But instead of one long 10-day stretch of single digit temperatures, with lots of ice and snow, and a crashed electrical grid we only experienced two periods of a few days each with temperatures in the teens made worse by freezing rain.
That said, not much progress was made this month. The only good news we had was a lot of the materials we had on back order finally arrived so we did make some headway in many areas.
Installing “tile” in the Shower
As promised, we’re going to show the good AND the bad we’ve experienced in this project, in hopes that others may learn from our successes AND failures. So, with that said, a word of warning, “Always get a second opinion”.
I asked my doctor for a second opinion.
-Rodney Dangerfield
He said, “Ok, you’re ugly too.”
Or in this case, verify what’s advertised is actually the truth. And always, always, always dry fit and test the product if you’re unsure it can actually perform as advertised or that you’re installing it correctly.

Originally, we had decided to go with a peel and stick subway tile for the shower, available on Amazon. It was cheaper per square foot than the glued-on interlocking panels we’d looked at before and it appeared to be easy to install. The only word of caution, ANYWHERE, was that many of the commenters just advised using a 3M spray adhesive to really make sure everything stays “stuck”. After installing a few I decided to wait 48 hours and see how they held up. Even with a space heater in the container temperatures swung from the 20’s to 50 over a period of a couple of days and the corners began to lose their stick. Not badly, but just enough that it was obvious that spray adhesive would definitely be necessary. Then something made me want to stop and verify a few things.
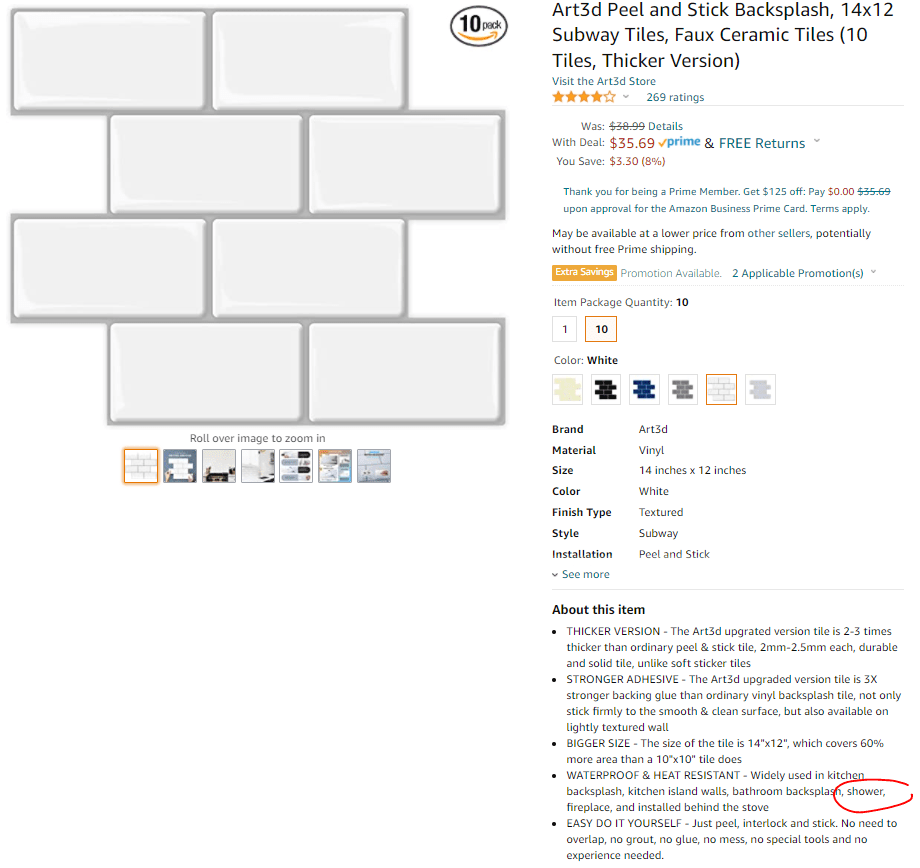
READ the About this item:
“WATERPROOF & HEAT RESISTANT – Widely used in kitchen backsplash, kitchen island walls, bathroom backsplash, shower, fireplace, and installed behind the stove.”
After doing my homework again, I found that most websites that sell this product don’t come right out and say the product can be used in a shower. Even though two of the sites, including Amazon, showed it installed in a shower. Digging a little deeper, and not in the text, I found the manufacturer does not “Recommend” it for use in a shower.

If you go to their website you’ll find it is Non-Recommended at the bottom right. Subtle, don’t you think?
And according to Amazon, “widely used” does not mean the product is “guaranteed” to work in the shower. Interestingly enough, since my complaint/inquiry, they’ve removed the one image that shows the product installed in a shower but they left the one showing it behind a tub install.

Luckily, because I hadn’t used the spray adhesive yet they were easy to remove and no damage was caused to the Kerdi Board. On a side note, tests on scrap Kerdi-Board with spray adhesive did hold very well, so the 10 boxes of these subway tiles will not go to waste and we will be installing them in kitchen as a backsplash.
Second Verse, Same as the First…
I’m ‘Enery the 8th I am…
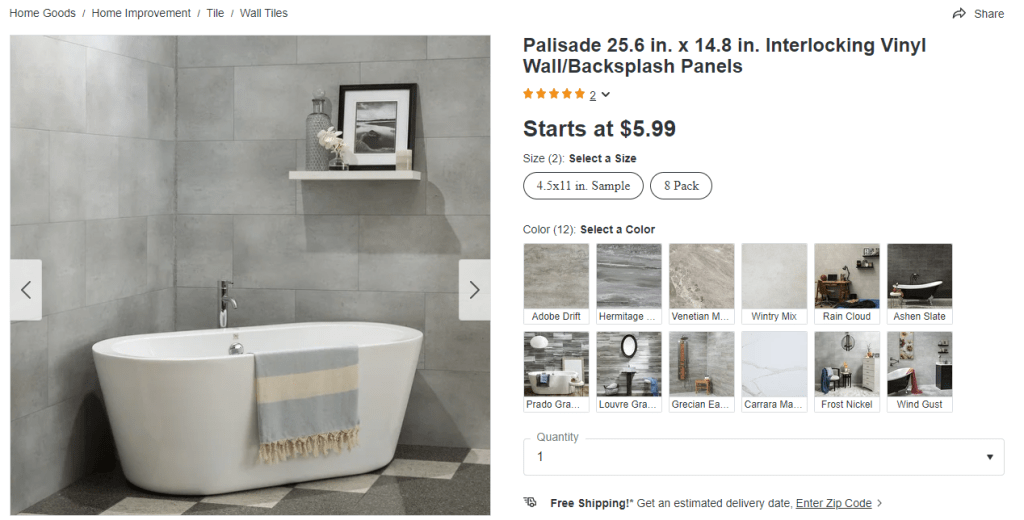
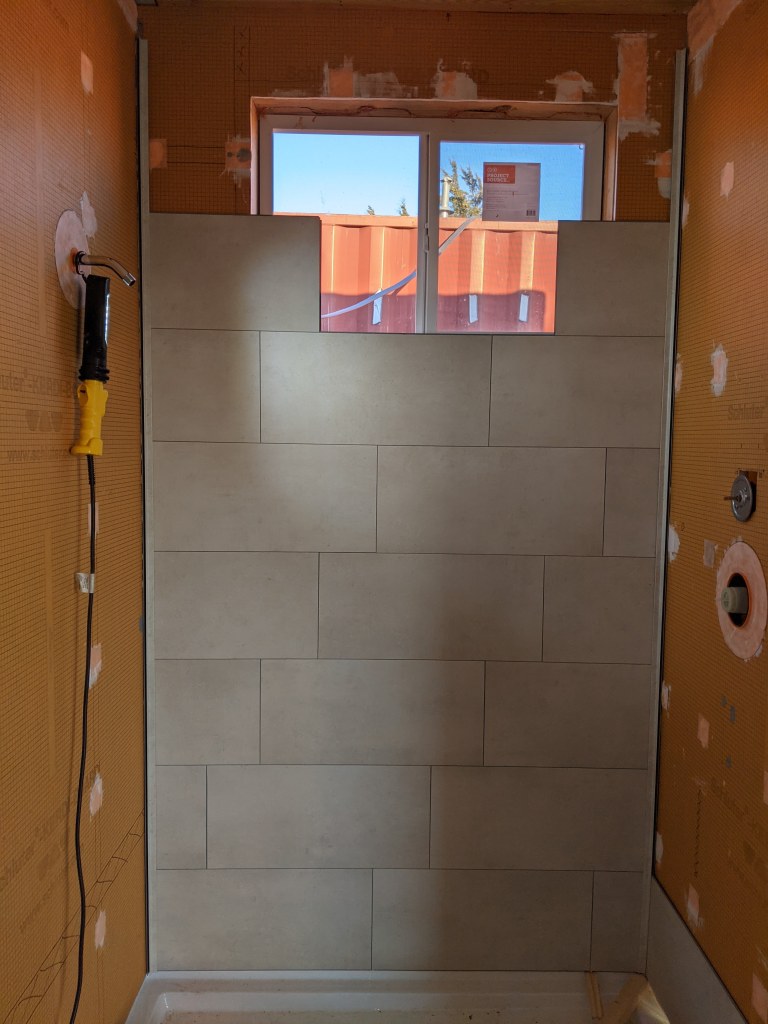
A company called Palisade sells the aforementioned glue-on interlocking wall tile/planks. One advantage of this product is that the trim kit they recommend, purchased separately, makes installing at the edges and corners a real breeze. Pay close attention to which way you install the inner corners though. There’s a right way and a wrong way. In short, the deeper groove goes against the back wall so the last plank in a row has room to go in, and then come back out a little without exposing its edge.
Do yourself a favor and watch the myriad of YouTube videos out there that show how to install this product. It’s well worth the 30 minutes invested.
Second tip: Once you get the first row in, let it setup for at least 24 hours. This is the “foundation” you will be building on from above so make sure it’s level and solid. Oh, and it’s a good idea that they’re supported from underneath. They will drift on you while they’re drying if not.
Third favor: Shop around and do your homework. Overstock doesn’t always have the best pricing or availability. There’s different sizes, pricing, and availability per size and color. For example, the larger tiles (pictured here) are a little cheaper per square foot, depending on the color you choose, but they’re not always in stock. However, the slightly smaller 23.2″ x 11.1″ are mostly in stock but are more expensive compared to other outlets. With a little research we found that Lowe’s carried the color and size we were looking for and for quite a bit cheaper. Add in our military discount with free shipping and viola, we have a winner.


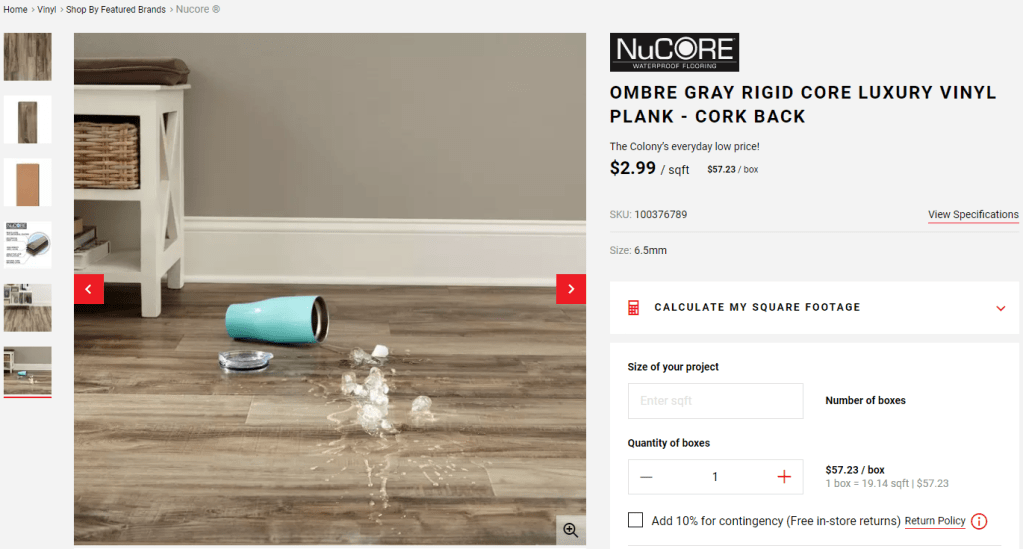
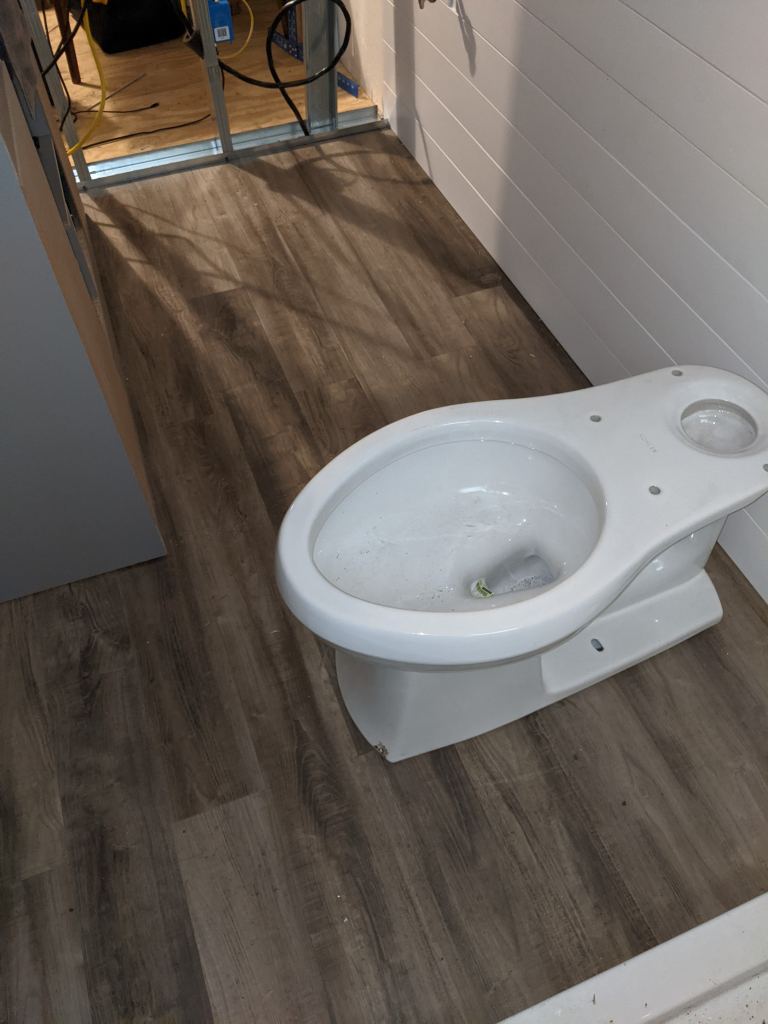
Bathroom Flooring
Between letting the glue set up and having days above 50 degrees that I could do jobs that require LocTite I found time to install some vinyl flooring in the bathroom. This product comes from Floor and Decor and was a breeze to cut and install. At $2.99/sq ft and waterproof this was a deal we couldn’t pass up. Since we installed this on an additional layer of fresh 5/8″ sub-floor AND since it comes with a natural cork backing layer, underlayment was optional. Note: If you plan on installing this product over concrete, an underlayment is required.
Ship-Lap walls in the Bathroom
Now that the floor is fully installed in the bathroom I can get a start on the Nickel-gap, ship-lap, walls. We opted to install behind the vanity, until its final installation, to give me some “hidden” practice and for continuity with the wall separating the bathroom and the spare bedroom. See the metal stud in the background there that’s not affixed to the wall yet? More on that next month. It’s a really cool solution.
This nickle-gap real wood product is sold by Home Depot in 8′ and 12′ lengths and is primed and ready for paint. As like everything else we’ve installed, this product comes with some caveats.
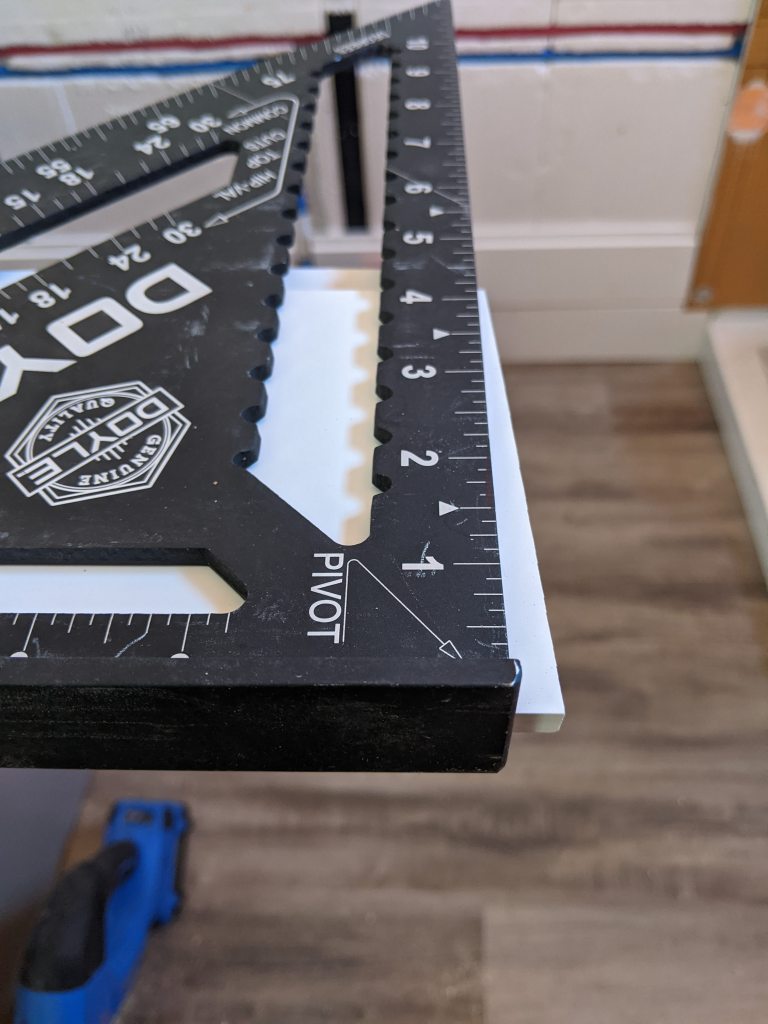
Don’t trust the End Cuts
Most products advertise a specific length but luckily there’s a little slop allowing the installer to true up the ends so they’re square.
Most of these come bundled in 8 pieces so try to avoid the singles, they were left behind for a reason. If you find a loose bundle, check the ends. Some are probably banged up.
Lastly, Lowe’s has a similar product by style and price, but you be the judge. One is supplied their nickel-gap by China, the other by Chile. I’ll leave it to you to compare. There is a difference.
Blind nailing in the gap at the top with a finish-nailer is possible but a little LocTite adhesive on the ends where you might not have a “stud” is also a good idea. Where I knew we had a visual blocker, like the toilet or the vanity, I face nailed as well. A little putty and a dap of paint and people will have to look really close to find the nails.
By the way, the 1.75″ finish nails from my nail gun had no problem with the InSoFast plastic studs. They hold as strong as going into a wood 2×4. Thanks Ed!
WARNING: Pay close attention to where you ran your water lines and don’t even attempt to get close to them. A finishing nail from a nail gun CAN and WILL hit an obstacle and go off at an angle. I’ve seen it in the past. So, Stay Away From The Pex!
Stay Tuned
Well, that’s all the progress for February. Given the weather, and other stuff, I’m surprised we got as much done as we did. Still, not as much as we’d hoped. But now we have most of the logistics figured out, let’s see if we can get up a little momentum.
Til next month!
