
Cutting Perfect Holes for the Shower Fixtures
The trick is building the rows continuing the staggering pattern as done to the other walls. When it comes time to find the center for your hole(s), first remove the row below the row your hole cut row. Temporarily dry fit the entire hole cut row and draw a vertical line down from the fixture’s center point (usually it’s a toothed handle holder) through that tile with a pencil. Use a vertical bubble level if needed. Next, put the previously removed lower row back in. Place your hole cut tile to the (right) side of the fixture and draw a horizontal pencil line through that tile, again using the bubble level to create your cross hair marking the center point of your hole saw.
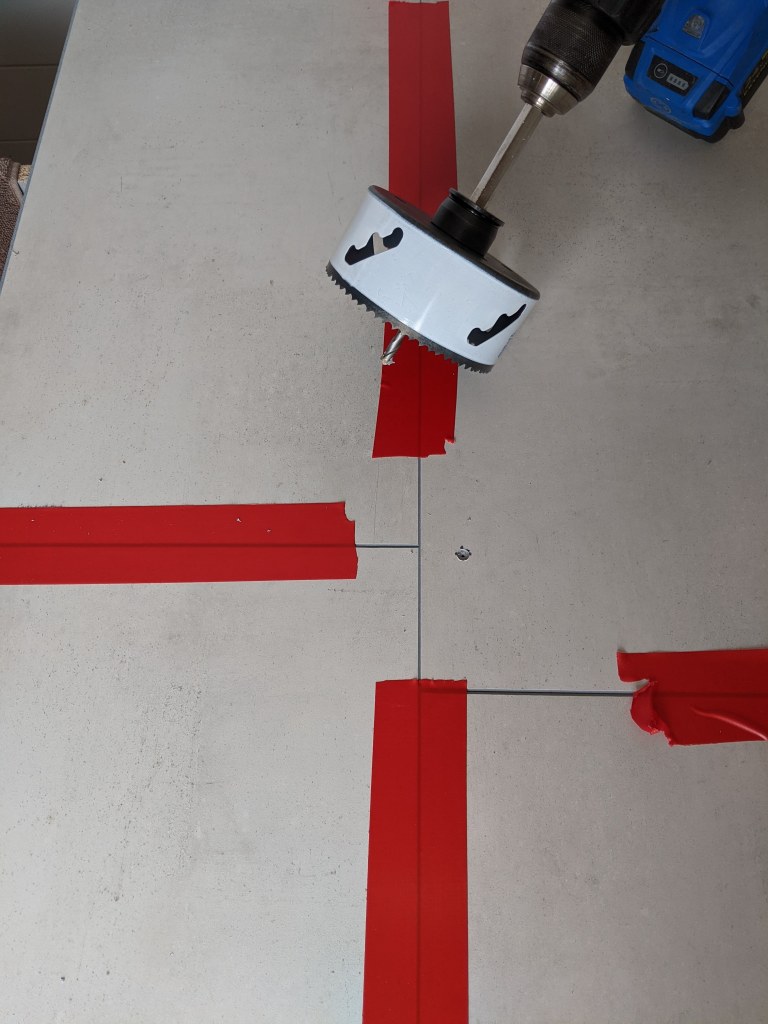
Lastly, reassemble all of the tiles on a flat surface, clicked together and flush like they would be on the wall then tape the seams together so they don’t move during drilling. Drill a small pilot hole for your hole saw(s). Lastly, since I had installed a 4.5″ Kerdi-board fixture gasket and a 3″ diverter valve I just used an appropriately sized hole saw to make my cuts. And viola’…

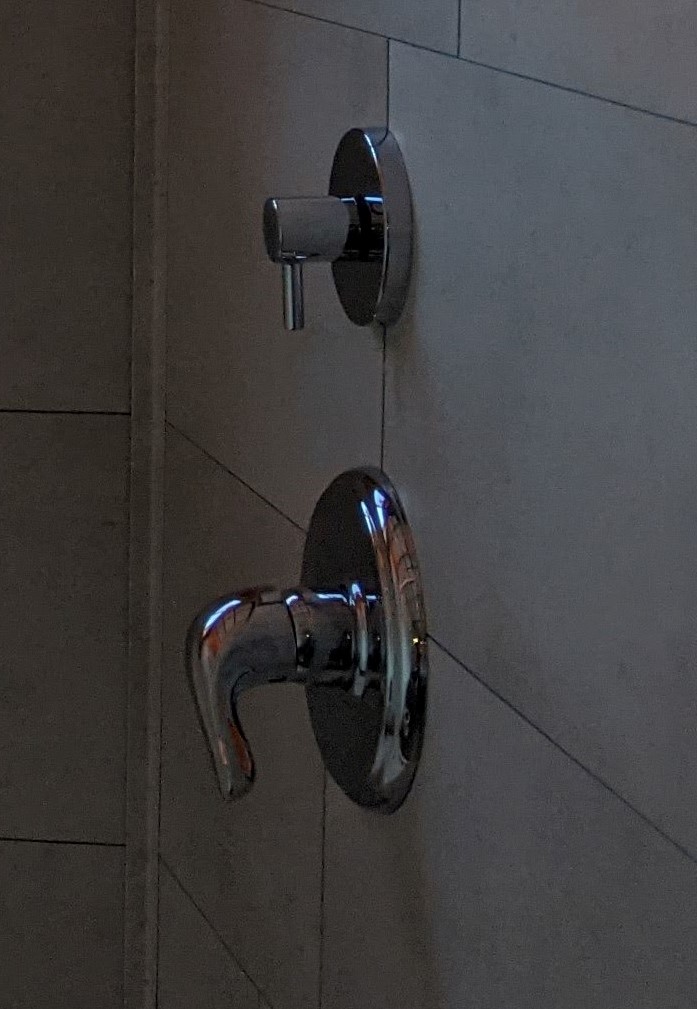
…everything fit like a glove. Moen also puts gaskets behind the face plates so when you screw them down you’ll create a water proof barrier between the fixtures and the tiles.

Install valves and handles, and Bob’s your uncle.
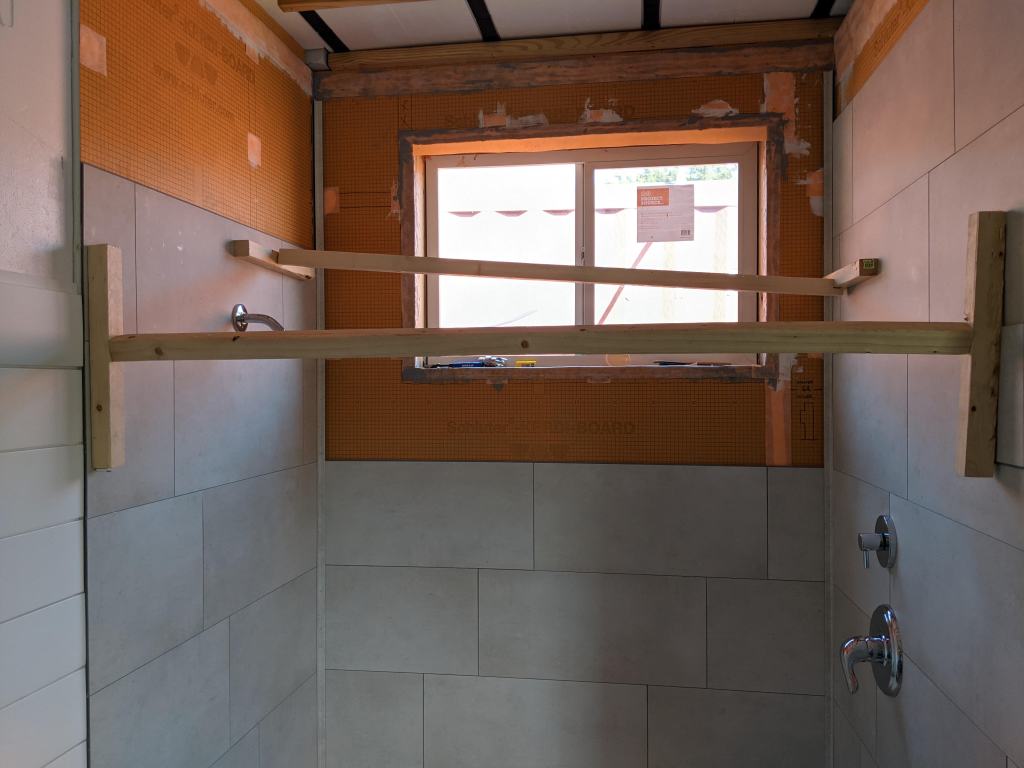
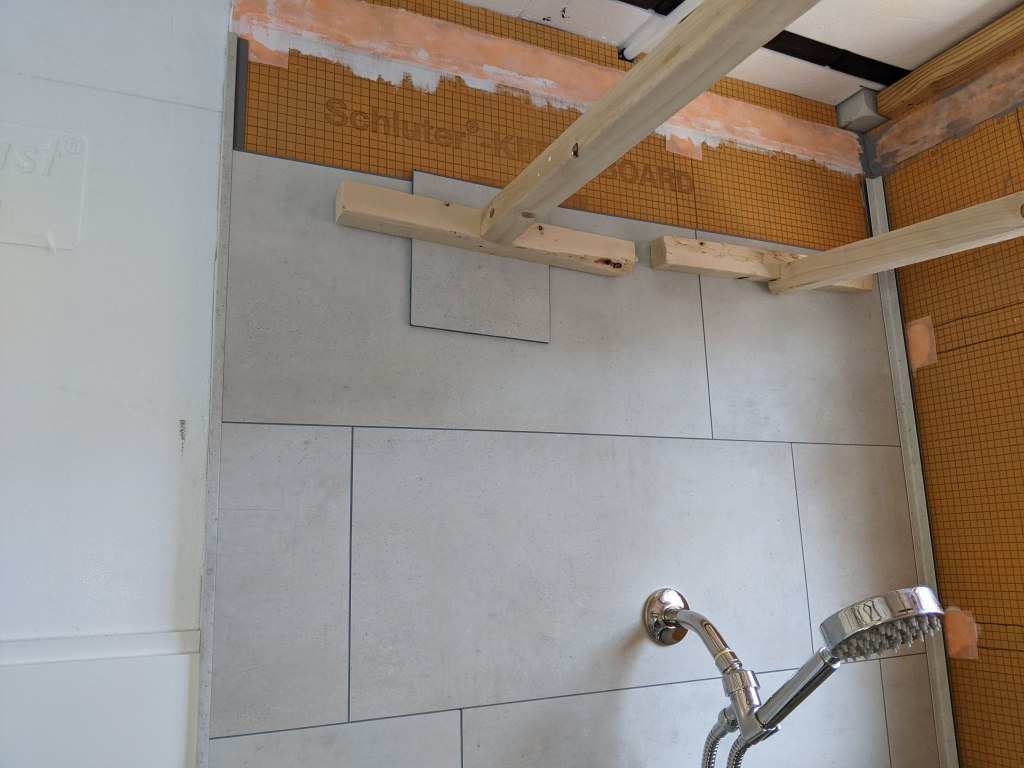
Another trick we found was to fashion braces to make sure the tiles don’t pull away from the Kerdi-Board. Because if/when they do, the LocTite will pool at the bottom, forcing the tile away from the wall at the top, and this creates a wedge that’s almost impossible to remove without doing damage to the tile or the wall. Trust Me!
If you do the same row on both sides at the same time you’ll be able to take advantage of bracing freshly glued rows on both sides. You just have to be careful not to knock them down while you’re cutting and dry-fitting the next row. Allow each row to setup for at least a few hours. The dryer or less humid it is, the slower the adhesive sets up. Also, don’t brace them too tightly and not right at the top of the tiles as this can make inserting and locking in the next row a lot more difficult.
Flooring & Shiplap-ing
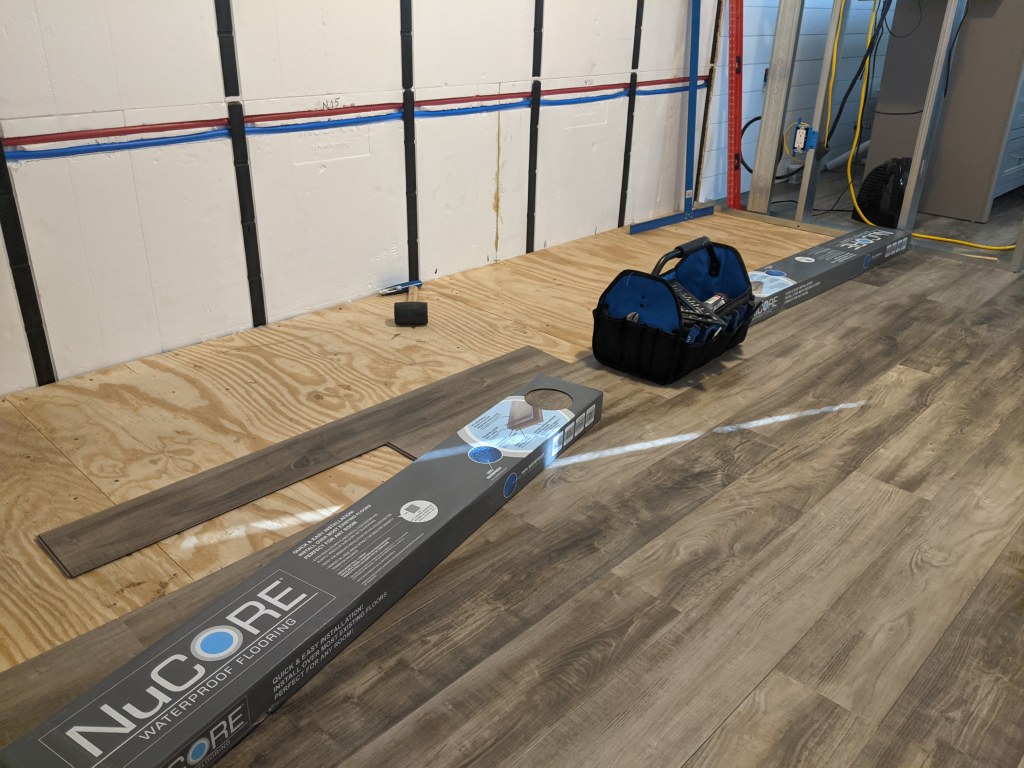
Order of Battle
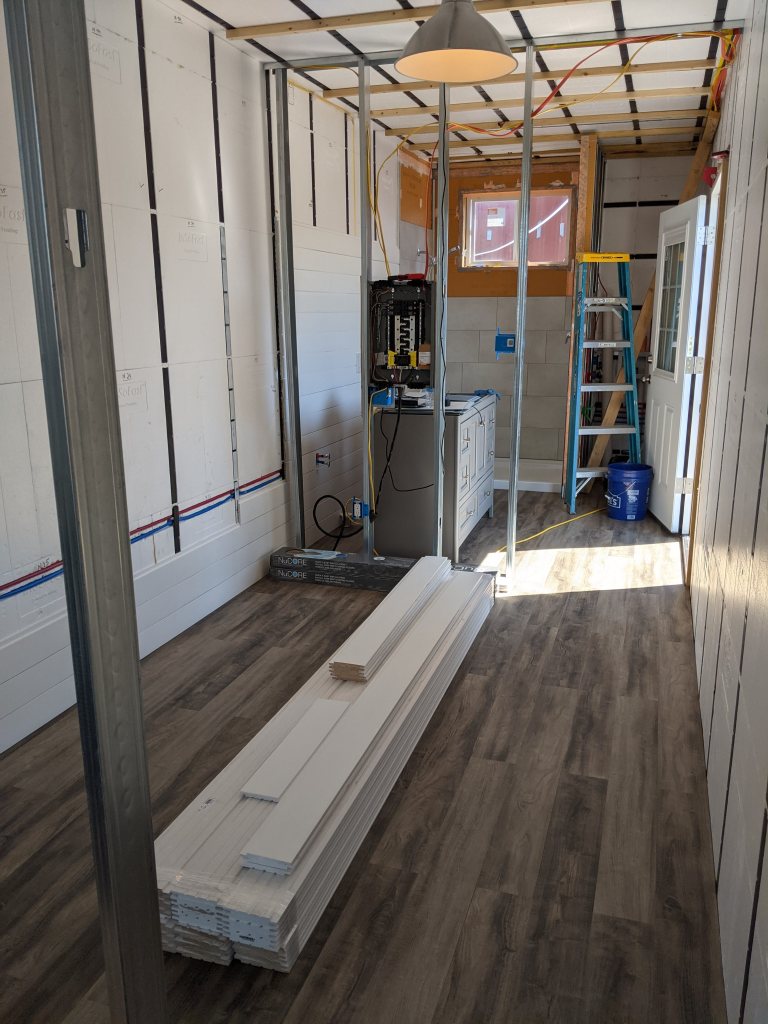
In order to do the dividing wall between the bedroom and the bathroom, all the shiplap has to be up first. And in order for the shiplap to be installed on that wall, the flooring has to be installed up to it first so the shiplap has something to rest on.
But why does this dividing wall need all this first? Great question. It’s a neat trick that allows for the adjoining wall’s “stud” to be put in last that leaves a place for the dividing wall to be nailed to. See the pictures below.

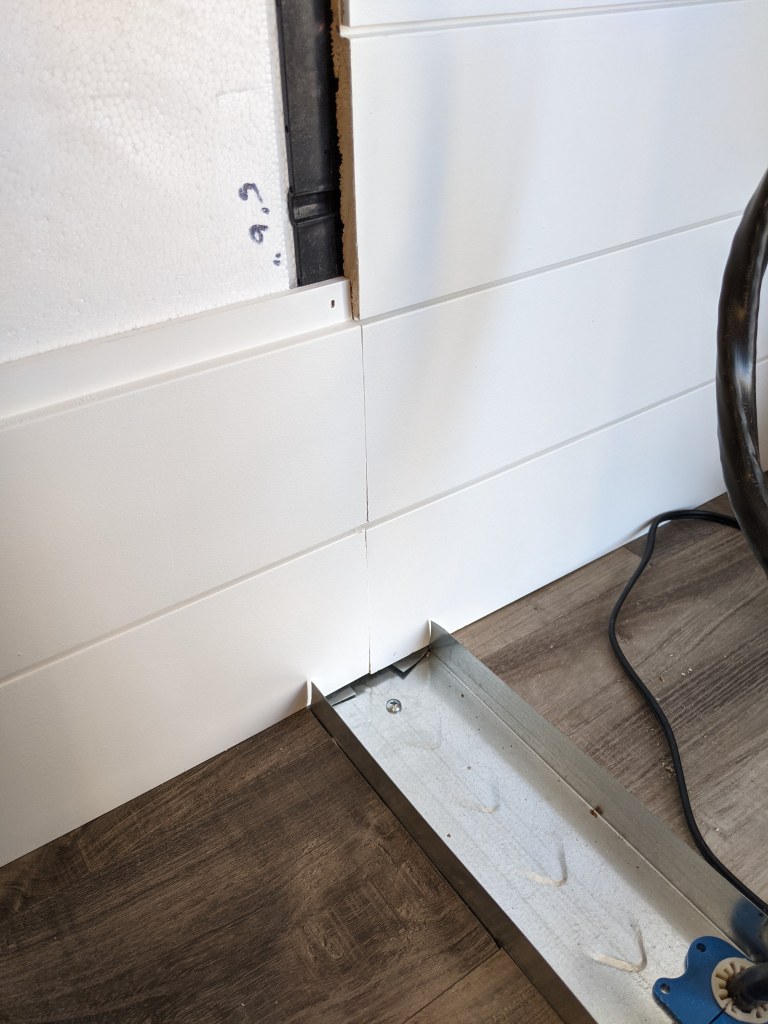
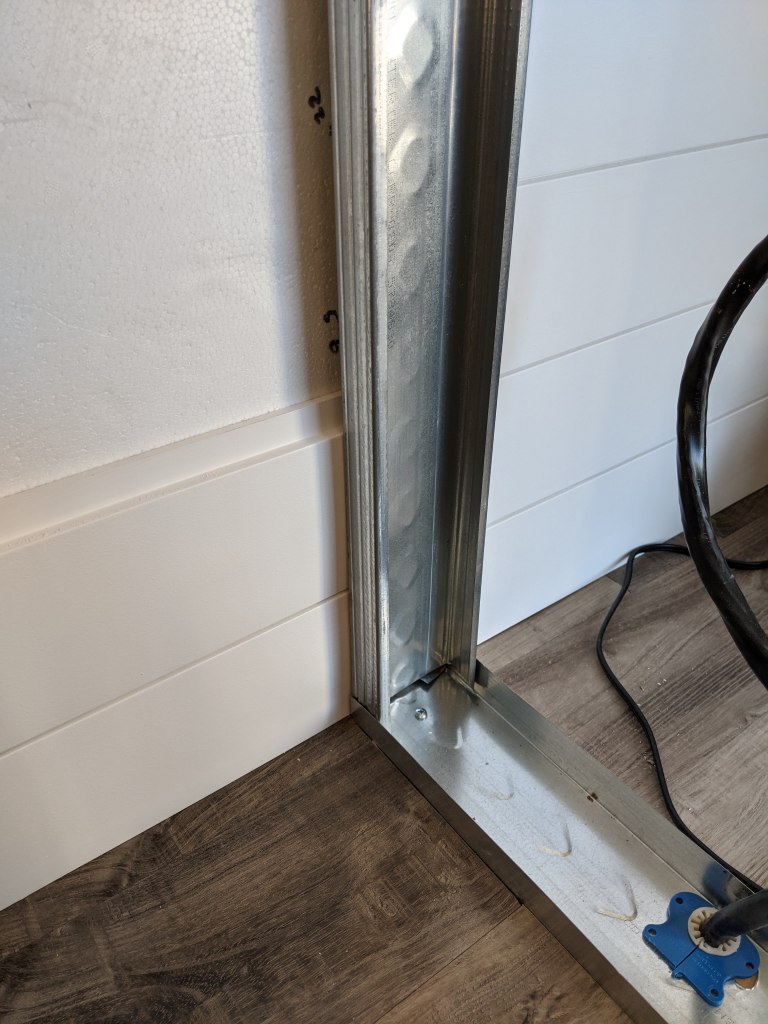
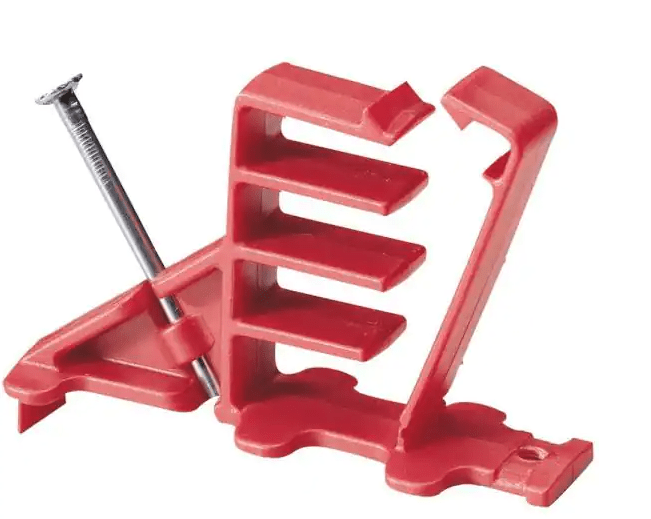
Each piece of shiplap shares one side of the plastic “stud” in the InSoFast where a finishing nail is used.
Once the entire shiplap wall is done this steel stud can be fastened to the wall with a wood screw through a pre-drilled pilot hole. Then the separating wall will have a point that is flush to the wall where shiplap can be anchored to it as well. This trick saves an extra stud and/or framing material.
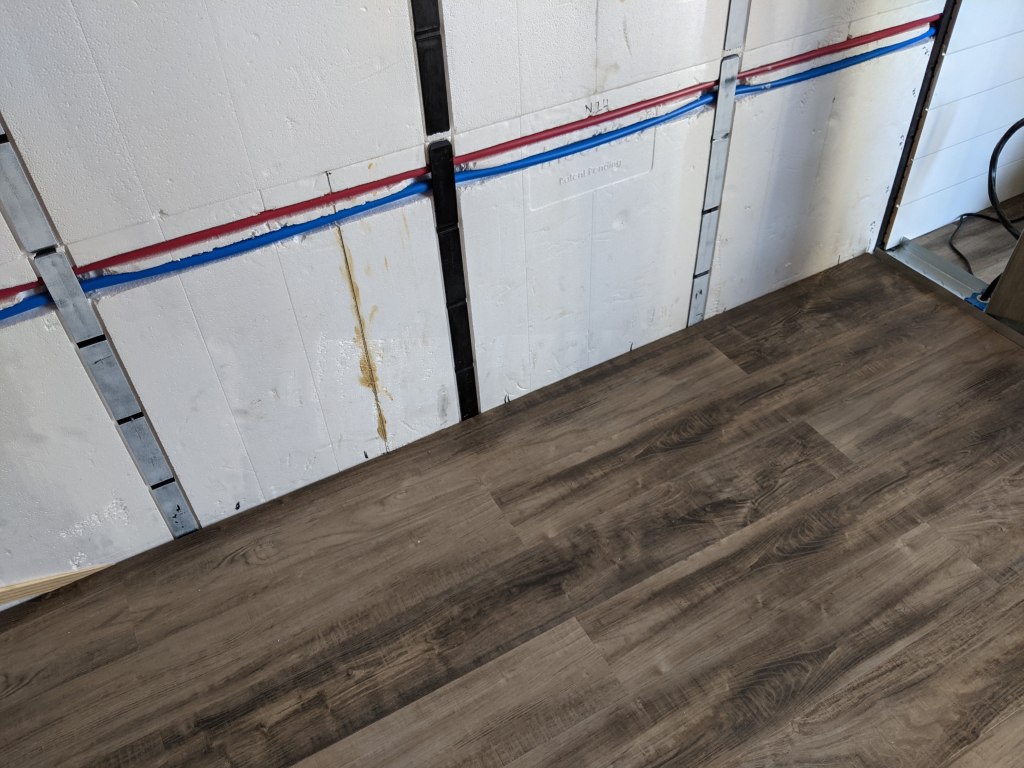
Again, be careful of wire and PEX raceways!
Lessons Learned
In the future I’ll make the dividing wall a half inch longer.

Due to shortages 12 foot lengths of shiplap weren’t available.
If we could have found them, we would’ve saved a lot of cuts plus we’d been able to cross from one room to the other. As it was, only 8 foot lengths are ever in stock.
More of the Ship-lap Walls

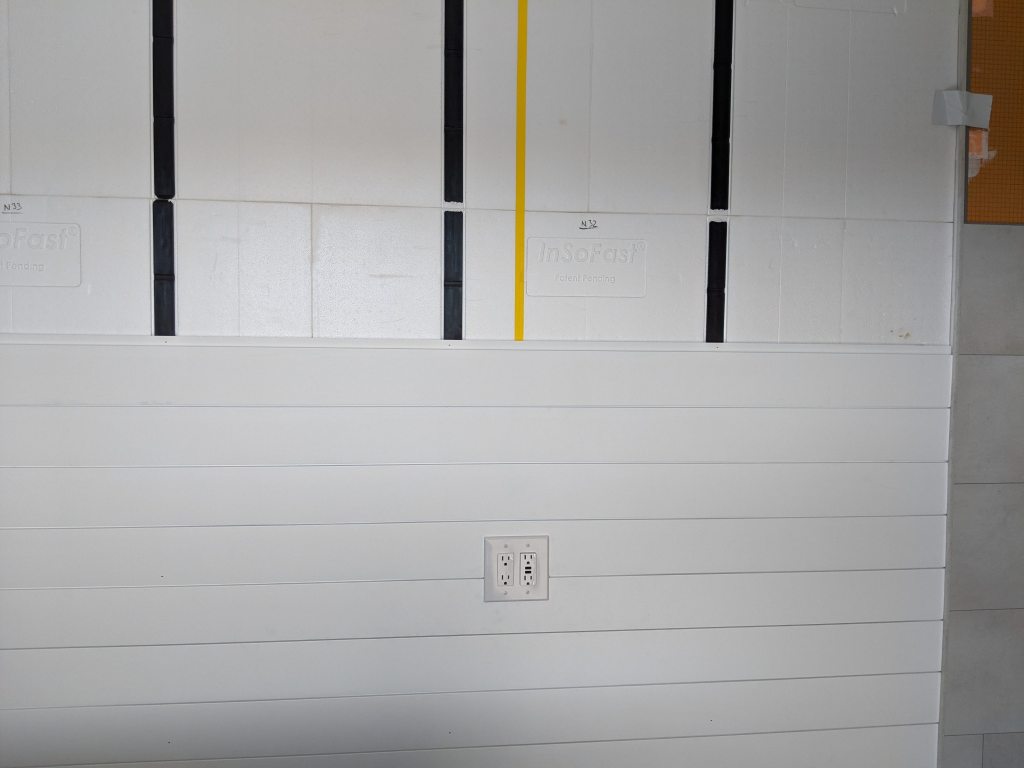
Using the vertical holes in the InSoFast insulation it’s easy to route the ROMEX up and inside the wall. Just be careful to make the cut-out for your outlet box exactly in the middle of the deepest section of the corrugated wall. This serves two purposes. The hole for routing your wires will be accessible right above your outlet box. AND the cut-out will take your outlet box all the way to the Corten wall. There’s no nails involved, just LocTite and yes, you’ll need to apply some orange (or whatever) expanding foam behind and all around the box to insulate everything from the bare steel. Wait 24 hours til your glue is hardened before applying the expanding foam. It can and will “eject” your outlet box from the wall otherwise.
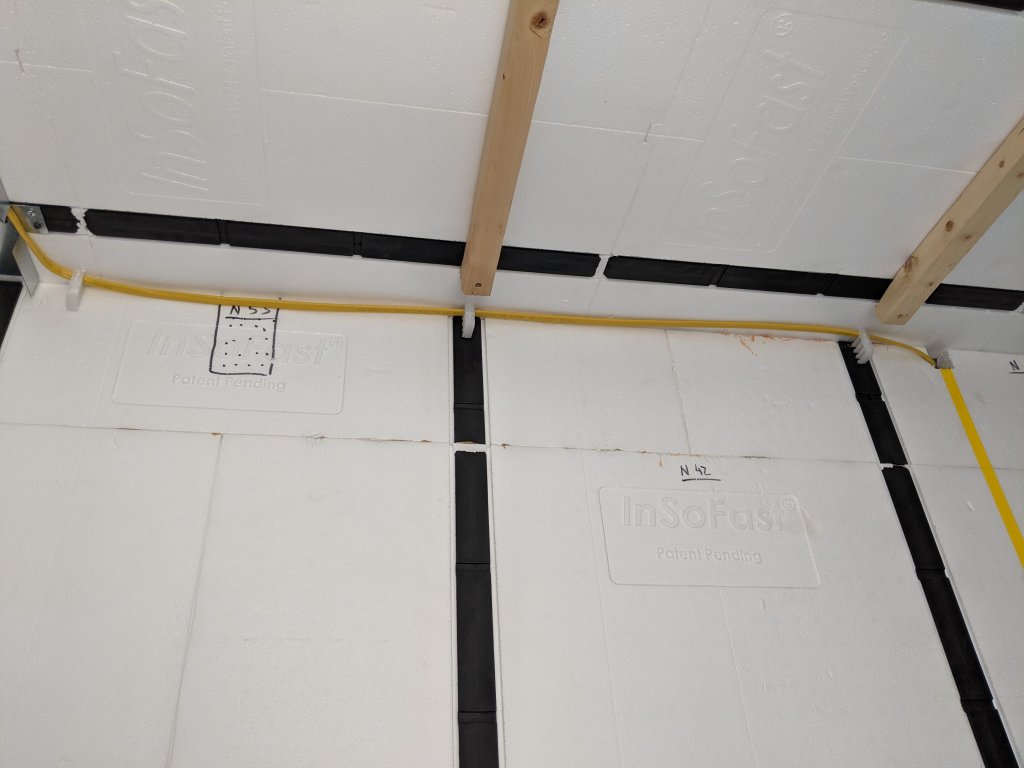
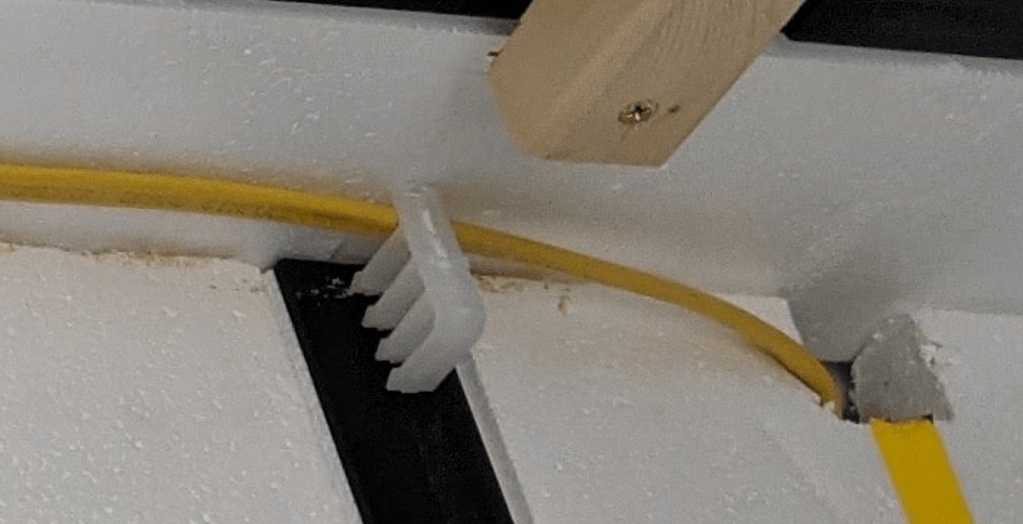
As for how to keep them neat at the ceiling it’s just a matter of repurposing some 3M Cable Stackers by cutting off the nail down bit. Slide the long tab above the wall panels and glue them into place.
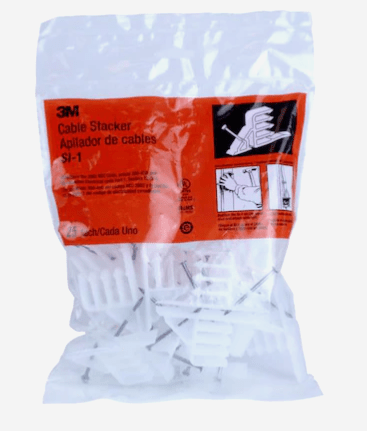

There are other brands on the market that will do as well.
Then we can continue our ship-lap install.
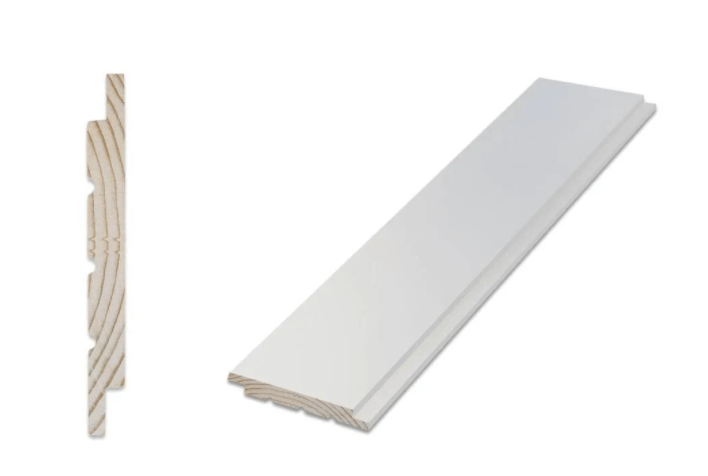
Note of interest and a solution: Even though this brand of shiplap comes primed and ready for painting, there is a tendency for the longer boards to curl downwards after you paint them. Even when painted on a flat surface or laying them flat on the floor after painting them. If they’re not “re-flattened” they’ll bow out slightly, enough that you’ll notice, between each of the studs. The solution we found was to place a heavy box of something across many boards to flatten out the bowing. Be sure to use a large piece of wax paper in the middle to keep anything from sticking to your paint. Even if it’s dry there’s a chance something could transfer. After 24 hours the boards are flat enough to install.

Coming along nicely. See y’all next month!
Have a good one!
