Installing Electrical Boxes
Key take-aways before you begin
- There’s no nailing of the electrical boxes, only adhesive, unless you luck out and get a stud right next to your insulation cut out
- Most outlet boxes are too deep to put right next to the plastic studs
- Outlet boxes must be aligned with the vertical holes already created in the InSoFast panels
Outlet Boxes
After finding your vertical wire conduit holes, there are only two per panel, set your box height and trace an outline around the box.
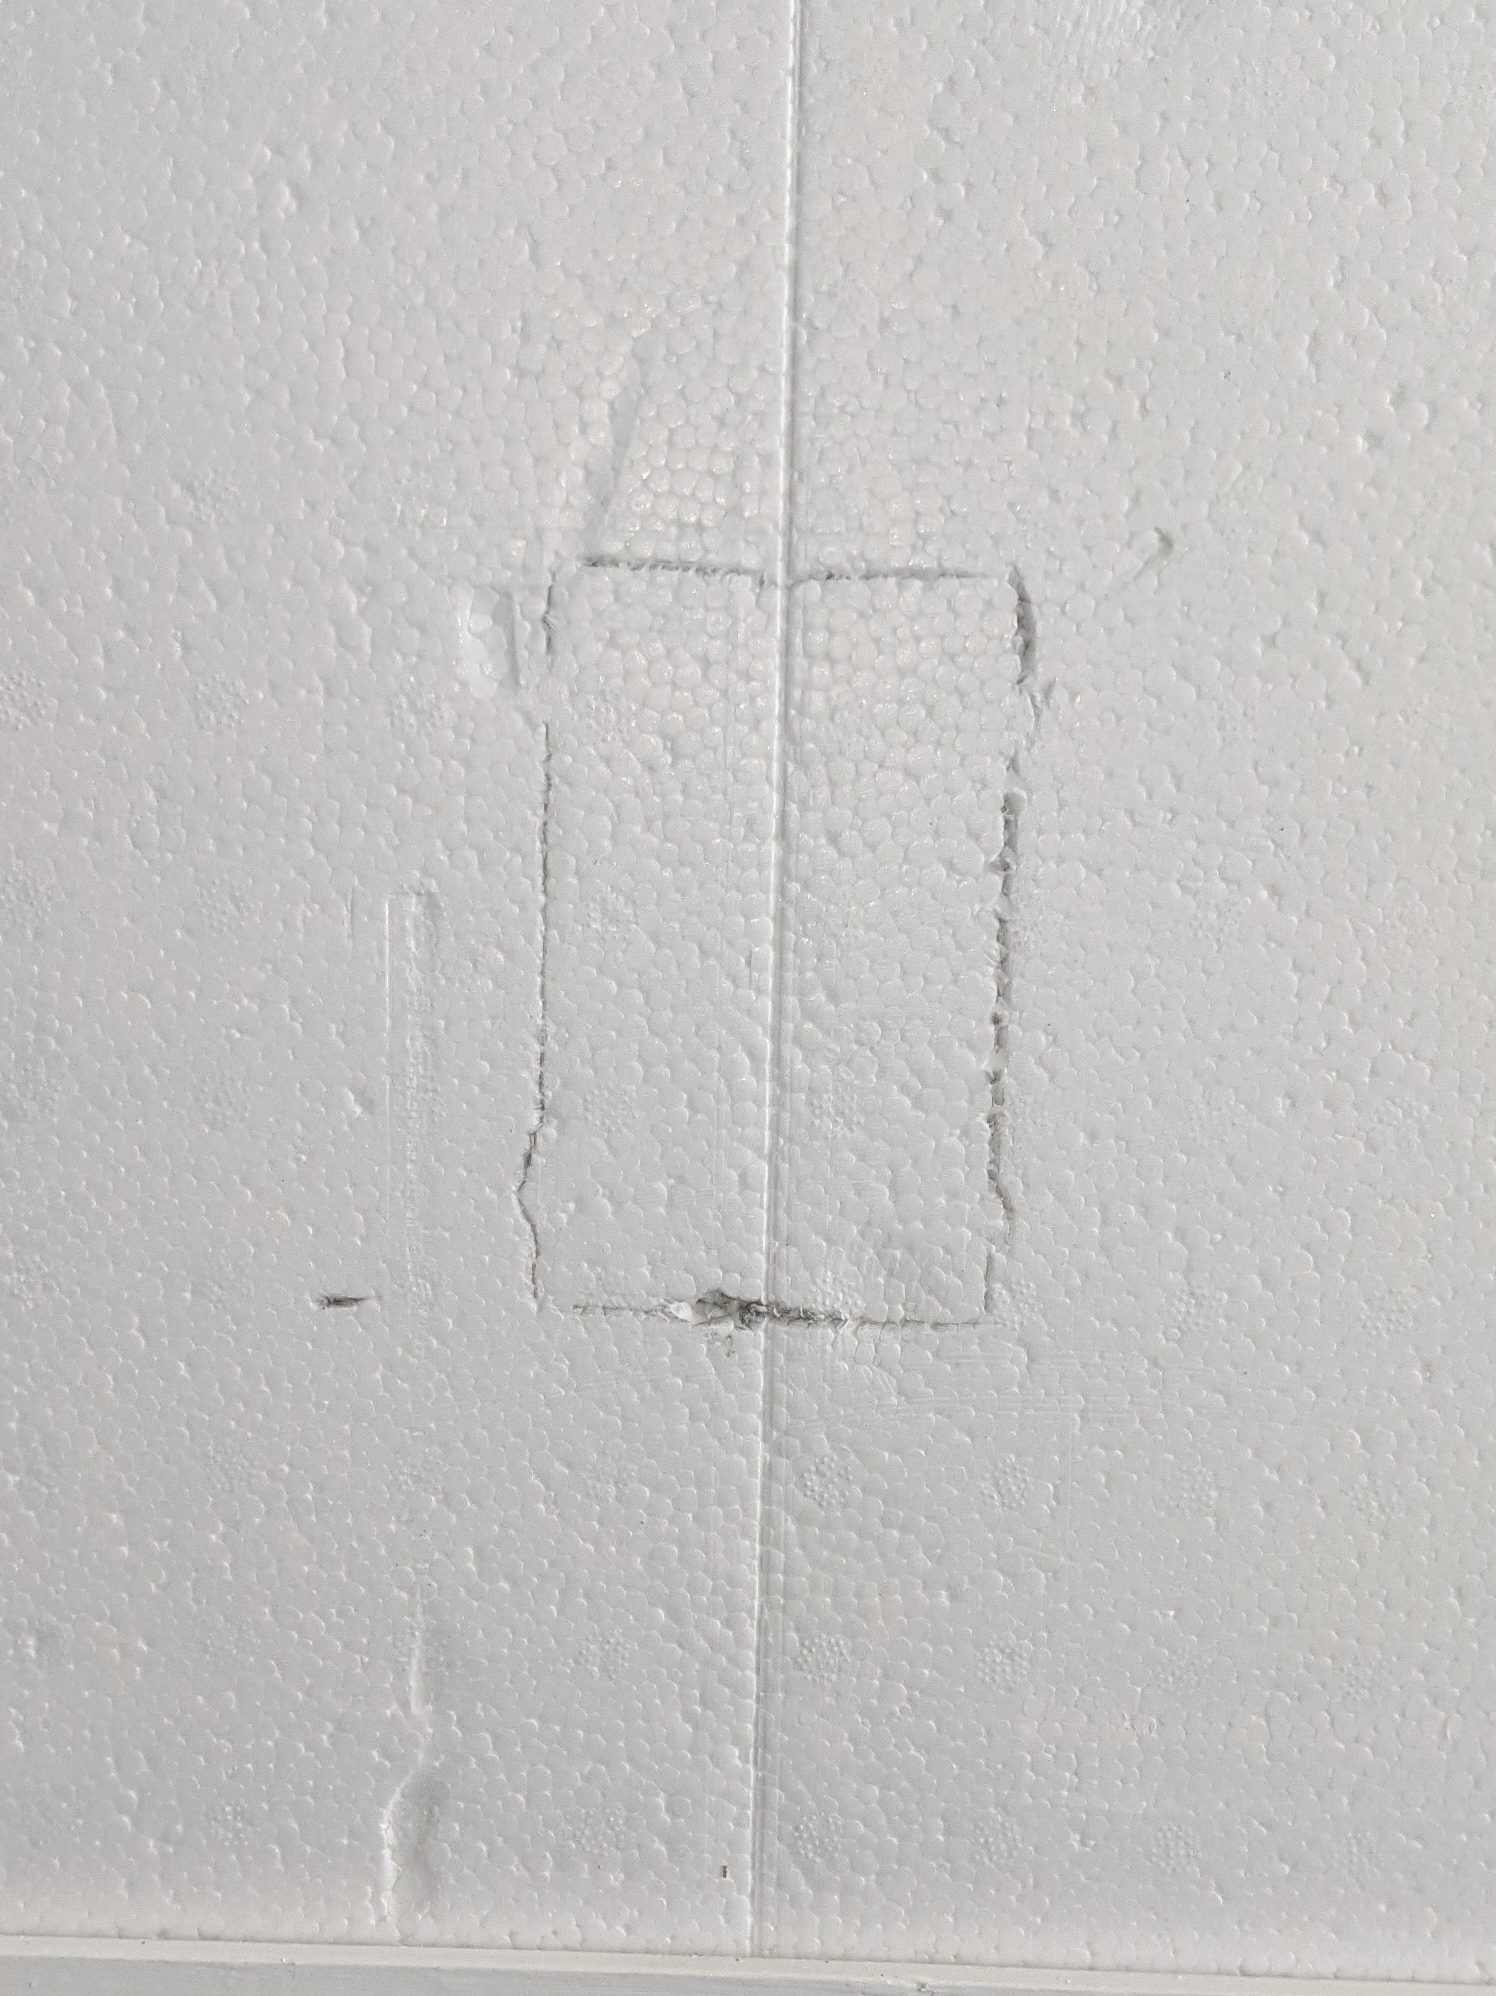
The InSoFast team shows how to use a square hot knife that plunges in the right depth for different sized boxes, leaving foam against the wall. If you don’t have a fancy one like that, use these instructions instead.
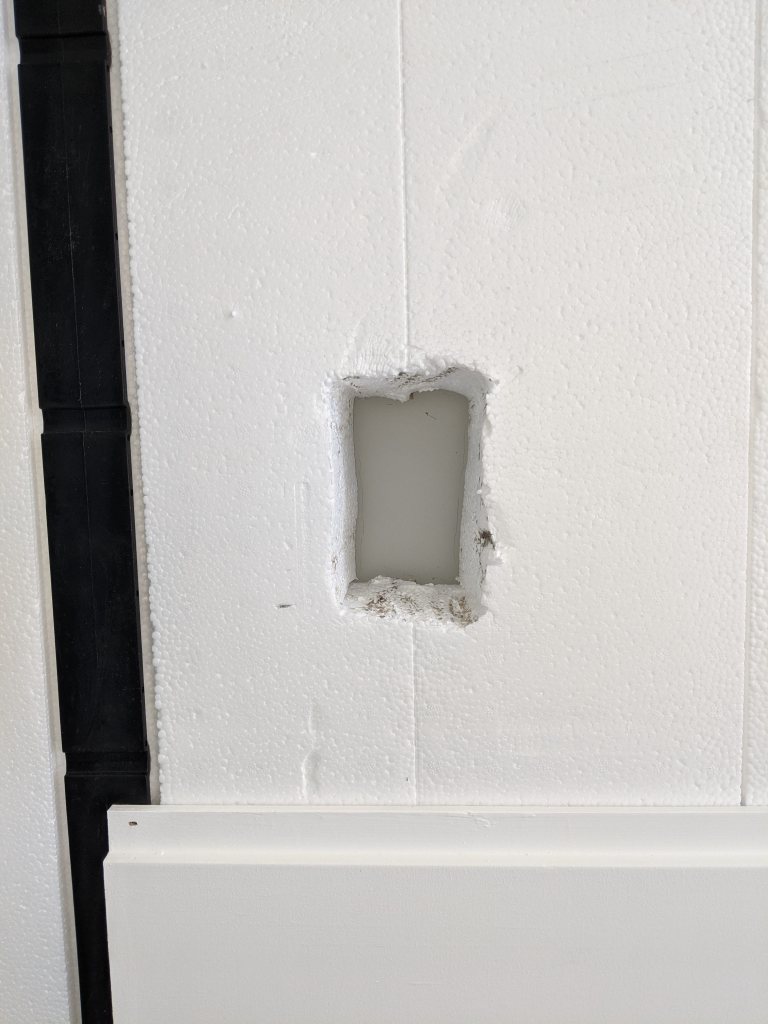
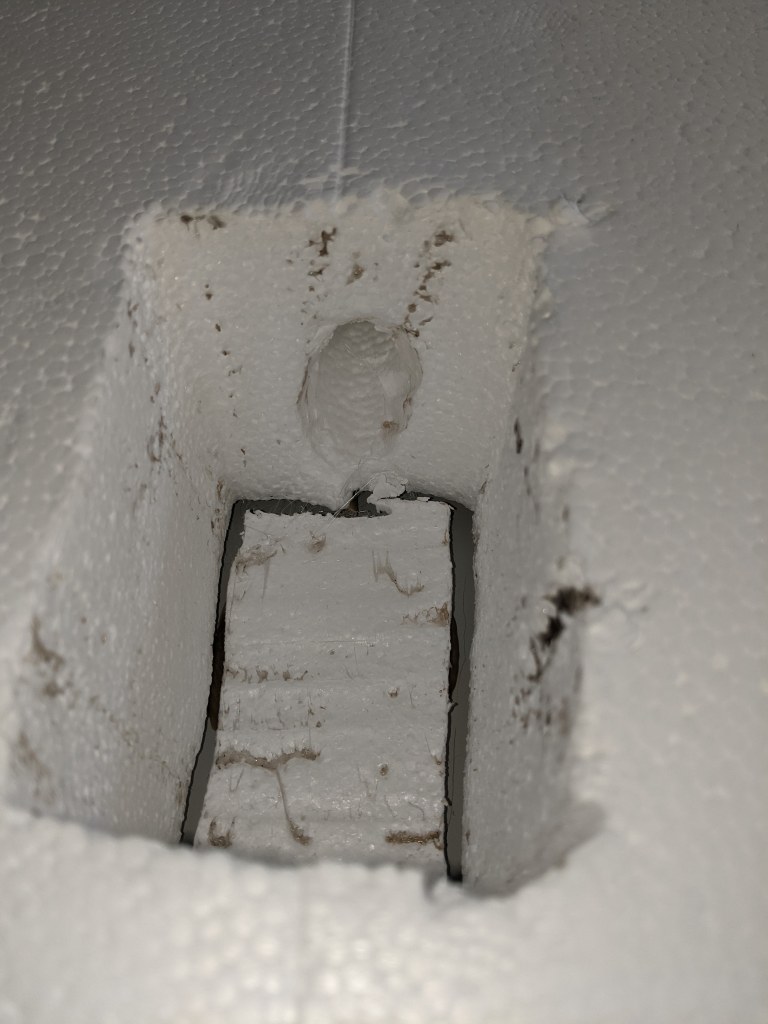
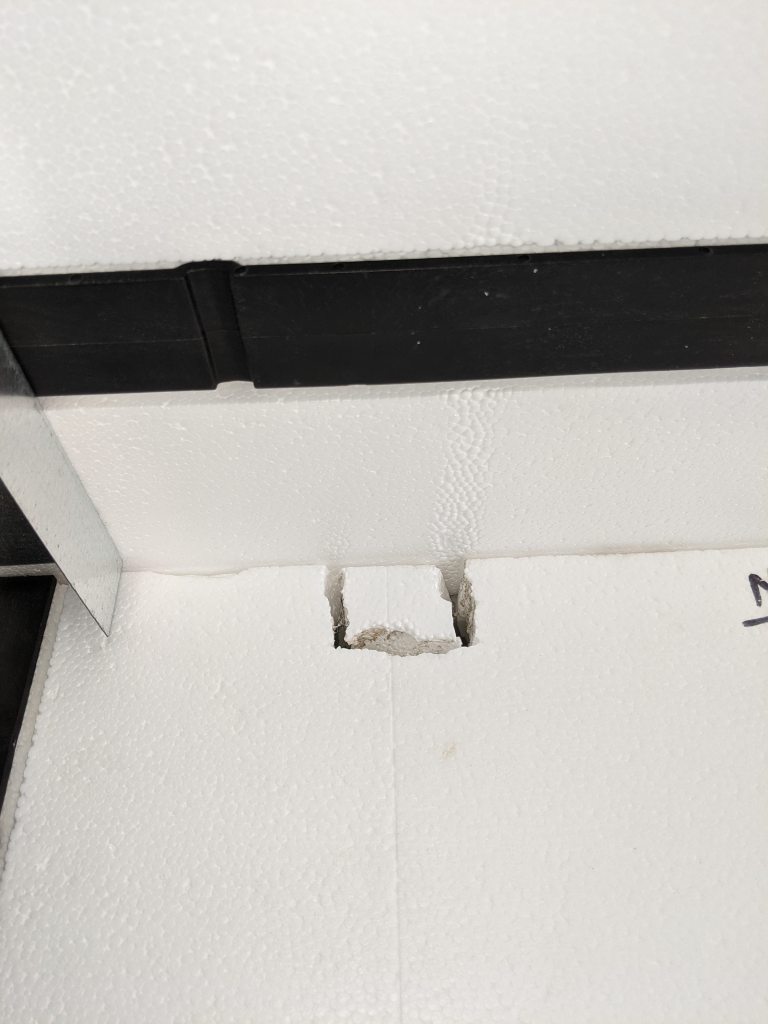
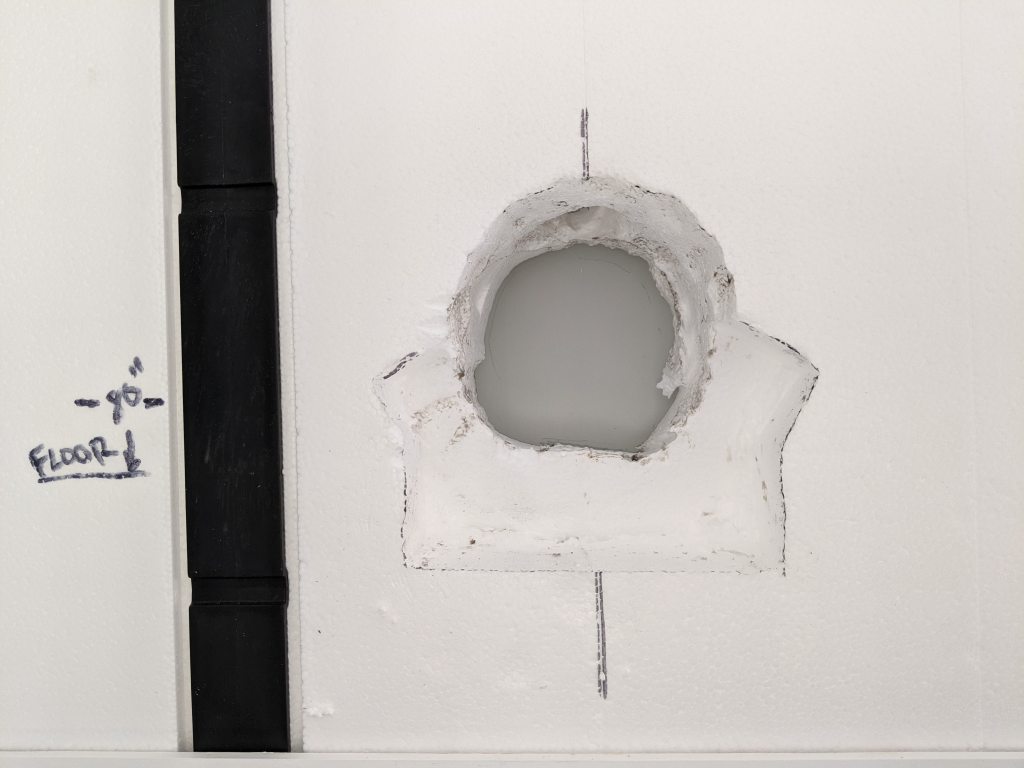
Using your hot knife, cut along the trace all the way to the metal wall and remove the foam rectangle.
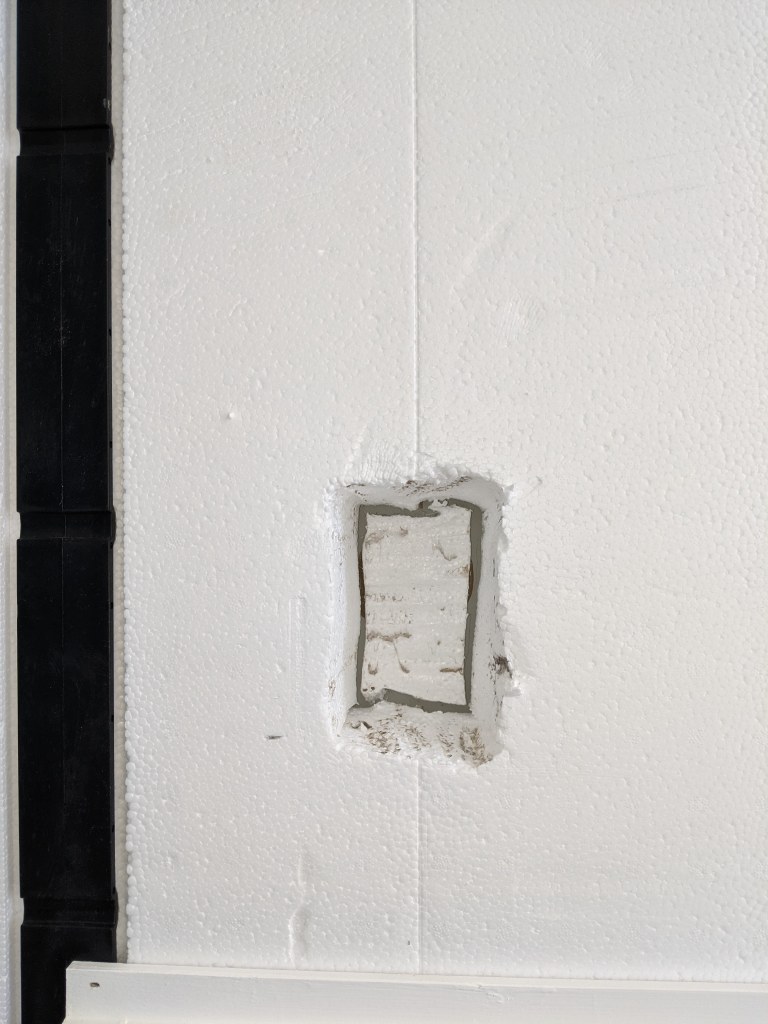
If the box isn’t too deep you should be able to cut a half inch deep piece of this rectangle and glue it to the metal wall to aid in insulation and to give the box something to adhere with.
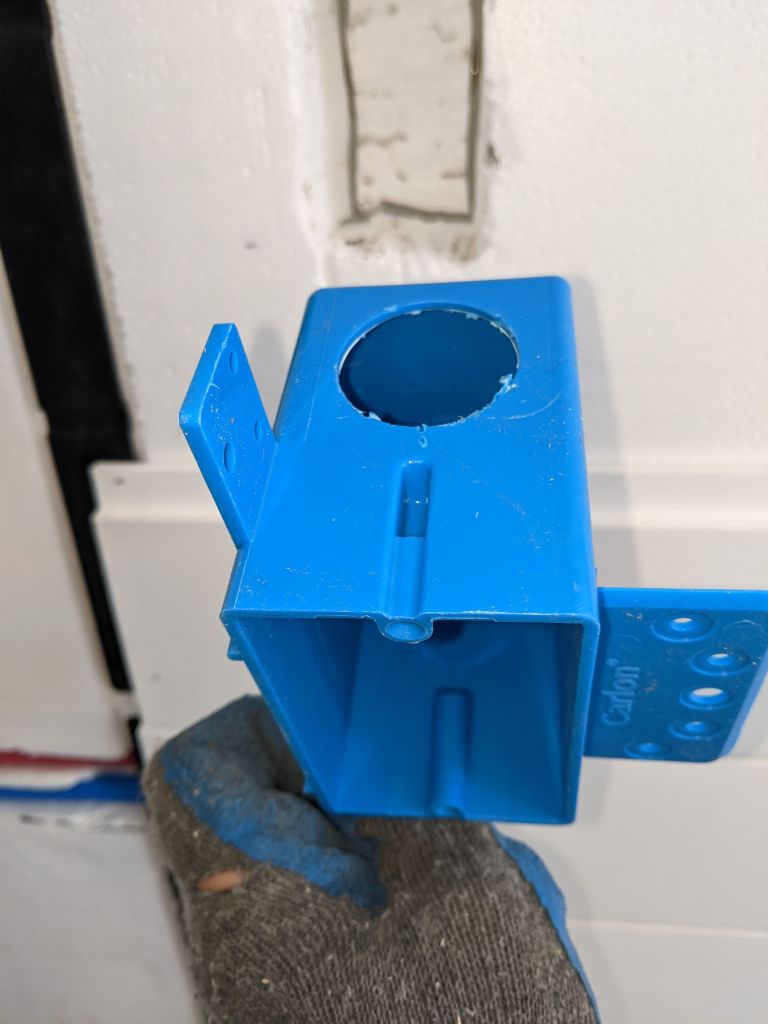
Most boxes have a punch out and Carlon-Lamson brand have eccentric punch out circles so you can choose a small hole or large hole.
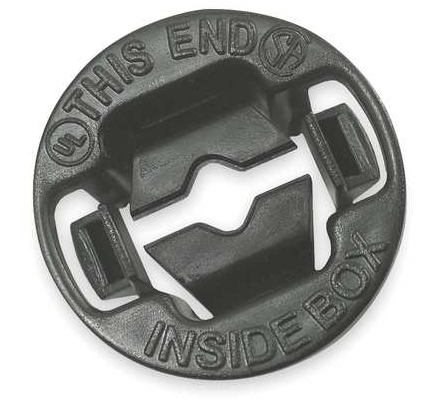
NOTE: Most states require a cable clamp connector at the box hole, like the following:

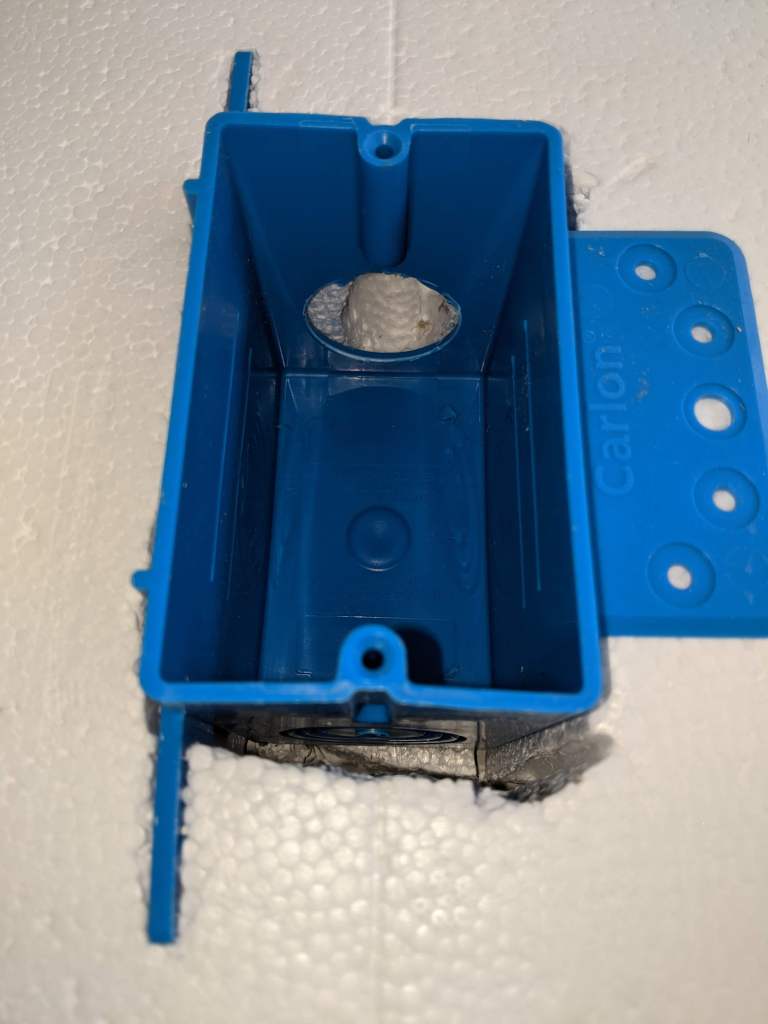
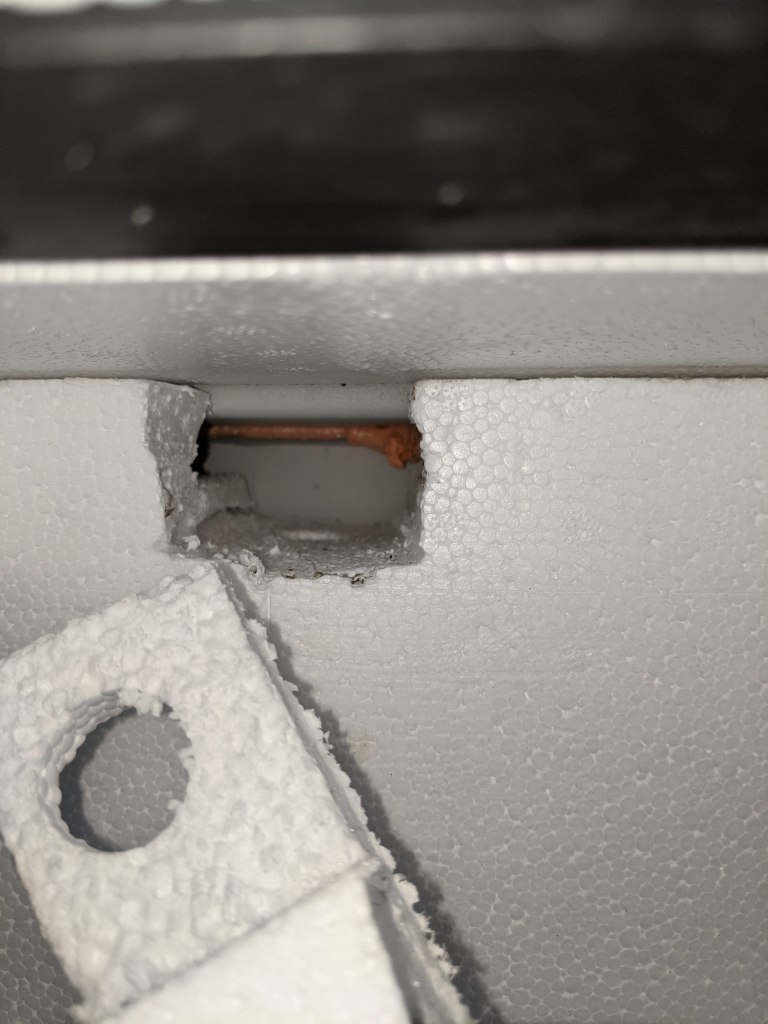
The large punch out will be required to reach the InSoFast conduit hole toward the back of the panel. Even so, you’ll need to carve out a lip with your hot knife to make it line up with the electrical box.
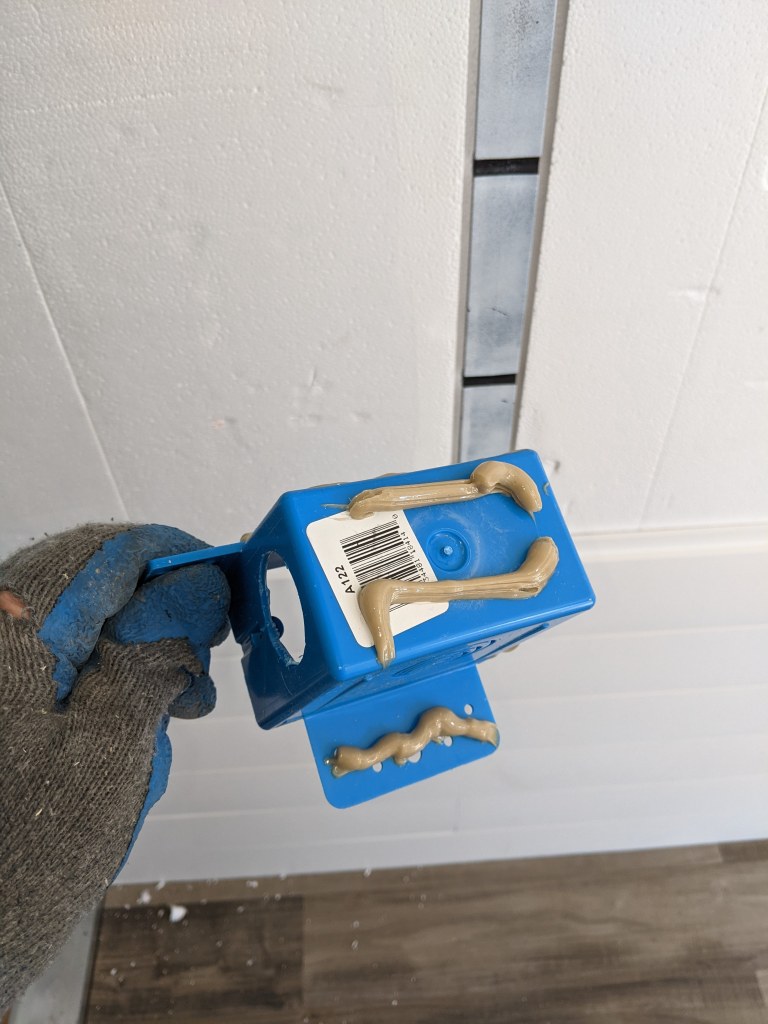
Dry fit everything and then apply generous amounts of adhesive and insert into your cutout. If your box has vertical tabs use a level to help make your box level but remember not to cut these tab slots very deep.

Some cable clamp connectors can be installed after the box is installed.
Remember, once the glue has cured spray some insulating foam around and behind the box to cover any exposed metal. Bare Metal = Condensation
Expert Tip
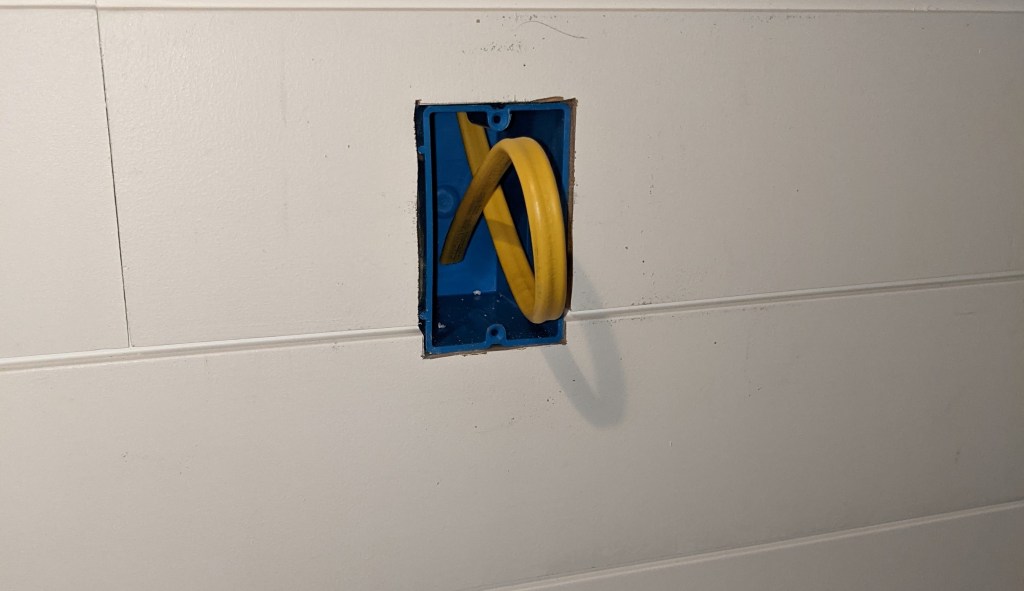
After cutting the box hole and the hole at the top of the wall, run a spare piece of ROMEX to ensure there’s no blockages, BEFORE gluing in everything.
Often times when installing the panels, glue might find its way over one of these holes requiring you to cut out the blockage and re-glue the foam piece back in after your wires have been run.
Cut your shiplap to fit snugly.
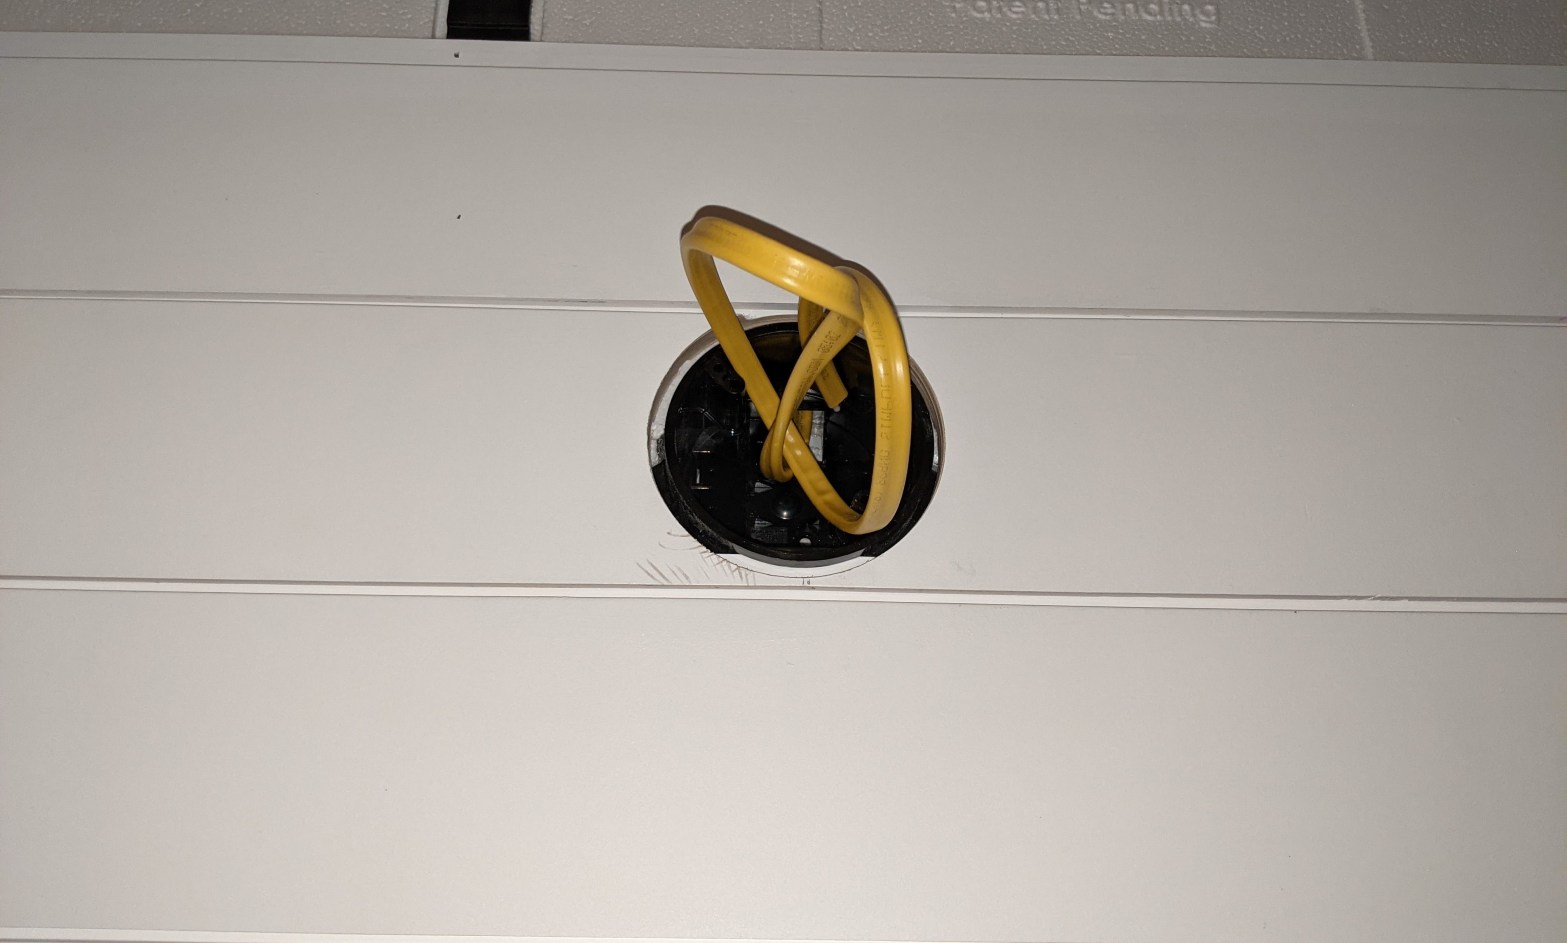
Light Boxes
Light boxes are similar but usually have to contend with the weight of a heavy light fixture. Like the one above your bathroom vanity mirror. If you’re installing shiplap or a wood cladding like we are take advantage of this sturdy structure to support the weight put on your light box.
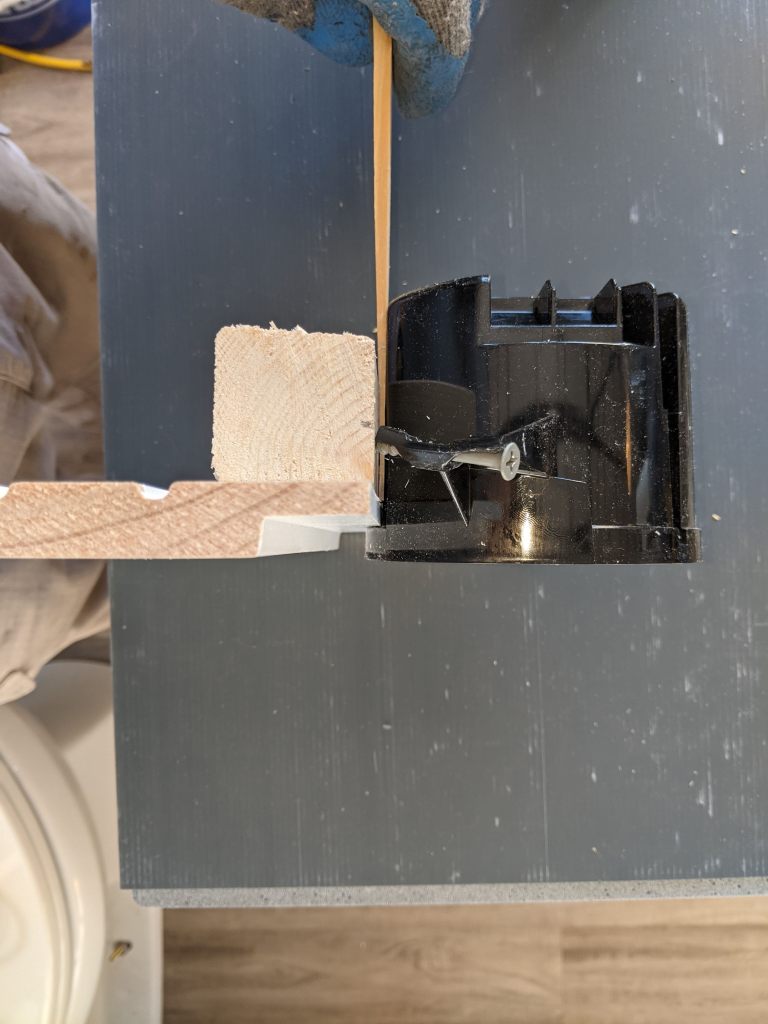
In our case we secured a new construction box to a piece of wood that gets finish-nailed to the back of the shiplap boards.

Since we’re using screws, we removed the nails first. The easiest way is to pound them through and then cut off the end with a grinding disc.
A few things to take into consideration. 1) The round box slants inwards to the back, so we used a shim to square it to the pine wood, cut off any excess; 2) The lip at the bottom of the box is usually on the outside a stud so drywall can be installed around it giving it the right depth; in our case we used the top of a scrap piece of shiplap board for this lip. 3) We cut the pine 2×2 the right width so we could finish nail it through the shiplap board giving us the vertical strength a light may need.

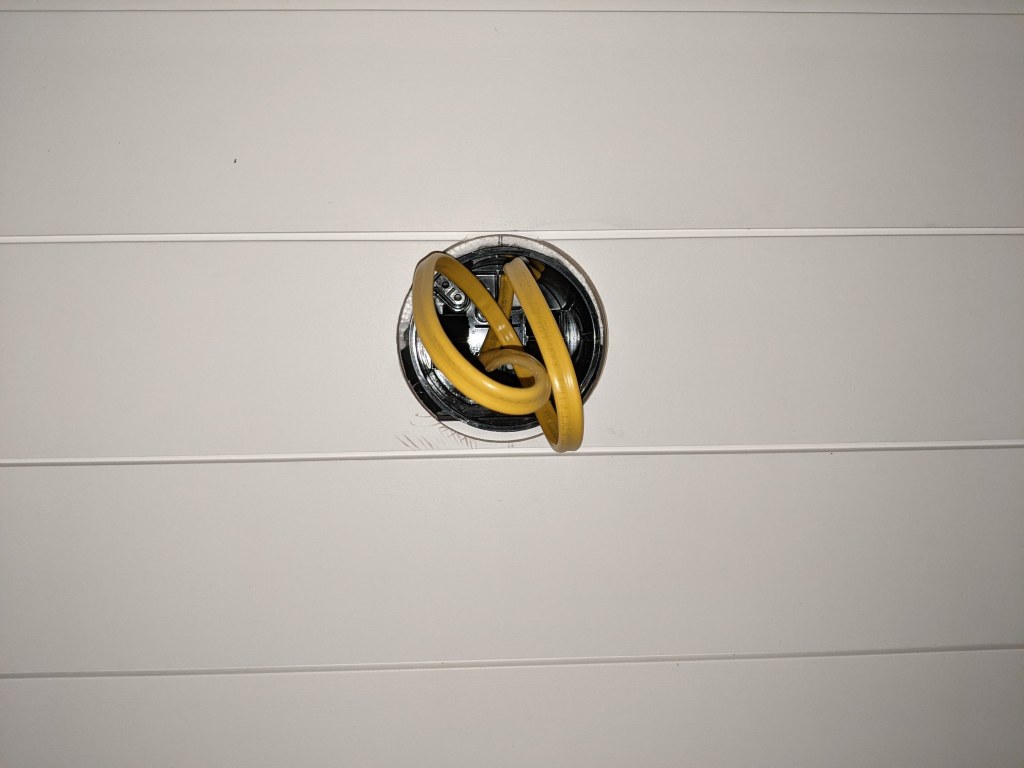
Here’s what the finished product looks like from the front.
Now to cut the foam at the perfect height. Most vanity lights are between 75″ and 80″ from the finished floor. Draw your outline and get out the hot knife again.
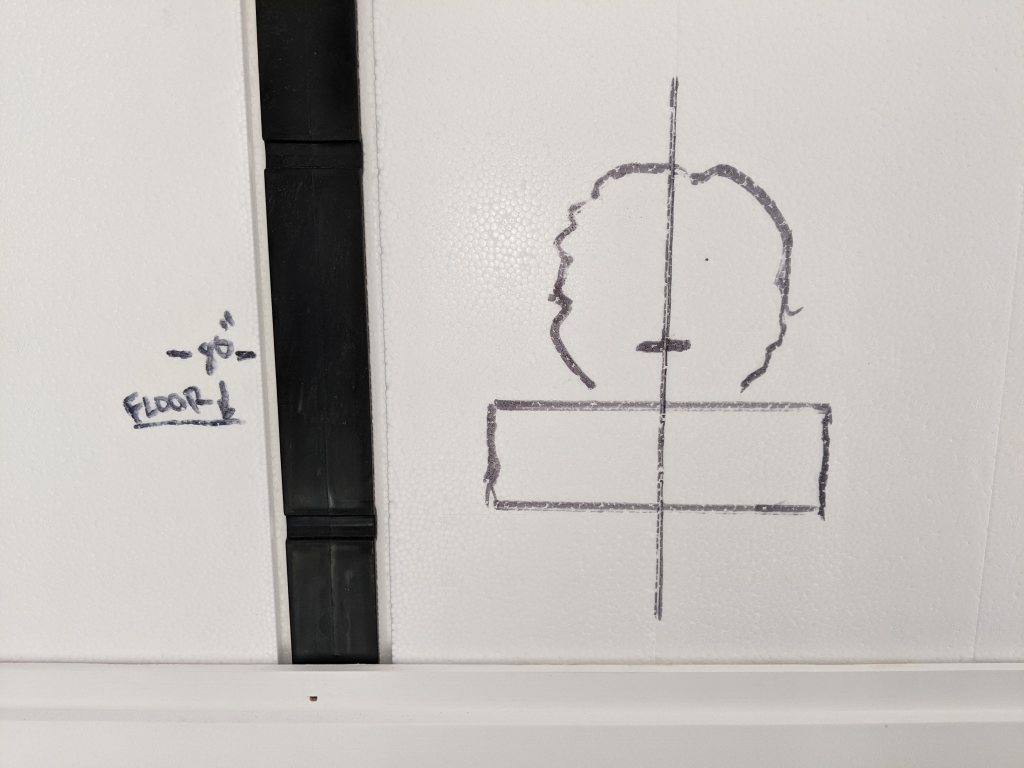
Don’t forget the tabs and the board depth don’t go all the way to the wall. And remember to create that lip in the vertical hole to make running your wire easier.
If you measured things properly, your “assembly” should dry fit nicely using that scrap piece of ship lap. Run your wires all the way to the top before gluing this thing in, and have your next row of shiplap ready to go in as well. Finish nail the upper lip of the bottom shiplap board through to the piece of 2×2 pine.

The other benefit of using this method is that you may only need to make one hole saw cut in one board for this fixture.
Other plans going forward include making this cuboid a smart home. Starting with light switches. We’ll probably have a dedicated post just about the different solutions available from 100% DIY to commercial-off-the-shelf-turn-key.
