Interior Dividing Walls
Or…”How to finish-nail shiplap to a wall with metal studs”
The trick is creating wood for your finishing nails to anchor to without filling the wall with wood. By running 8 foot lengths of 2×2 pine thru the table saw we were able to trim them down so that two could fit under the lip of the metal studs. Wedge spare pieces of wood between the two and your nail won’t push them away from the metal stud cavity when you send the nail into your shiplap. As you can see in this picture I just wedged giant piece of scrap, but before we seal up the other side of the wall completely, I’ll just cut some small 4 inch strips placed every couple of feet.
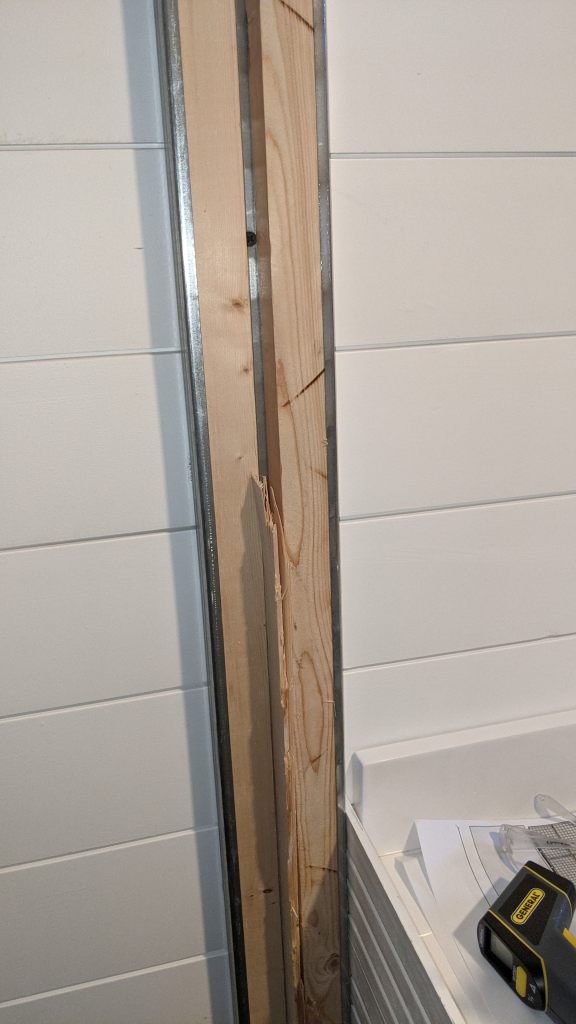
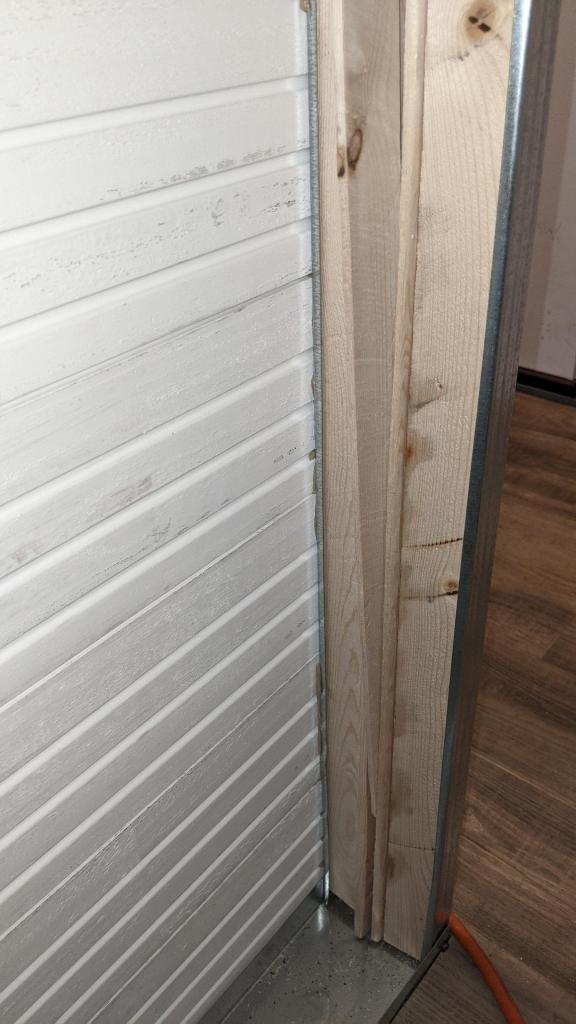
Another option is to drill pilot holes in the metal studs and use short, course-threaded screws to “pull” the shiplap boards towards the studs. But you always take a chance of poking through the front or chipping the back of the wood. In either case, a generous bead of LocTite down the face of the metal stud will help keep things snug and keep your nails/screws from backing out.

The Mini-Split is Here!
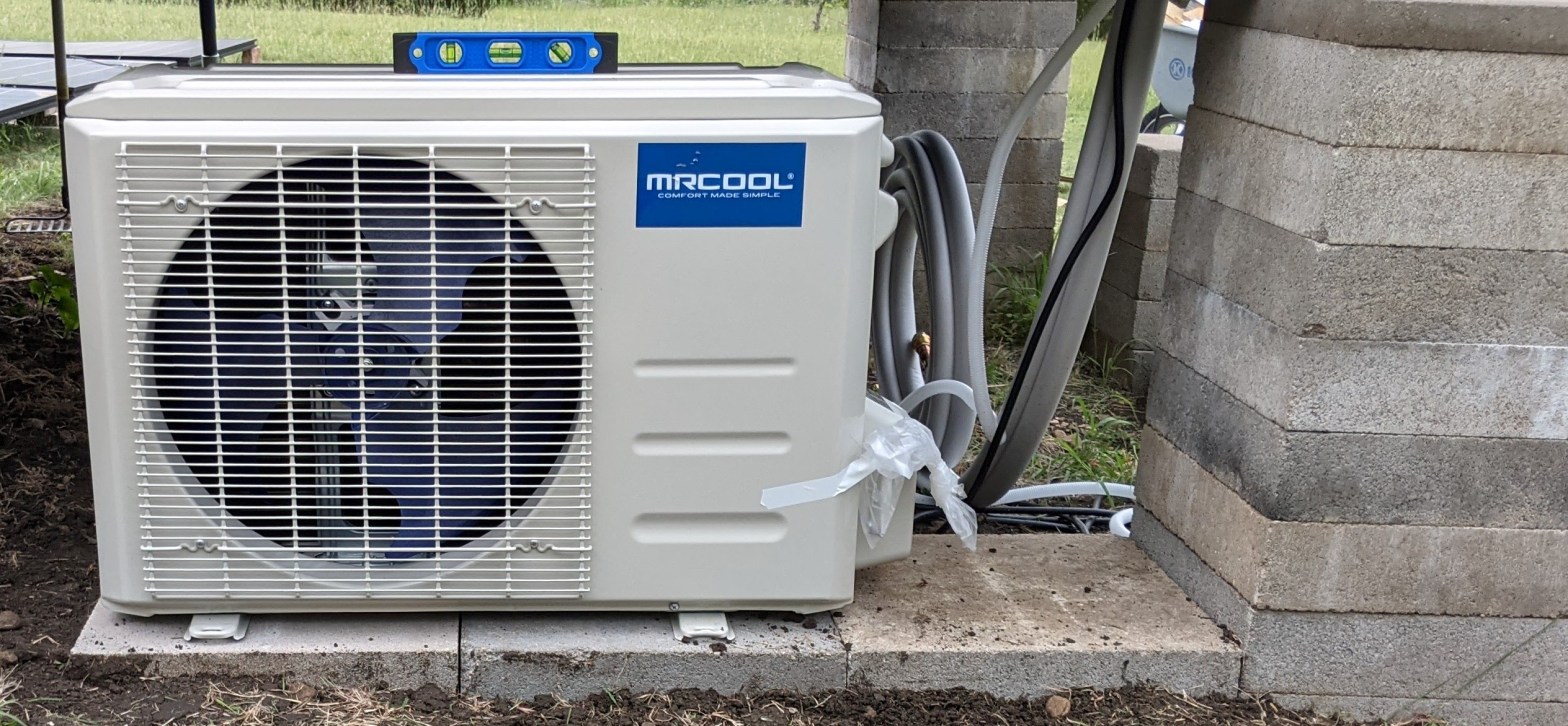
After deciding on Mr. Cool we ordered it and it arrived in just the nick of time. Temperatures are unseasonably climbing above 90 already.
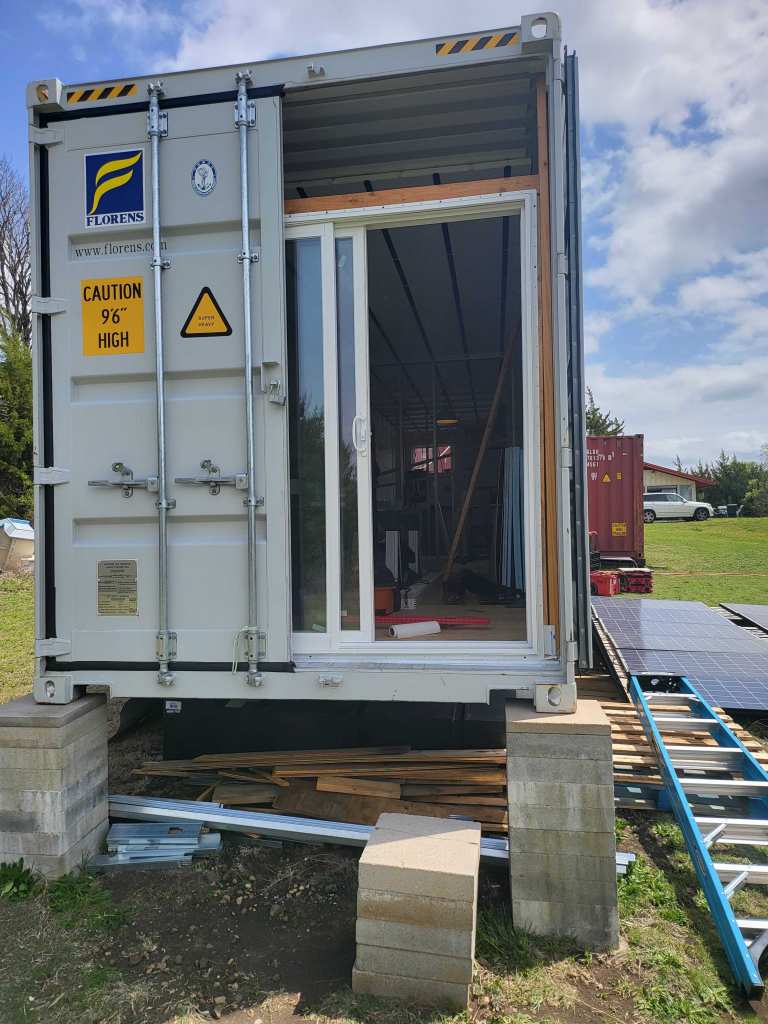
We ordered the 12,000 BTU (1-ton) 120V system which is more than adequate for 500 square feet. We opted to install it above the sliding glass door so we didn’t have to make an unneeded cut in the steel.
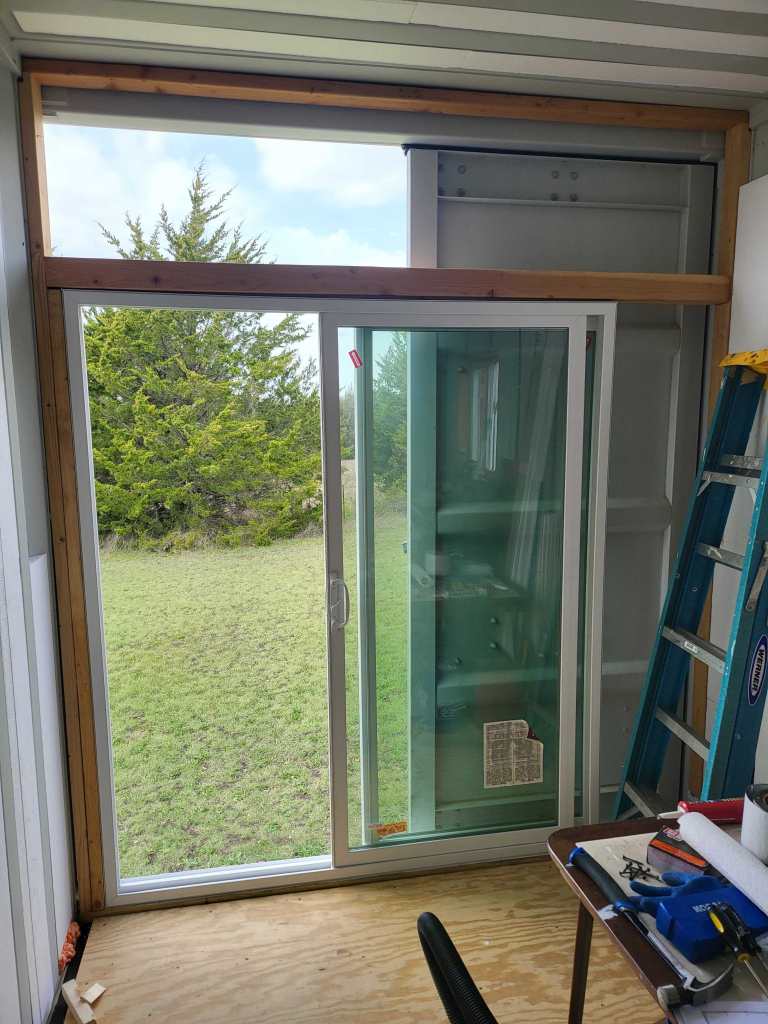
We positioned the framing so the outer metal doors can be closed for transport or really bad weather.
The remaining framing, including the cripple studs along the top and a king stud “box” (to be built later) on the right as you’re facing out will be built around the internal piping as seen below. We also opted to center the cripple studs over the center of the slider since kitchen cabinets and a vent hood will be along the right wall. This will give the mini split’s inside assembly the sense of being centered in the open space of the room, which will be slightly left.
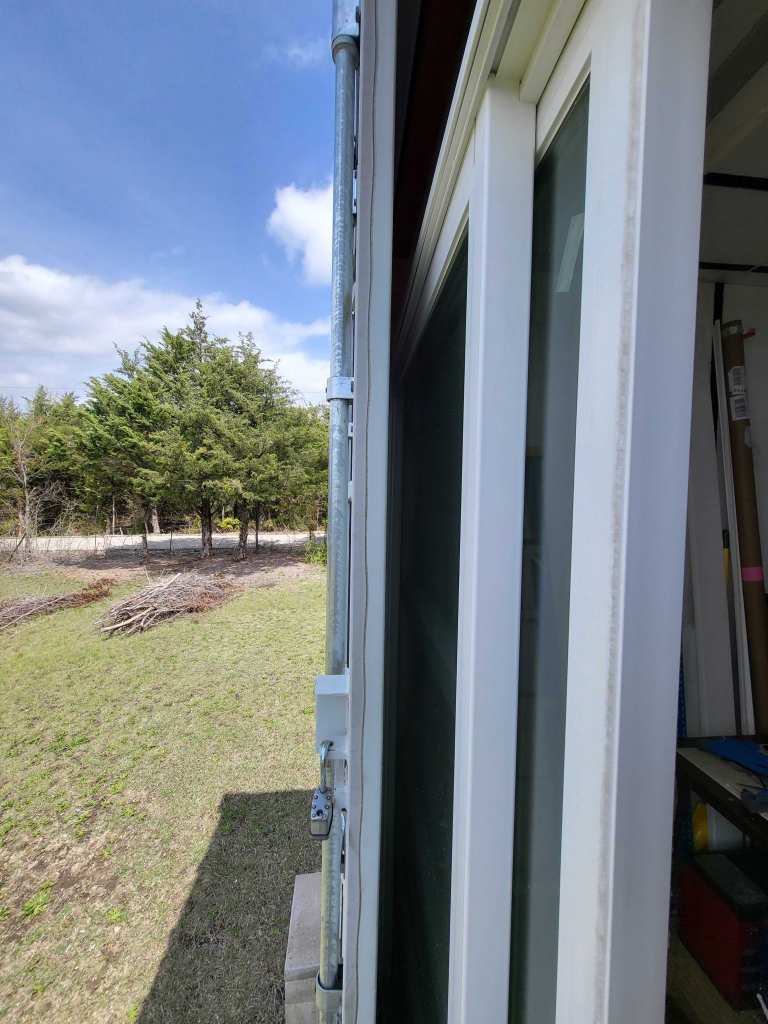
We drilled another 3″ hole at the floor at the bottom of the right king “box” area and routed all of the wiring and tubing. Note: Your ROMEX electrical wires should be routed through its own hole.
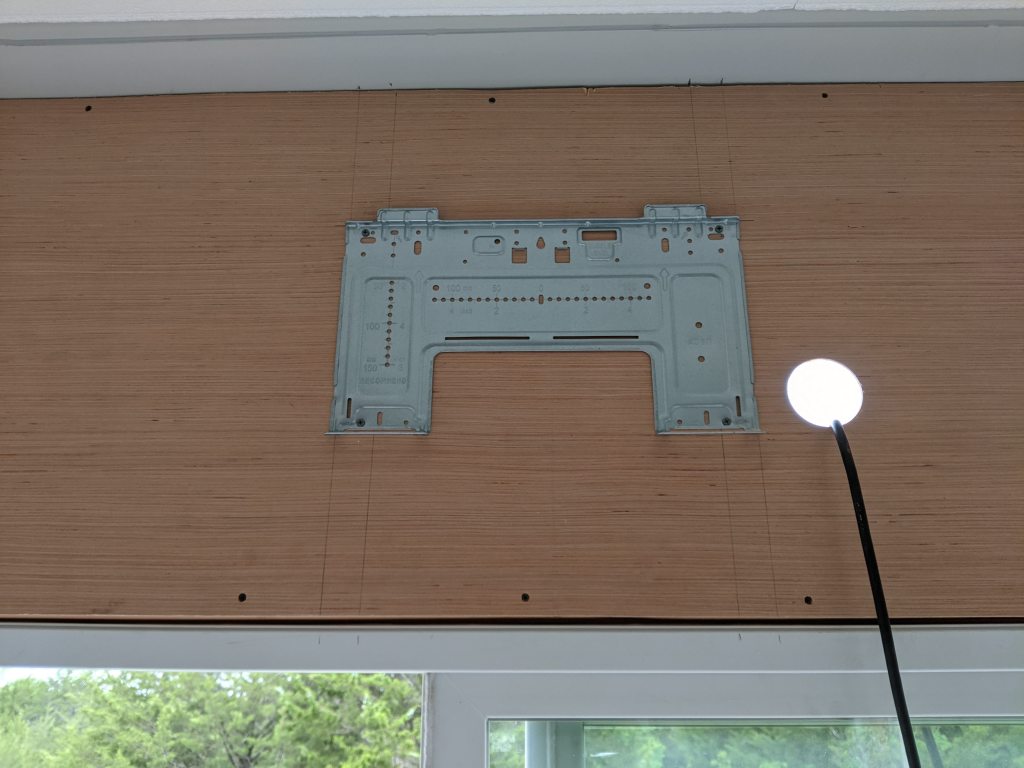
The system’s blower assembly hangs on the mounting bracket easier than hanging a flat screen TV. Just make sure your hole is positioned perfectly, so use the stencil, and then make sure the piping is organized properly so nothing gets pinched. Once we paint the panel a mat white it will look as good as a single sheet of drywall, but without the mud and tape.

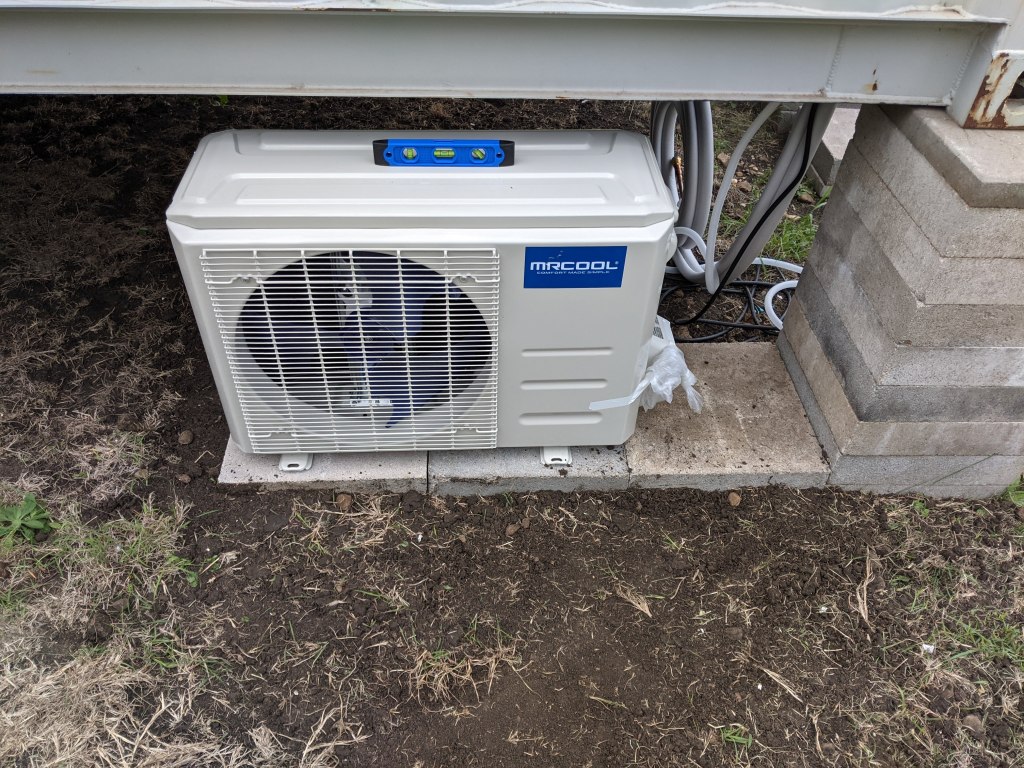
Outside was just as easy. As this location is only temporary we decided to use three 4″x18″ concrete blocks from Lowe’s, terraced into the ground slightly to make everything level and to avoid erosion. We drilled holes for the concrete bolts and then hooked everything up.
The final assembly isn’t difficult but it must be done in a specific way and order. Since the unit comes pre-charged with Freon the hoses can only be connected ONCE. Don’t mess this up! Plan ahead, organize and stow your piping how you’re going to keep it for the long term, and THEN connect up the ends. Remember, you get ONE shot at this or you’re spending hundreds to have an HVAC repairman come out to recharge your system.
Power draw is minimal, just 400watts, when running normally, but when it gets to the heat of the day it can surge to 800watts. Thankfully, the sun is providing more photons at the same time it’s causing the higher heat, so, FREE air conditioning anyone?
See y’all next month!
